
If you’ve ever dreamed of building a website that’s 100% yours, free from platform restrictions, ads you didn’t approve of, or design limitations, then self-hosted WordPress is what you’re looking for.
Unlike platforms like WordPress.com that keep you within their ecosystem, self-hosted WordPress lets you call the shots.
It involves installing the free WordPress software on your web hosting account and maintaining complete control over your website’s design, content, and functionality. Your hosting company, such as Bluehost or Namecheap, handles aspects like security updates, backups, and technical infrastructure maintenance.
In this article, we’ll break down exactly what self-hosted WordPress is, how it compares to WordPress.com, the pros and cons of self-hosting, and provide step-by-step instructions to launch your website.
Whether you’re starting a blog, an online store, or a business site, by the end of this article, you’ll have the tools and confidence to build a website that you fully control.
Let’s get started!
Table of Contents
Key Takeaways
- Self-hosted WordPress = full control – unlike WordPress.com, self-hosting gives you ownership over design, content, monetization, and site data.
- Pros outweigh cons for most creators – you get unlimited customization, plugin/theme access, and monetization freedom, but you must handle maintenance, updates, and security.
- Low entry costs – hosting starts at ~$3–10/month, and domains often come free for the first year. WordPress software itself is 100% free.
- Beginner-friendly setup – modern hosts (e.g., Namecheap, Bluehost) provide one-click WordPress installs, free SSL, and starter themes like Blocksy.
- Scalable for growth – from blogs to eCommerce, self-hosted WordPress can evolve with your project, backed by a global developer community.
Self-Hosted WordPress vs. WordPress.com
At a glance –
| Feature | Self-Hosted WordPress | WordPress.com |
| Hosting | → You choose and pay for your web hosting. | ⇒ Hosting is included and managed for you. |
| Cost | → WordPress is free, but you pay for hosting, a domain, and optional premium tools. | ⇒ Free basic plan, but advanced features require paid plans. |
| Customization | → Full access to thousands of themes and plugins; can edit code. | ⇒ Limited customization unless on higher-tier plans. |
| Technical Skills | → Basic tech knowledge is needed for setup and maintenance. | ⇒ No setup required; ideal for non-technical users. |
| Monetization | → Total freedom to run ads, affiliate links, and sell products. | ⇒ Restricted on free plans; requires upgrade for full monetization. |
| Ownership | → You fully own your content and site. | ⇒ Content is hosted on WordPress.com’s servers; limited control. |
Today, WordPress powers over 43% of all websites globally, and most of those are self-hosted WordPress.org installs. This dominance shows why self-hosting remains the go-to choice for creators and businesses who want full control.
Why Self-Host WordPress? What Are the Pros & Cons?
Choosing self-hosted WordPress means taking full ownership of your website, both the good and the challenging parts.
It’s ideal for creators, businesses, and bloggers who want flexibility, freedom, and room to grow. But like anything powerful, it comes with responsibilities.
Here’s a look at the pros and cons to help you decide if it’s the right fit for you:
Pros
- Gain complete creative control over your website’s design, with access to thousands of free and premium themes.
- Access thousands of plugins to add virtually any functionality, from e-commerce stores to membership systems and more.
- Maintain full ownership of all your content and data with no risk of sudden platform shutdowns.
- Monetization opportunities are unrestricted; you can run ads, affiliate links, sponsored content, or online stores without sharing revenue.
- The open-source nature provides access to the entire codebase, enabling advanced customizations.
- You’re free from bandwidth caps, traffic restrictions, or plugin limitations that come with hosted platforms.
- A global community of developers, forums, and tutorials, you’ll always find support when you need it.
Cons
- Regular maintenance is required, including manual updates for WordPress core, themes, and plugins to ensure security and performance.
- You’re responsible for implementing and managing your backup solutions to protect against data loss.
- While WordPress itself is free, you’ll need to budget for hosting costs, domain registration, and potentially premium themes or plugins.
- Security measures fall entirely on you, requiring vigilance against hackers and malware through plugins and best practices.
- The platform has a steeper learning curve compared to hosted solutions, especially for users unfamiliar with web technologies.
This trade-off might be worth it for those who value creative and business freedom. Let’s look at exactly what you need to get started with self-hosted WordPress.
Things You Need to Get Started
You only need three things: a hosting provider, a domain name, and a little time to set everything up. Let’s break that down.
1. Web Hosting
Web hosting is where your website “lives” on the internet. Think of it as renting a house for your site.
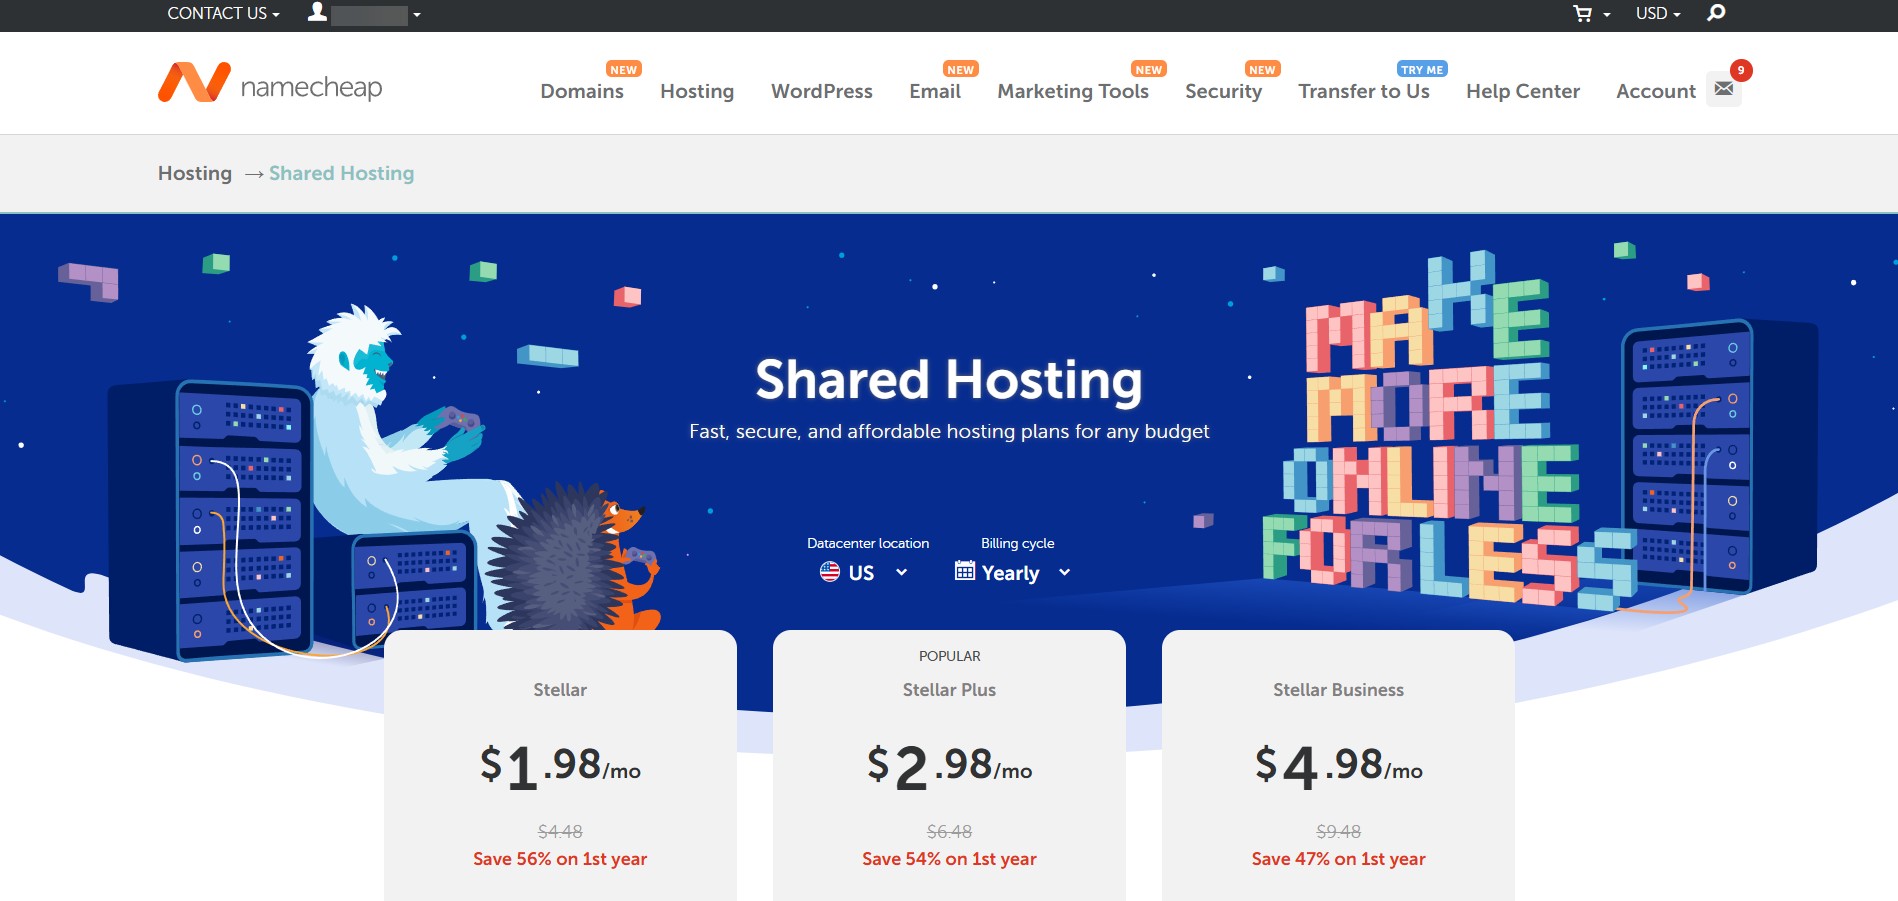
- Shared hosting is the most budget-friendly option, ideal for beginners and personal sites. Popular providers like Bluehost and Namecheap charge between $3 and $10 per month.
- If you’re running a business site or want top-tier performance and support, managed WordPress hosting from companies like Kinsta or WP Engine is worth considering, though it comes with a higher monthly cost.
Whichever hosting provider you choose, make sure the hosting package includes essentials like one-click WordPress installation, a free SSL certificate for security, and 24/7 customer support.
Read:
2. Domain Name
Your domain name is your site’s address, what people will type to find you (like example.com). A .com extension is usually best, as it looks professional and is widely recognized. Keep the name short, easy to remember, and brandable.
Many hosting companies offer a free domain name for the first year when you sign up for a hosting plan, which can help you save a little at the start.
3. Time & Basic Tech Skills
You don’t need to be a tech expert or know how to code, but you should be comfortable exploring new tools.
Setting up your WordPress site can take anywhere from 30 minutes to 1 hour, depending on how familiar you are with web interfaces.
You’ll learn how to log into your dashboard, install themes and plugins, and tweak basic settings. It’s all very beginner-friendly, especially with today’s hosting platforms.
Once you’ve gathered these essentials, you’re ready to launch.
In the next section, we’ll guide you through setting up your WordPress site step by step, from choosing a host to logging in for the first time.
How to Set Up Self-Hosted WordPress
Setting up your self-hosted WordPress site can feel overwhelming, but the actual steps are simple, especially if you’re using beginner-friendly hosting providers and tools like Softaculous.
In this section, we’ll walk you through the full process using Namecheap as an example host, simply because it’s the one we have access to for demonstration.
Step 1: Buy a Domain Name & Hosting Plan
As we said earlier, your domain name is your website’s address, which people will type in to find your site on the internet (example: example.com). Hosting, on the other hand, is like renting a home for your site’s files. You need both to get started.
From your hosting provider’s dashboard (we’re using Namecheap in this example), search for a domain name and check if it’s available.
Aim for something short, memorable, and easy to spell. Avoid hyphens, numbers, or anything too close to existing brand names.
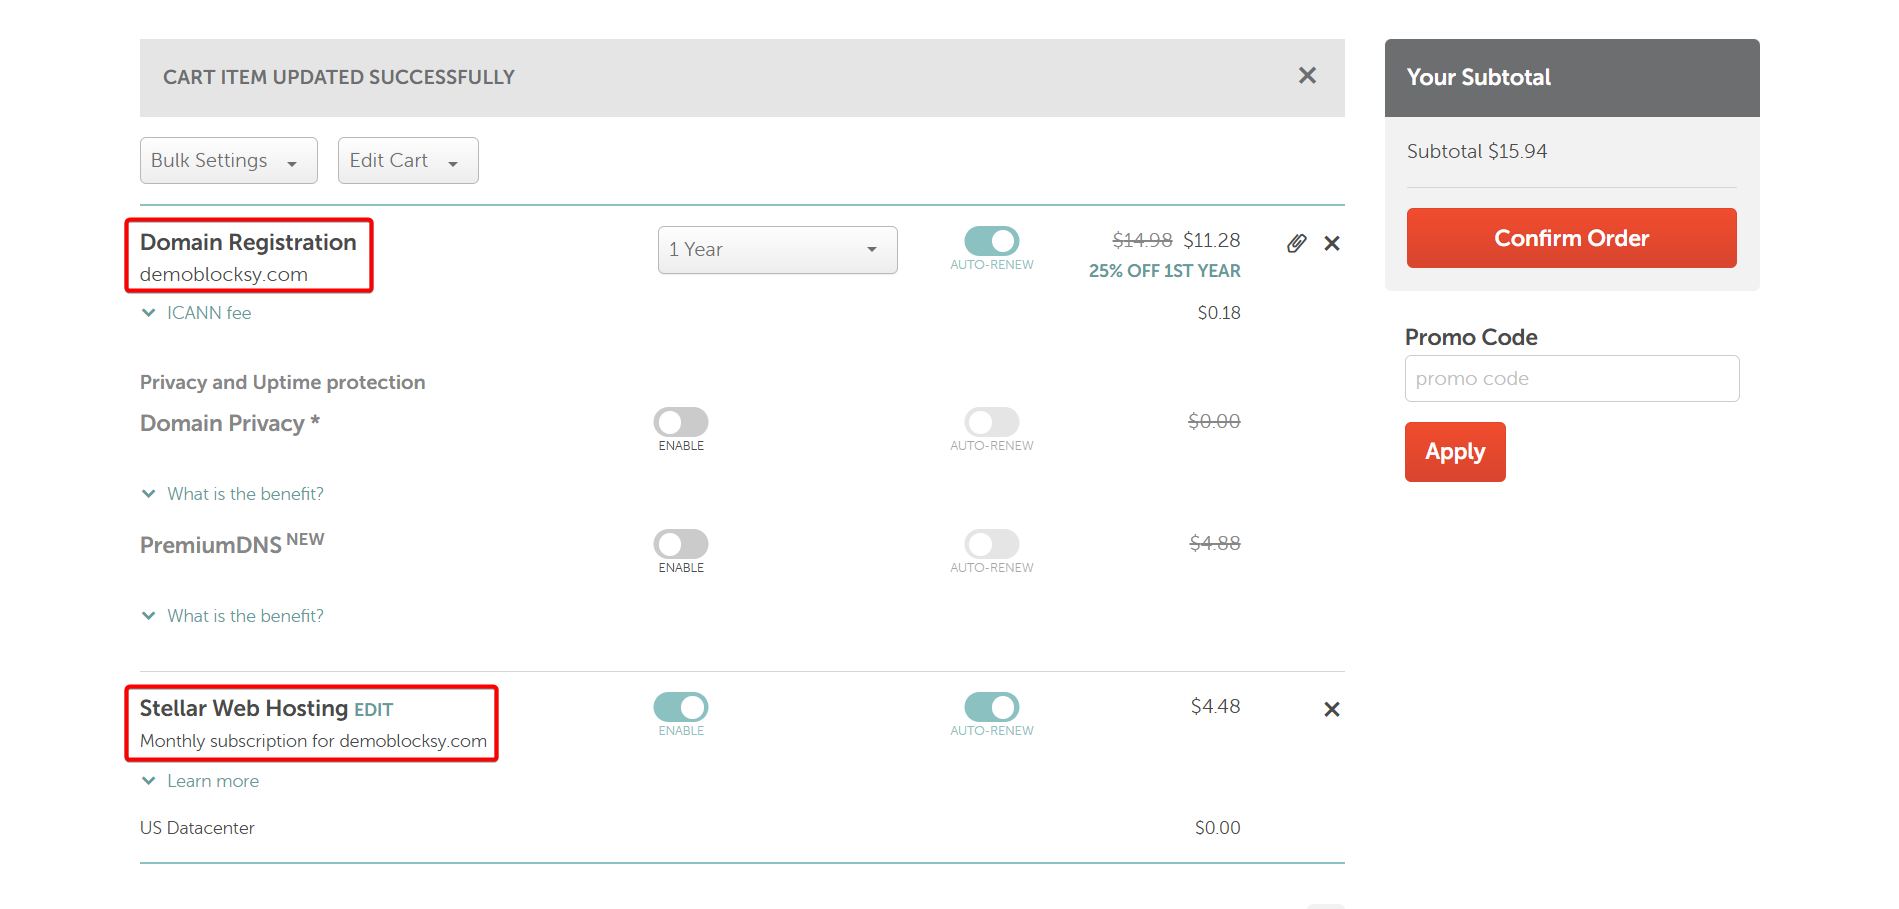
Once you’ve chosen your domain, select a basic shared hosting plan. This is typically the most affordable option and is suitable for most new sites. At checkout, you’ll register both your domain and hosting in one go.
After purchasing, you’ll be able to manage everything from your hosting dashboard.
Step 2: Install an SSL Certificate
Before installing WordPress, it’s important to add an SSL certificate. SSL encrypts data between your site and its visitors and is essential for security and SEO.
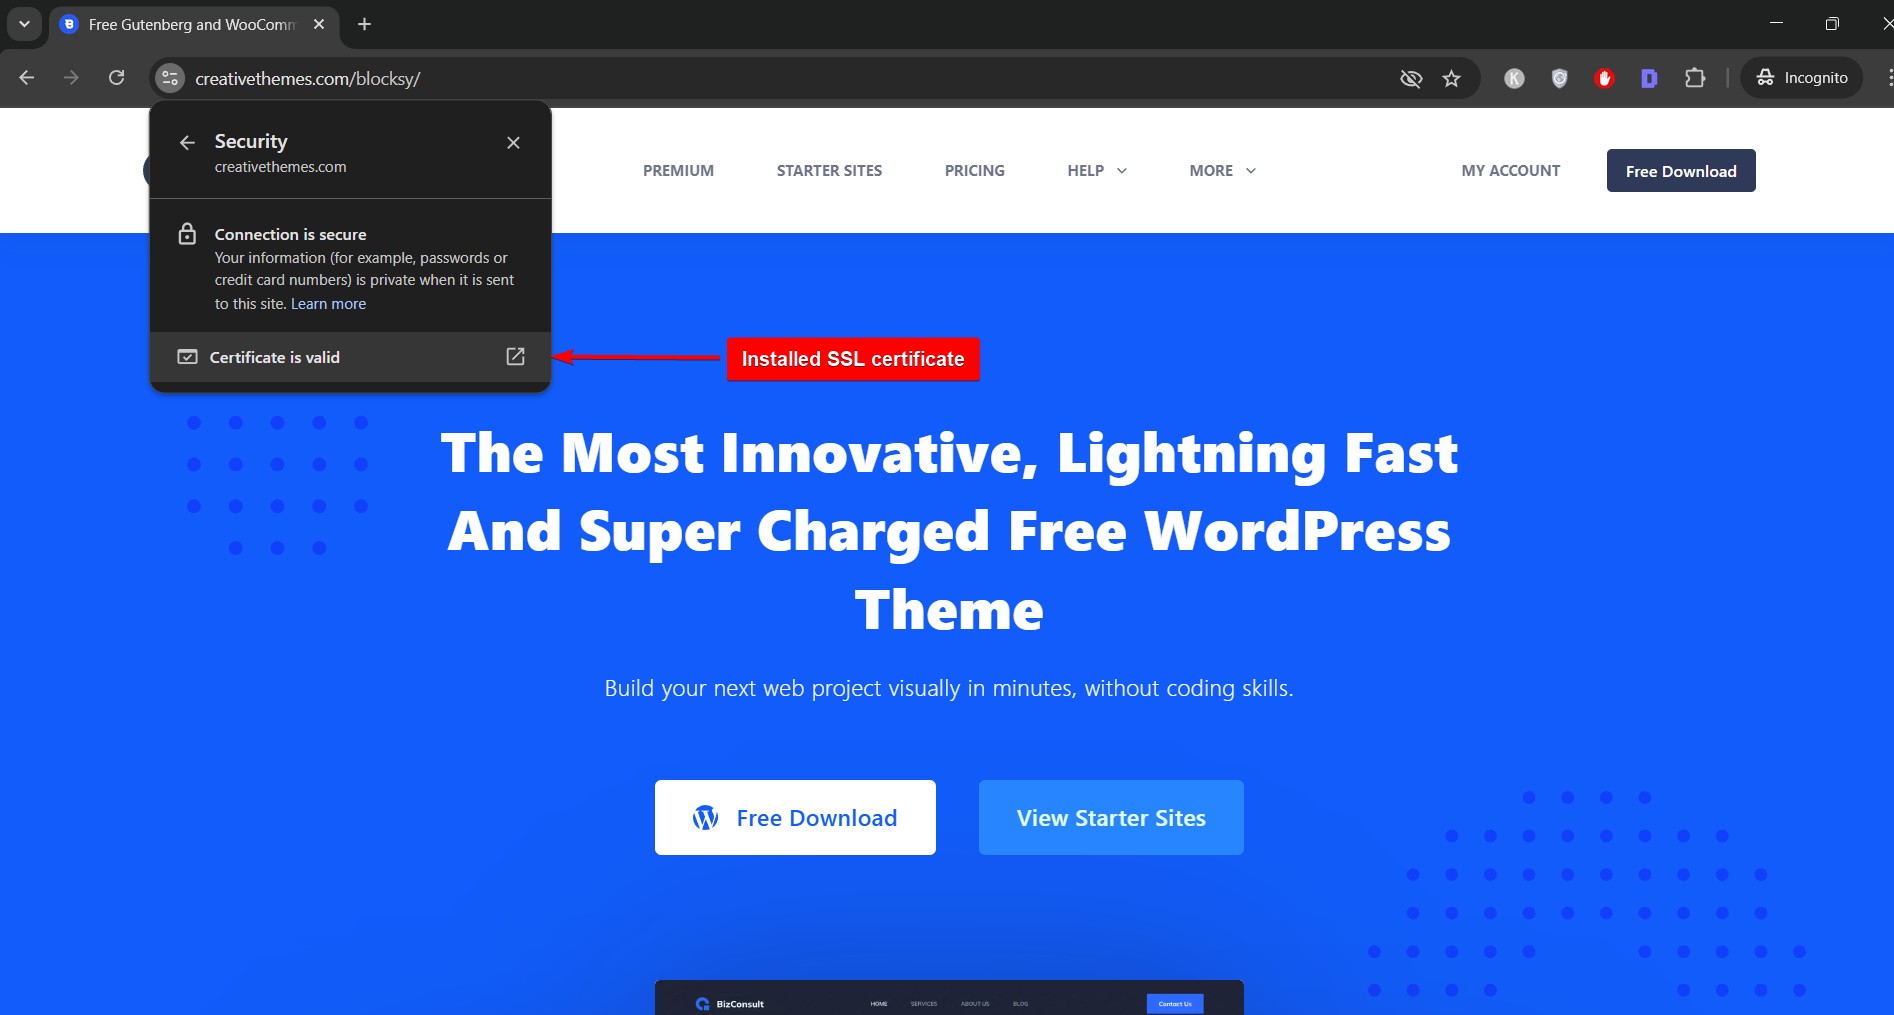
Most hosting providers, including Namecheap, offer a free SSL certificate for the first year. In Namecheap, you can find this option inside the cPanel under “Namecheap SSL”. Select your domain and activate the SSL with a click.
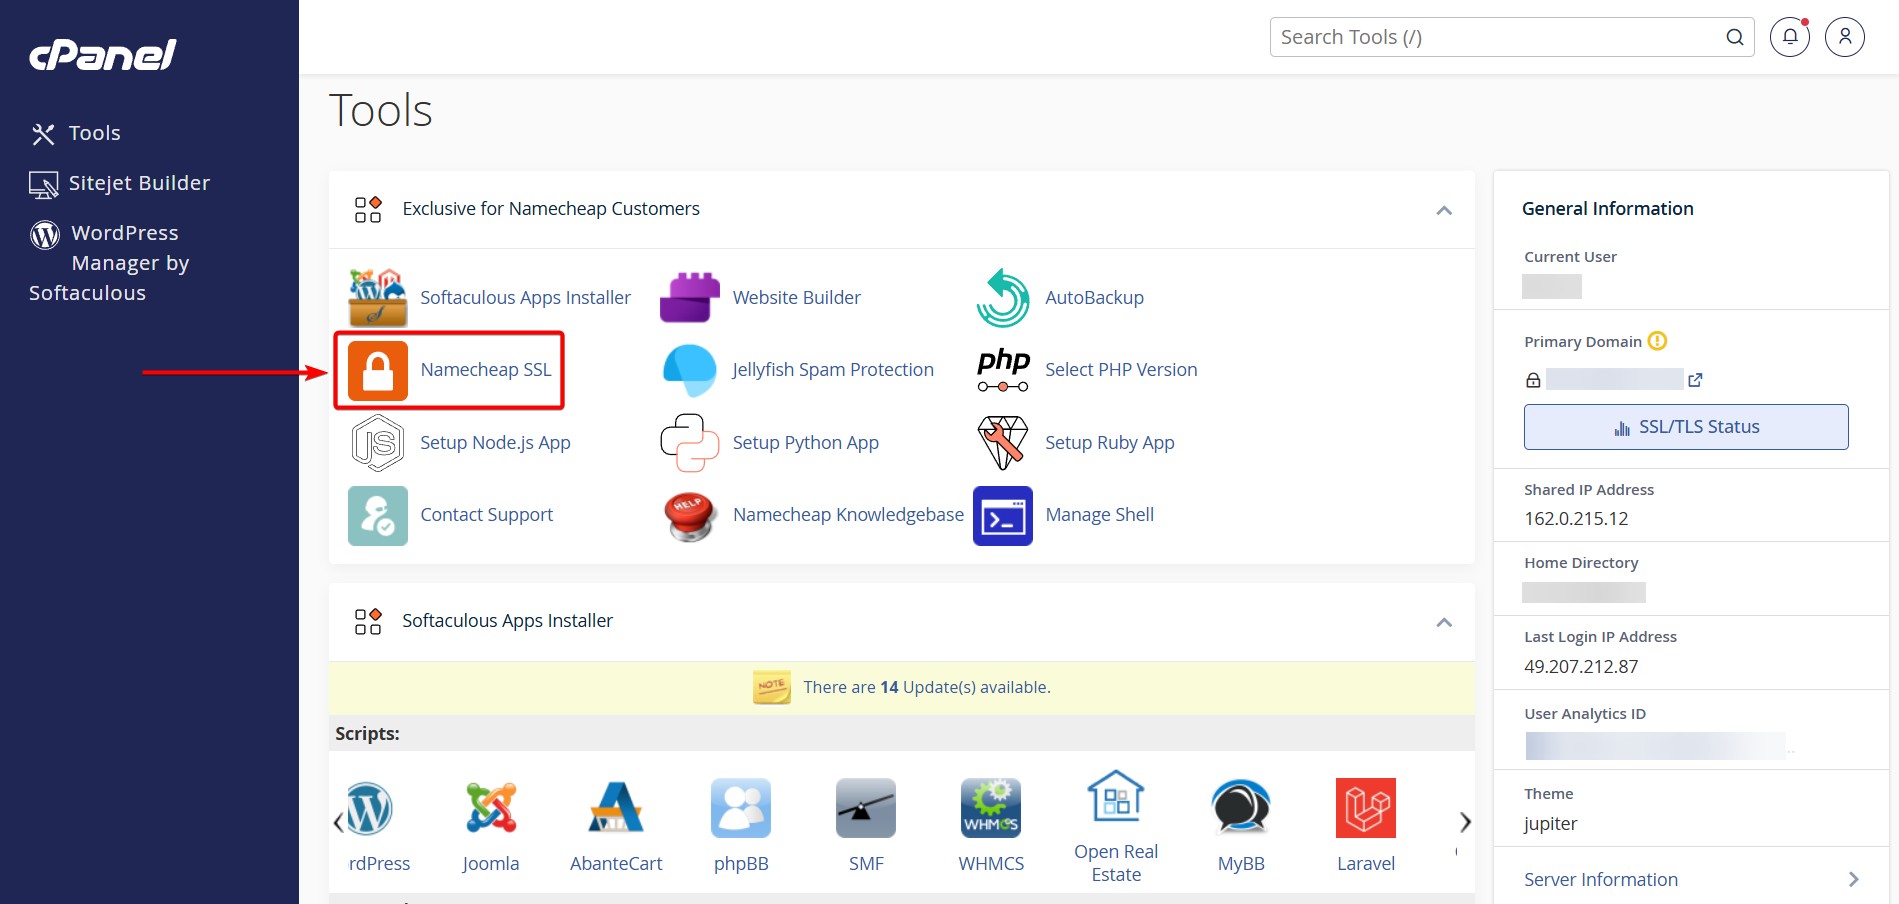
If you don’t see the option, check your hosting provider’s help documentation or reach out to support via live chat.
Step 3: Install WordPress Using Softaculous
Once your domain and SSL are active, you’re ready to install WordPress. In your hosting dashboard or the cPanel, look for the Softaculous App Installer. It’s a tool that lets you install WordPress with just a few clicks.
Inside Softaculous, click on the WordPress icon.
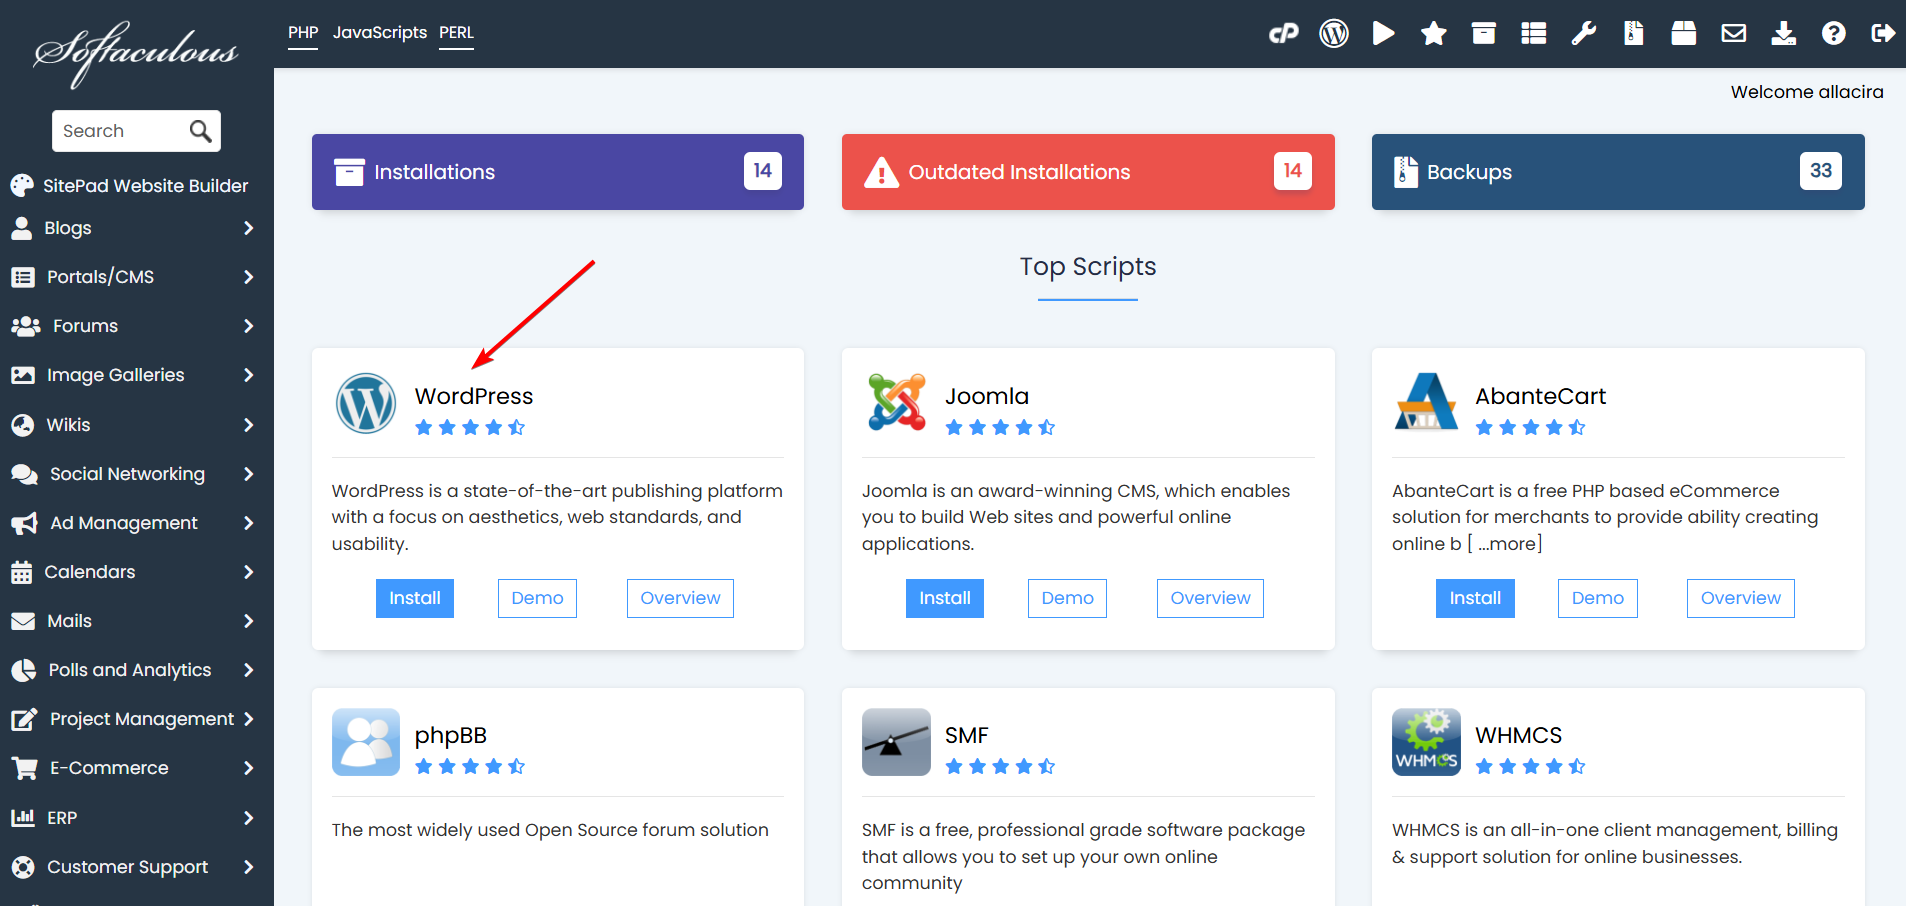
Next:
- Choose the “https://” protocol (so your site loads securely)
- Select your domain from the dropdown menu
- Create a strong admin username and password
- Enter your email address
- And hit the Install button
WordPress will be installed within a few seconds.

Step 4: Log In to Your Dashboard
Once installation is complete, Softaculous will show your WordPress login URL, which typically looks like this: example.com/wp-admin. Use the admin username and password you just created to log into your website.
This is your WordPress dashboard, where you can control every part of your site from design to content and settings.

Take a moment to explore. You’ll soon be customizing your theme, adding plugins, and publishing content.
Next, we’ll guide you through the essential setup tasks, such as installing a theme, securing your site, and managing key settings, to get your site ready for visitors.
Post WordPress Installation Tasks
Once your WordPress site is installed, it’s time to make it functional, secure, and ready for the long run.
This section walks you through three core areas: setting up your site, securing it, and maintaining it over time.
Setting Up the Site
Start by installing a few essential plugins to give your site the basics: SEO, backups, and added features.
Rank Math or Yoast SEO will help with search engine optimization, while UpdraftPlus or Jetpack Backup can automate regular backups.
For design, use a lightweight and fast theme. Blocksy is a great option, especially because it offers free starter templates you can build on easily.
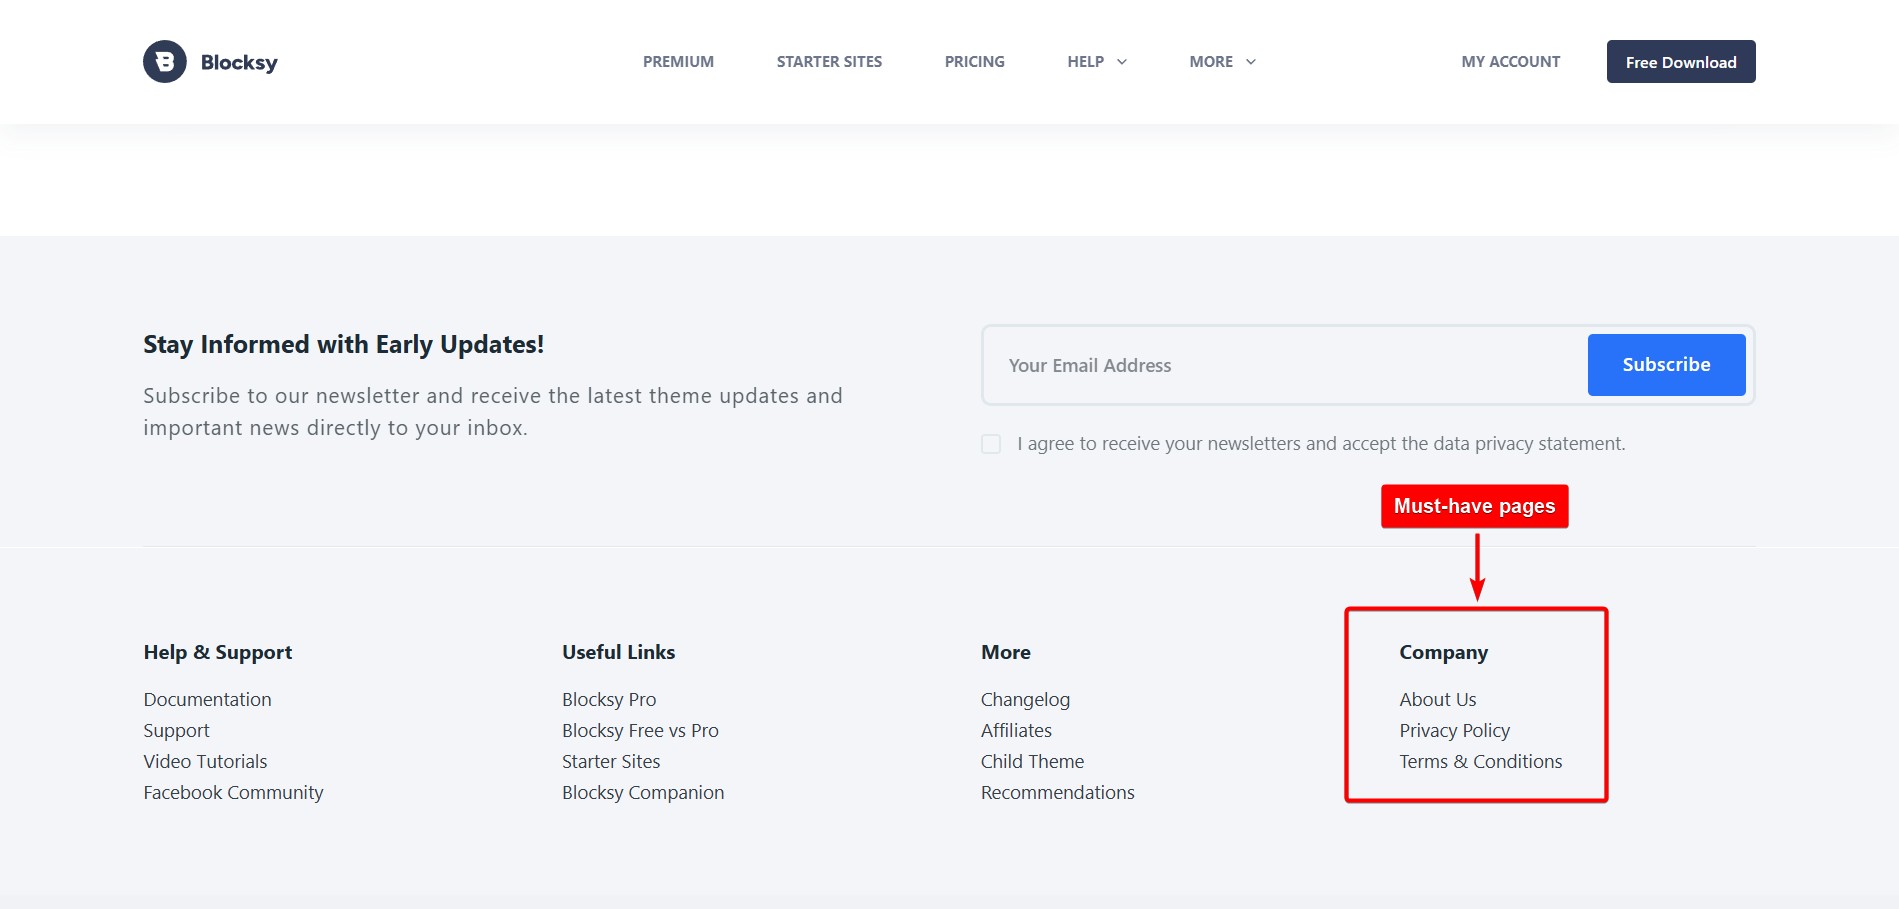
Create must-have pages like About, Contact, and Privacy Policy. You can use online generators for privacy policy and terms and conditions, if needed.
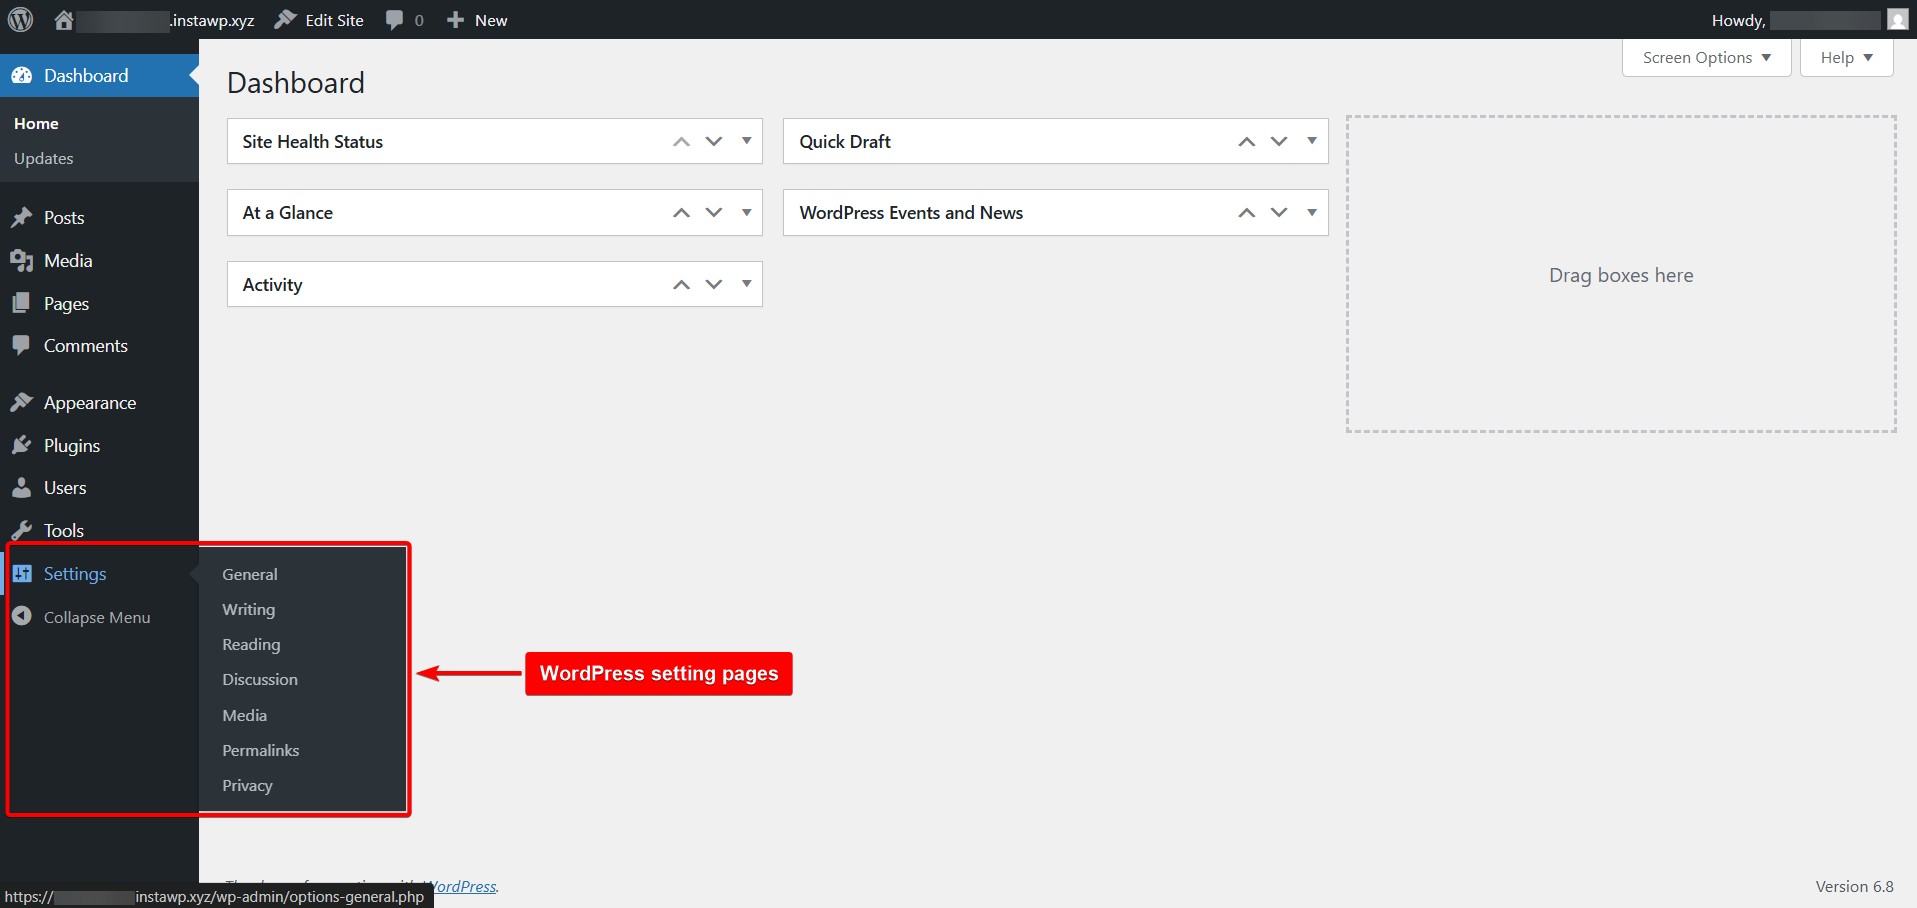
Next, adjust a few key settings on the WordPress Settings pages. Give your site a proper title and tagline, set a homepage (either static or featuring the latest blog posts), and choose a clean permalink structure, such as example.com/post-name. If you prefer, you can also disable comments on pages to avoid spam.
Securing the Site
A few quick security steps will go a long way.
First, change the default login credentials to a strong, unique password.
Make sure SSL is enabled. Most hosting providers include it for free, and consider adding two-factor authentication to your login page.
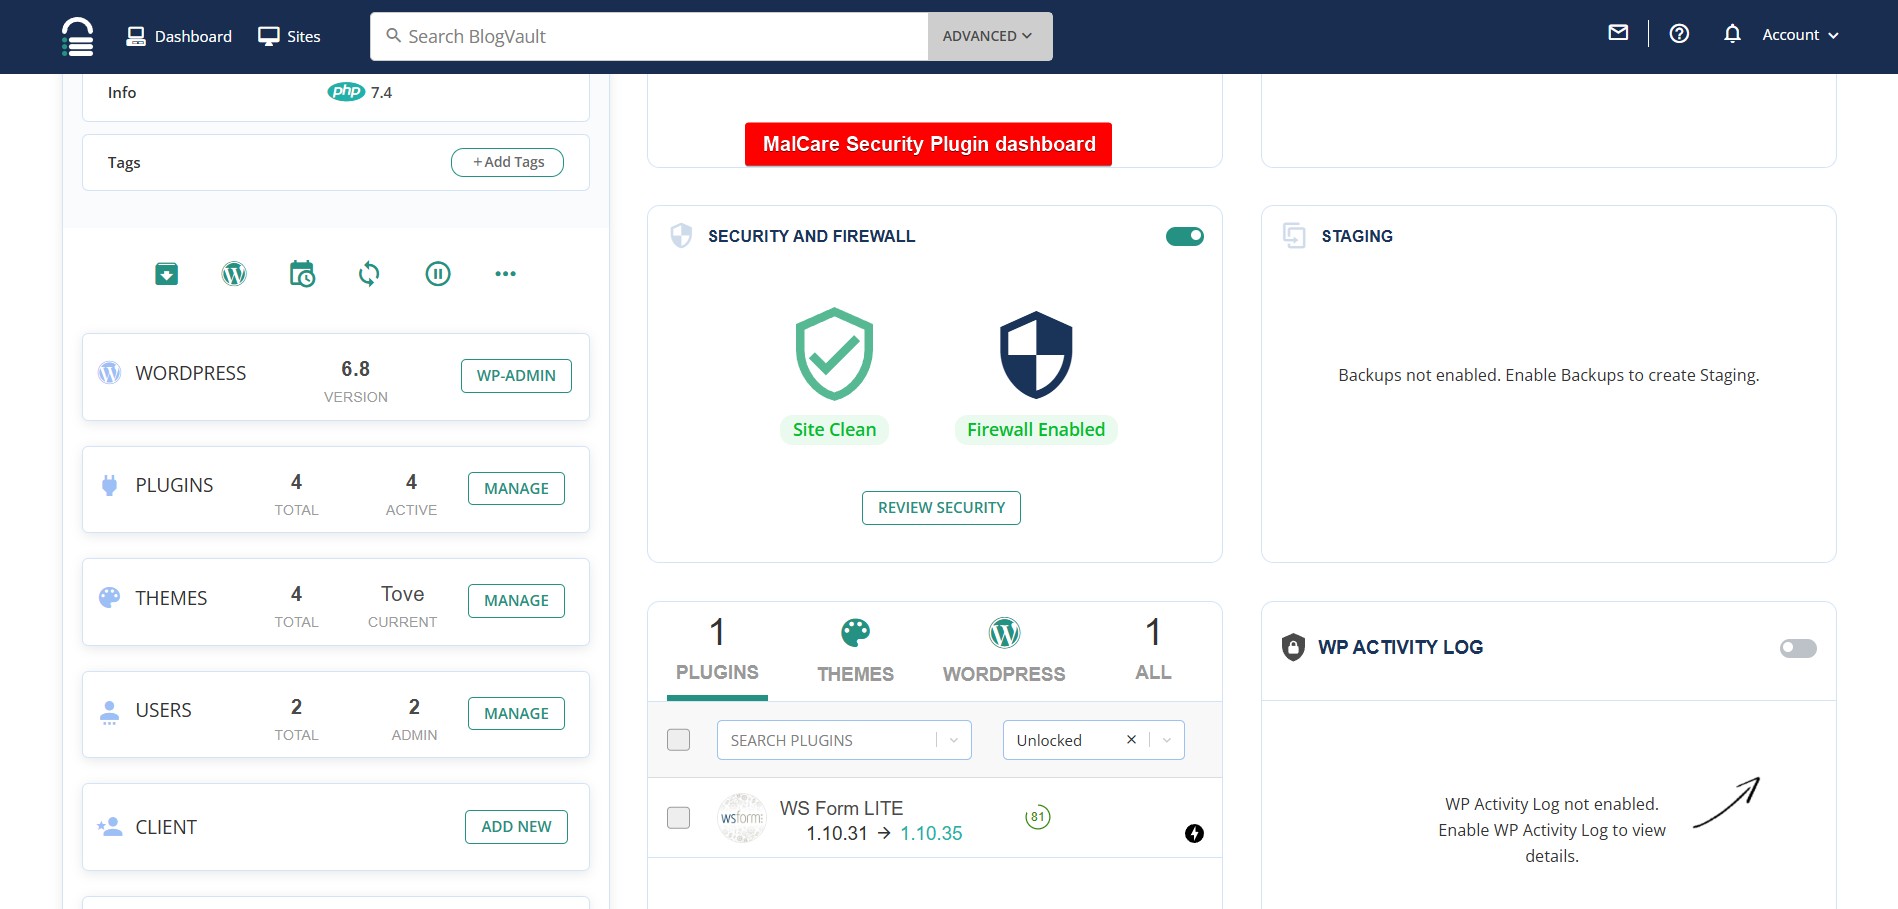
Installing a basic security plugin like Wordfence, Sucuri, or MalCare adds an extra layer of protection by blocking suspicious traffic and login attempts. These tools often come with built-in firewalls and security scans.
Maintaining the Site
Even after launch, your WordPress site needs regular care.
Update the WordPress core, themes, and plugins consistently to avoid bugs or security risks.
Use a tool like Broken Link Checker or an external service to monitor for dead links.
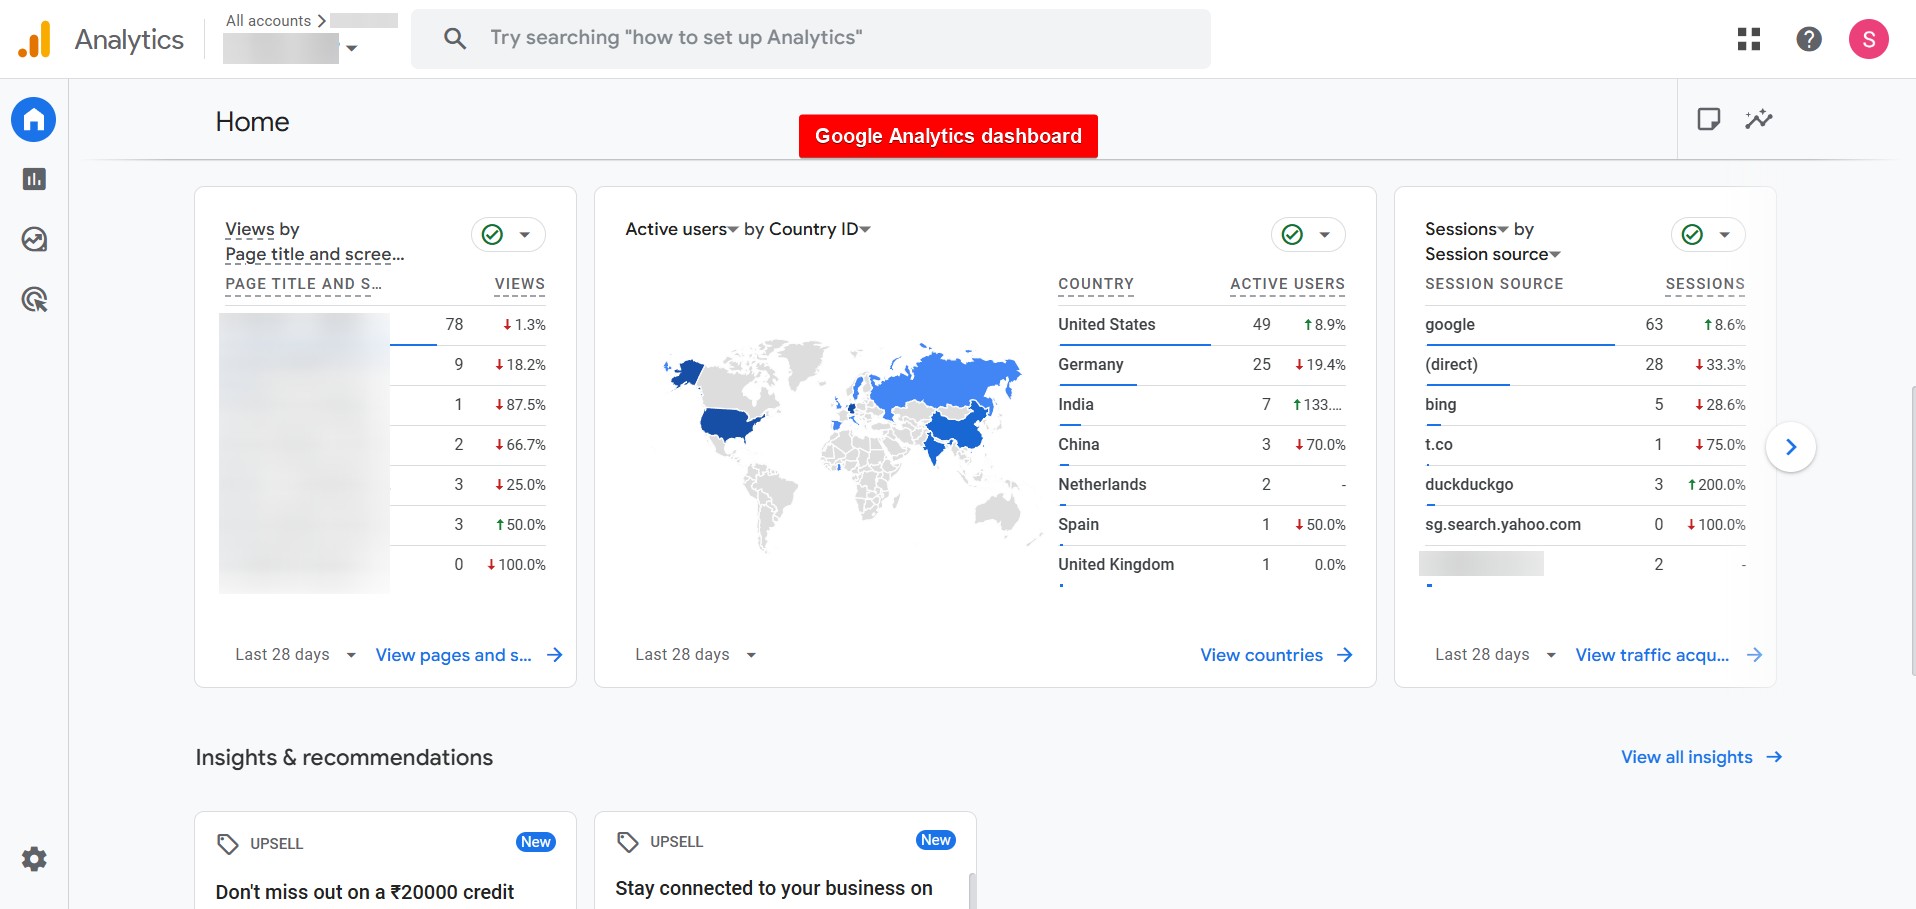
You’ll also want to track performance and visitor behavior. Tools like Google Analytics and Google Search Console offer deep insights, but privacy-focused alternatives like Independent Analytics are great for those who want a simpler overview.
Speed and uptime matter, too. A slow-loading site can frustrate visitors and hurt your search rankings.
Install a caching plugin like LiteSpeed Cache or WP Super Cache to speed things up, and use image optimization tools like Smush or ShortPixel to reduce file sizes without losing quality.
To monitor uptime and performance, tools like UptimeRobot or Jetpack Monitor can alert you if your site goes down.
Regular speed tests using GTmetrix or Google PageSpeed Insights can help you identify and fix performance bottlenecks.
Troubleshooting Common Self-Hosting WordPress Problems
Even with the best setup, it’s normal to run into a few hiccups while working with WordPress.
The good news?
Most common issues have simple fixes, and you’re definitely not alone.
Below are a few problems you might encounter, along with quick solutions and helpful resources.
1. “Error Establishing a Database Connection”
It means WordPress is unable to connect to the database that stores your site’s content and settings.
It’s often caused by incorrect database credentials (database name, username, or password) in the wp-config.php file, or a temporary issue on your hosting server.
First, double-check the credentials against what’s listed in your hosting control panel.
If everything looks correct, the issue may be on the server side, such as an overloaded or offline database. In that case, contact your hosting provider. They can usually resolve the issue quickly by restarting the database or correcting user permissions.
2. Mixed Content Warnings
Mixed content errors occur when your website loads over HTTPS, but some resources like images, scripts, or stylesheets still load over HTTP.
This mismatch causes browsers to block or warn about insecure content, potentially breaking parts of your site. It’s common after switching to SSL.
To fix it, install a plugin like Really Simple SSL, which scans and updates insecure links across your site.
Alternatively, you can manually update URLs in your theme, database, or content. After making changes, clear your site cache and browser cache.
For more help, follow this troubleshooting guide.
3. “Updating Failed” or “Publishing Failed” Errors
These errors usually appear when you’re trying to update or publish a page or post in the WordPress block editor, and something disrupts the connection to the REST API.
This can happen due to expired sessions, plugin conflicts (especially security or firewall plugins), or caching issues.
First, try logging out and back in, or refreshing the page.
If that doesn’t work, temporarily disable plugins one by one to isolate the problem.
You can also check your browser’s console for REST API errors.
For a complete walkthrough of the solution, refer to this step-by-step guide.
If you’re facing a different problem or feeling stuck, don’t worry, there’s an entire community of WordPress users out there. The official WordPress.org support forums and your hosting provider’s help center are excellent places to start.
FAQs
Can WordPress be self-hosted?
Yes, WordPress can be self-hosted. This means you download the free WordPress software from WordPress.org and install it on your own web hosting account. Self-hosting gives you full control over your site’s features, design, and content. You’ll be responsible for setup, maintenance, and security, but you’ll also gain complete ownership and flexibility. It’s the most popular choice for bloggers, business owners, and developers who want freedom to grow their websites on their own terms.
What is the difference between WordPress self-hosted and WordPress.com?
The main difference is control. WordPress.com is a hosted service. WordPress takes care of hosting, security, and updates, but limits your customization and monetization options unless you upgrade to a paid plan. With self-hosted WordPress (from WordPress.org), you handle your own hosting and setup, but you gain full access to themes, plugins, and monetization. In short, WordPress.com is simpler, while self-hosted WordPress offers more power and flexibility for users willing to manage a few technical details.
Can I host on WordPress for free?
You can create a free site using WordPress.com, but it comes with limitations, such as a WordPress-branded domain (like yoursite.wordpress.com), ads you don’t control, and limited customization. Self-hosted WordPress allows you to download the free WordPress software, but you’ll need to pay for web hosting and a domain, which can cost as little as $3 to $10 per month. That small investment gives you full control and freedom to grow your site any way you want.
Conclusion
If you’ve made it this far, you now have a solid understanding of what it takes to build a self-hosted WordPress website from scratch.
We walked through everything – from getting a domain and hosting plan, to installing WordPress with Softaculous, setting up your dashboard, and even handling security and maintenance tasks.
Throughout this article, the goal was to break down what can feel like a technical process into clear, manageable steps. And now, your website isn’t just an idea, it’s live, and it’s yours.
Self-hosted WordPress gives you the freedom to grow on your own terms. You’re in control of your design, your content, and how you choose to scale your online presence.
Take a moment to celebrate what you’ve built, then start planning your next steps. Whether that’s publishing your first post, sharing your site, or exploring new plugins and features. This is just the beginning.
Have any questions? Leave in the comments below.


What’s the biggest advantage you see in choosing self-hosted WordPress over WordPress.com for long-term growth?