WordPress accessibility is a complex subject because a WordPress website consists of several parts, all of which need to comply with multiple requirements that address different kinds of accessibility needs.
Therefore, making an accessible WordPress site is not an easy task. It involves various steps, including choosing an accessible theme, creating accessible content, and testing the website with different types of assistive technologies, such as screen readers, keyboard navigation, and text-to-speech tools.
Key Takeaways
- Accessibility must cover the whole site, from themes to plugins and admin areas.
- Use accessible themes like Blocksy with keyboard support and clean HTML.
- Content should be screen-reader friendly with alt text, headings, and captions.
- Avoid relying only on plugins—they’re no substitute for proper design.
- Test often using tools like Lighthouse and real assistive technologies.
Table of Contents
What Is WordPress Accessibility?
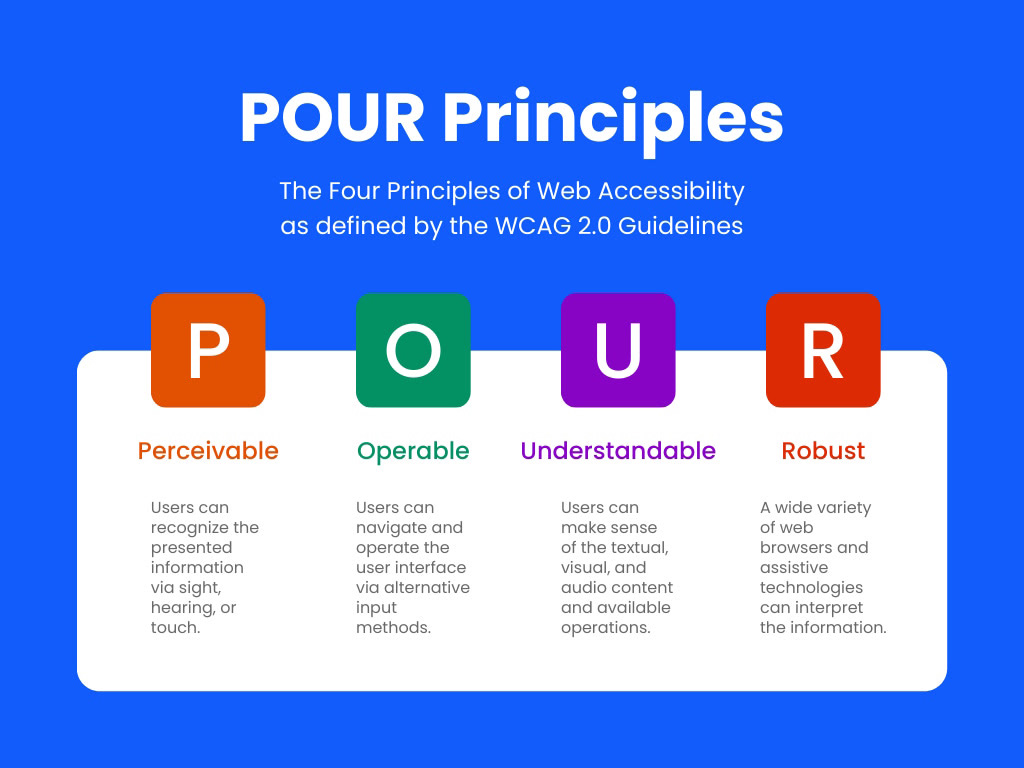
WordPress accessibility is a design objective and implementation process that makes all parts of a WordPress site:
- perceivable, operable, and understandable for people with permanent or temporary disabilities
- sufficiently robust so that different devices, browsers, screen readers, and other assistive technologies can interpret it
These four objectives (Perceivable, Operable, Understandable, and Robust) make up the POUR principles of web accessibility, defined in detail in the WCAG principles 2.0 guidelines.
An accessible WordPress website must consider the needs of the following user groups:
- visitors who access the frontend of the website
- logged-in users or subscribers who also access member-only areas and the WordPress dashboard
- contributors, writers, editors, and administrators who access everything that logged-in users plus the block editor and some or all of the admin pages
Therefore, WordPress accessibility consists of the accessibility of:
- the WordPress admin area, including the block editor and Customizer interface
- the activated theme
- all of the activated plugins
- the content appearing both on the frontend and backend, including widgets, notifications and error messages, and media content such as images and videos
Is WordPress Accessible Out of the Box?
While WordPress is not fully accessible yet, it’s already a requirement that all new code uploaded to WordPress.org conforms with the WordPress Accessibility Coding Standards.
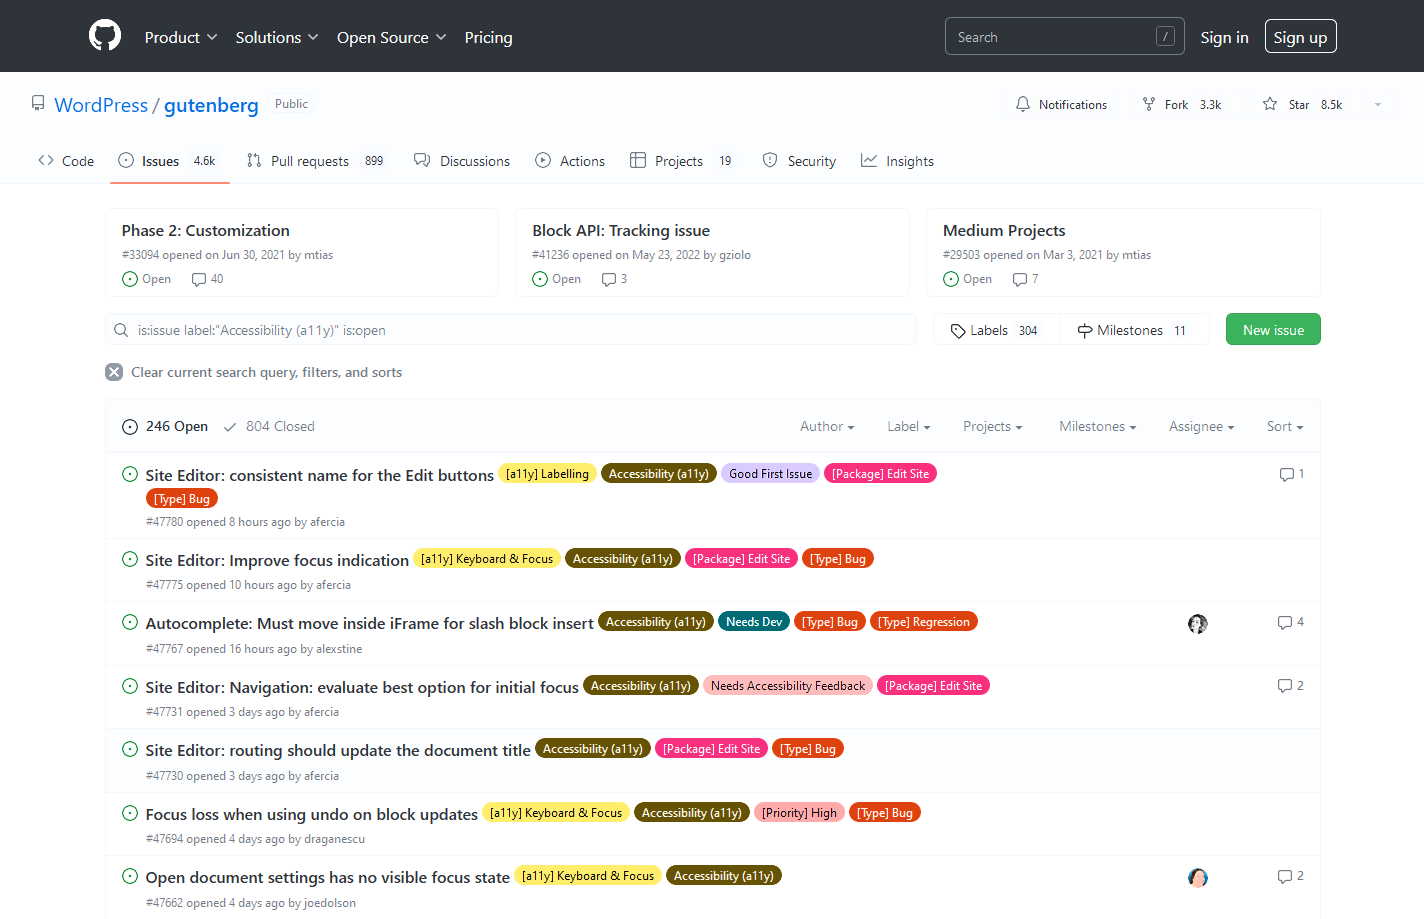
WordPress also has an Accessibility Handbook, and you can follow the state of the block editor’s accessibility issues on GitHub.
Despite the existing issues, WordPress accessibility has improved a lot in recent years. With the help of an accessible theme, it’s possible to create a WordPress website that’s fully accessible on the frontend and in most parts of the admin area.
According to the WPCampus Accessibility Report, 84% of WordPress themes and plugins exhibit accessibility issues, particularly due to poor coding practices or non-compliance with accessibility standards.
5 Key Steps to Build an Accessible WordPress Site
Now, let’s see the most important steps to implement WordPress accessibility.
1. Choose an Accessible Theme
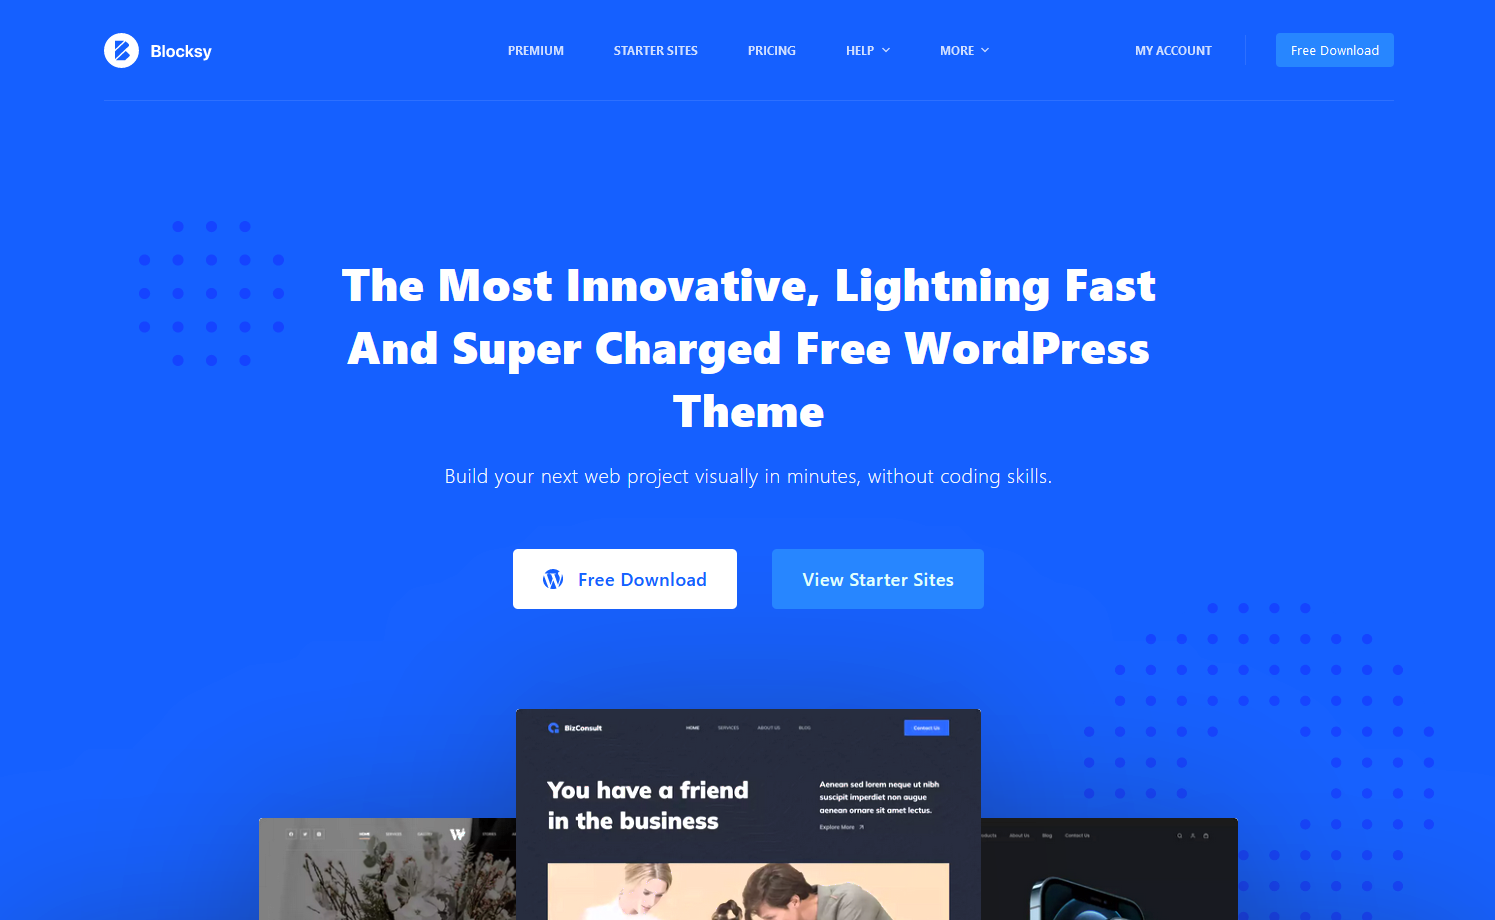
Accessible website design starts at the design phase, which, in the world of WordPress, means an accessible theme, such as Blocksy.
You can evaluate the accessibility of a WordPress theme after installing and activating it.
WordPress theme accessibility refers to the accessibility of the basic design and code of a theme. However, you still need to pay attention to configuring the settings (e.g. colors) with accessibility in mind and adding accessible content (posts, articles, images, videos, etc.) to your site.
An accessible WordPress theme:
- can be fully navigated with a keyboard, including all the links, menus, forms, and buttons
- has a ‘skip-to-content’ link
- all links are underlined
- the :focus state (the position of the Tab key on the screen) is visible and easily distinguishable
- has a semantic and clean code base so that screen readers can interpret the content structure
- loads fast
- provides settings that let website owners implement accessible design
For example, Blocksy’s default design includes highly visible, underlined links and a thick, blue outline for the :focus state:
Choosing an accessible theme is essential for usability. Here’s what to look for:
- Keyboard Navigation: Test if all elements (menus, forms, links) are accessible with the Tab key. Look for a visible focus indicator.
- Skip Links: Ensure the theme includes a “Skip to Content” link to help users navigate quickly.
- High-Contrast Colors: Choose a theme with customizable color options for readability.
- Semantic HTML and ARIA Roles: Good coding practices support screen readers and meet accessibility standards.
2. Customize Theme Settings for Accessibility
Theme accessibility doesn’t only mean an accessible frontend, but the theme’s settings also must be well-structured and provide options for administrators to create an accessible website, such as:
- increasing color contrast
- choosing easy-to-read fonts
- adjusting the font size and line height
- making buttons and other controls larger
- creating menus and submenus that are fully accessible for both screen reader and keyboard users
- adding supplementary navigation elements, such as breadcrumbs or a scroll-to-top button
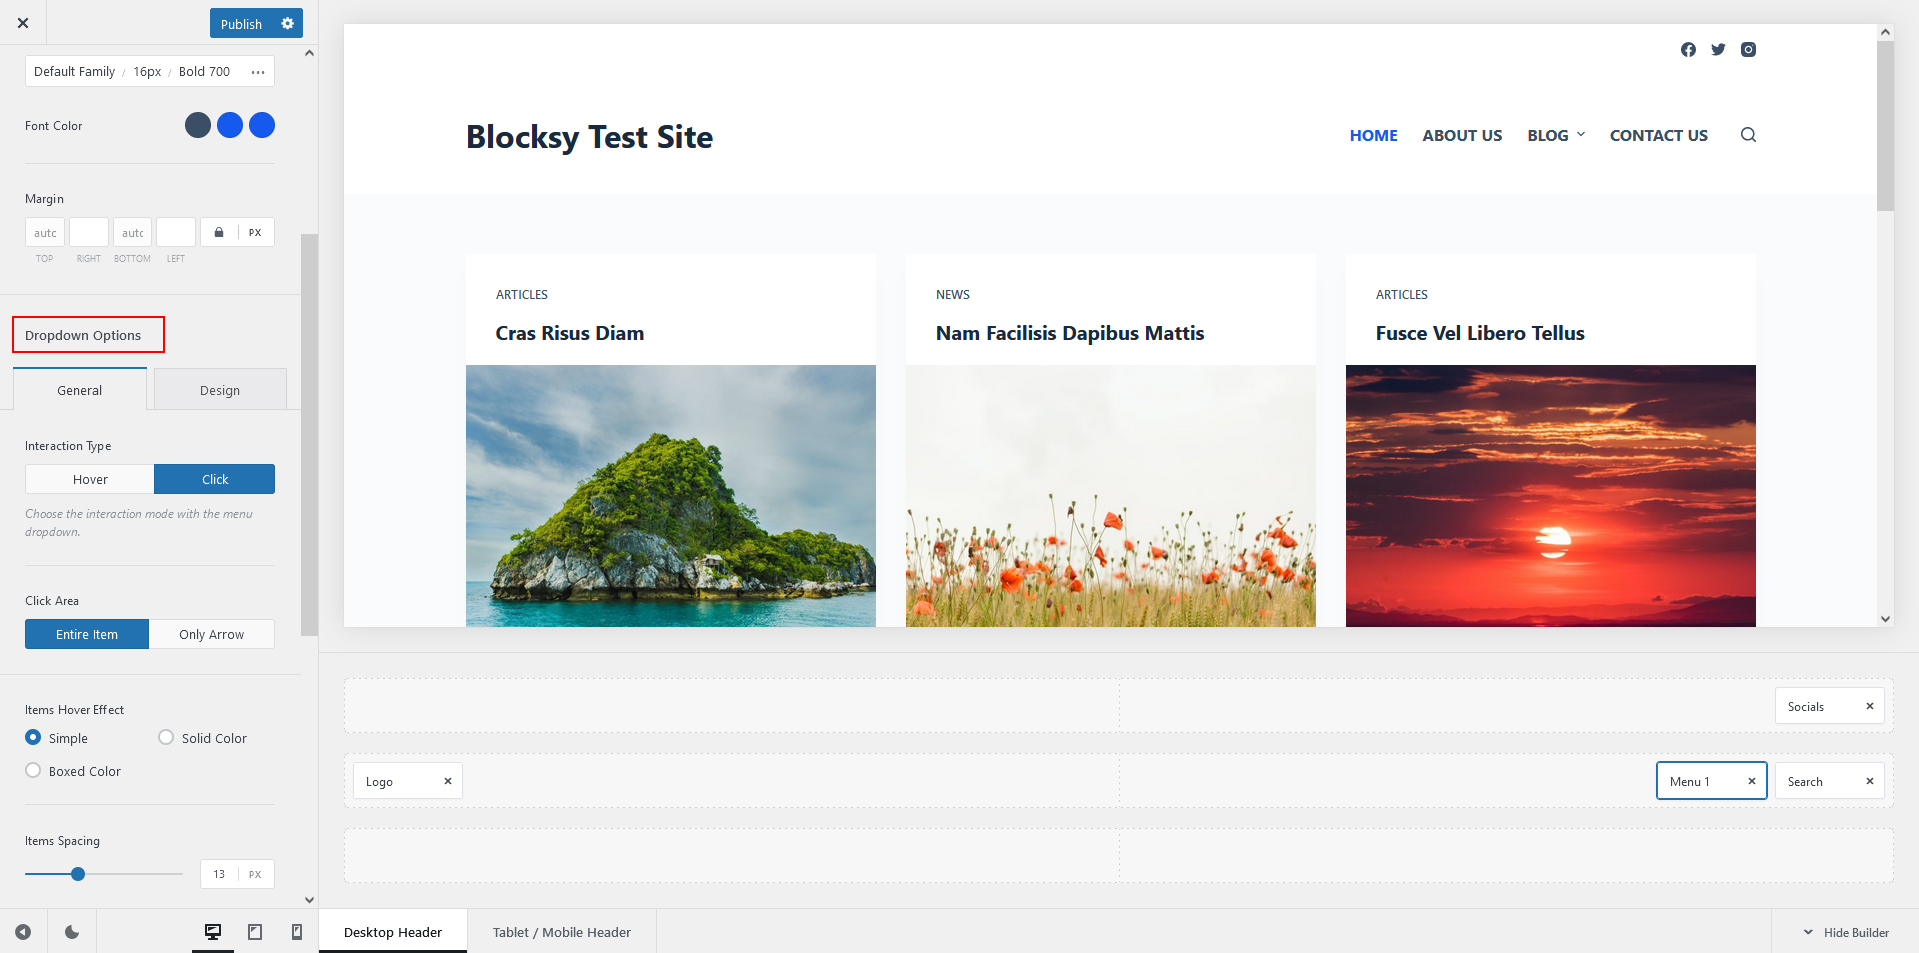
For instance, Blocksy enables you to fine-tune your menu settings, including the dropdown:
Once you’ve chosen an accessible theme, adjusting the settings can further enhance usability for all visitors. Here are key settings to focus on, along with examples of how these adjustments improve accessibility:
- Increase Color Contrast – High color contrast makes text easier to read for users with low vision and in difficult lighting conditions. In the Blocksy theme’s settings, you can adjust text, background, and link colors to ensure sufficient contrast. Aim for a contrast ratio of at least 4.5:1 for normal text.
- Select Readable Fonts and Adjust Font Sizes – Clear, readable fonts and adjustable sizes help users with visual impairments and reading difficulties. Many themes allow you to choose easy-to-read fonts, such as sans-serif options, and adjust font size and line height directly in the customizer.
- Optimize Button and Link Visibility – Well-designed buttons and visible links ensure all users can easily find and interact with key elements. In themes like Blocksy, you can customize button size, color, and spacing, making sure interactive elements stand out.
- Enable Accessible Navigation Options – Navigation features, like dropdown menus with clear hover states, help users with limited mobility or cognitive impairments find what they need easily. Use Blocksy’s menu settings to set up accessible dropdown menus with defined hover effects and spacing for easier navigation.
- Add Supplementary Navigation Elements – Features like breadcrumbs and a “scroll-to-top” button enhance navigation, especially for users with cognitive or motor impairments. In many themes, you can enable breadcrumbs to help users understand their location within your site and add a scroll-to-top button for convenient page navigation.
3. Create Accessible Content
Choosing an accessible WordPress theme is just the first step in WordPress accessibility. You also need to ensure that each piece of content you add to your WordPress site is accessible. The World Health Organization estimates that approximately 16% of the global population—around 1.3 billion people—live with a significant disability, making accessibility not just ethical but a pivotal business and UX consideration.
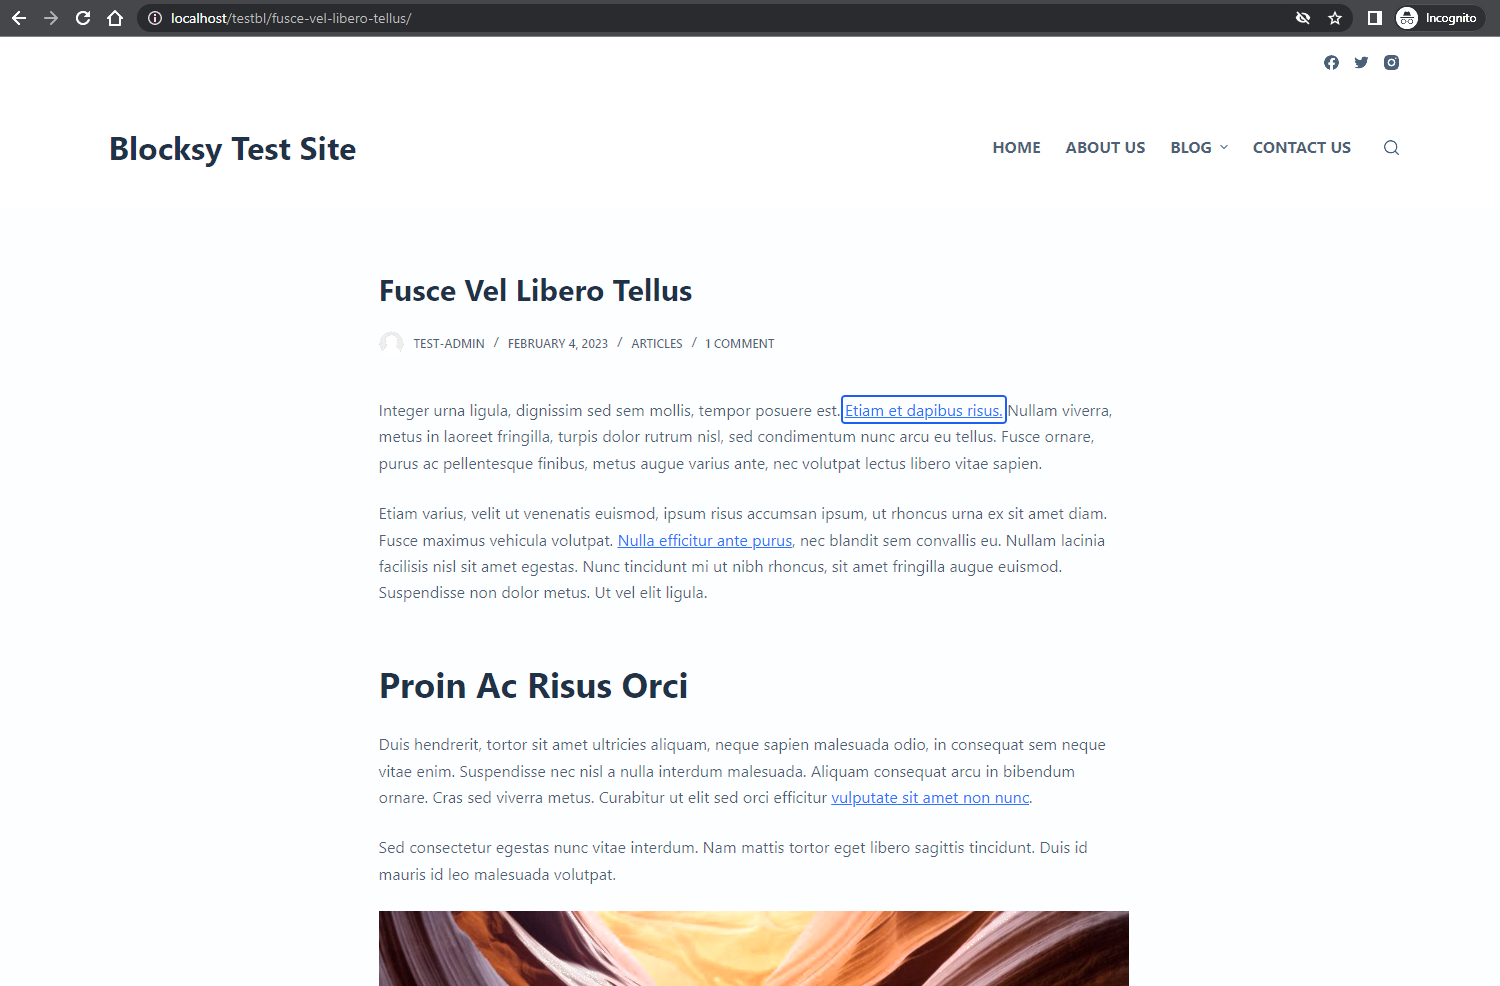
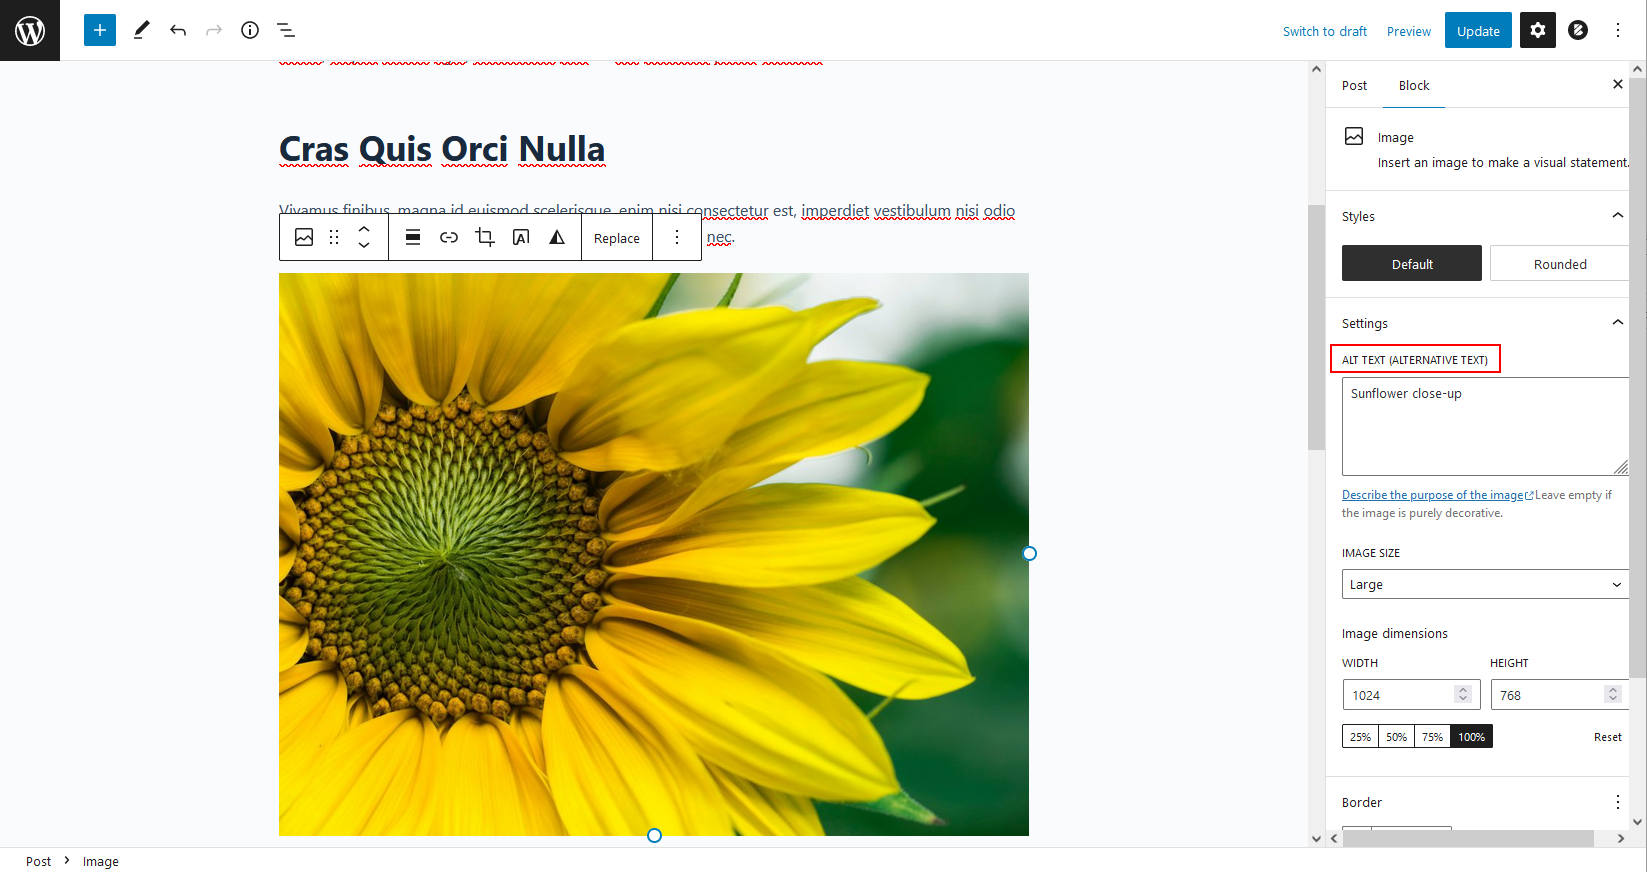
The WordPress block editor has many built-in settings that help you create accessible content. For example, you can add alternative text to images for screen reader users:
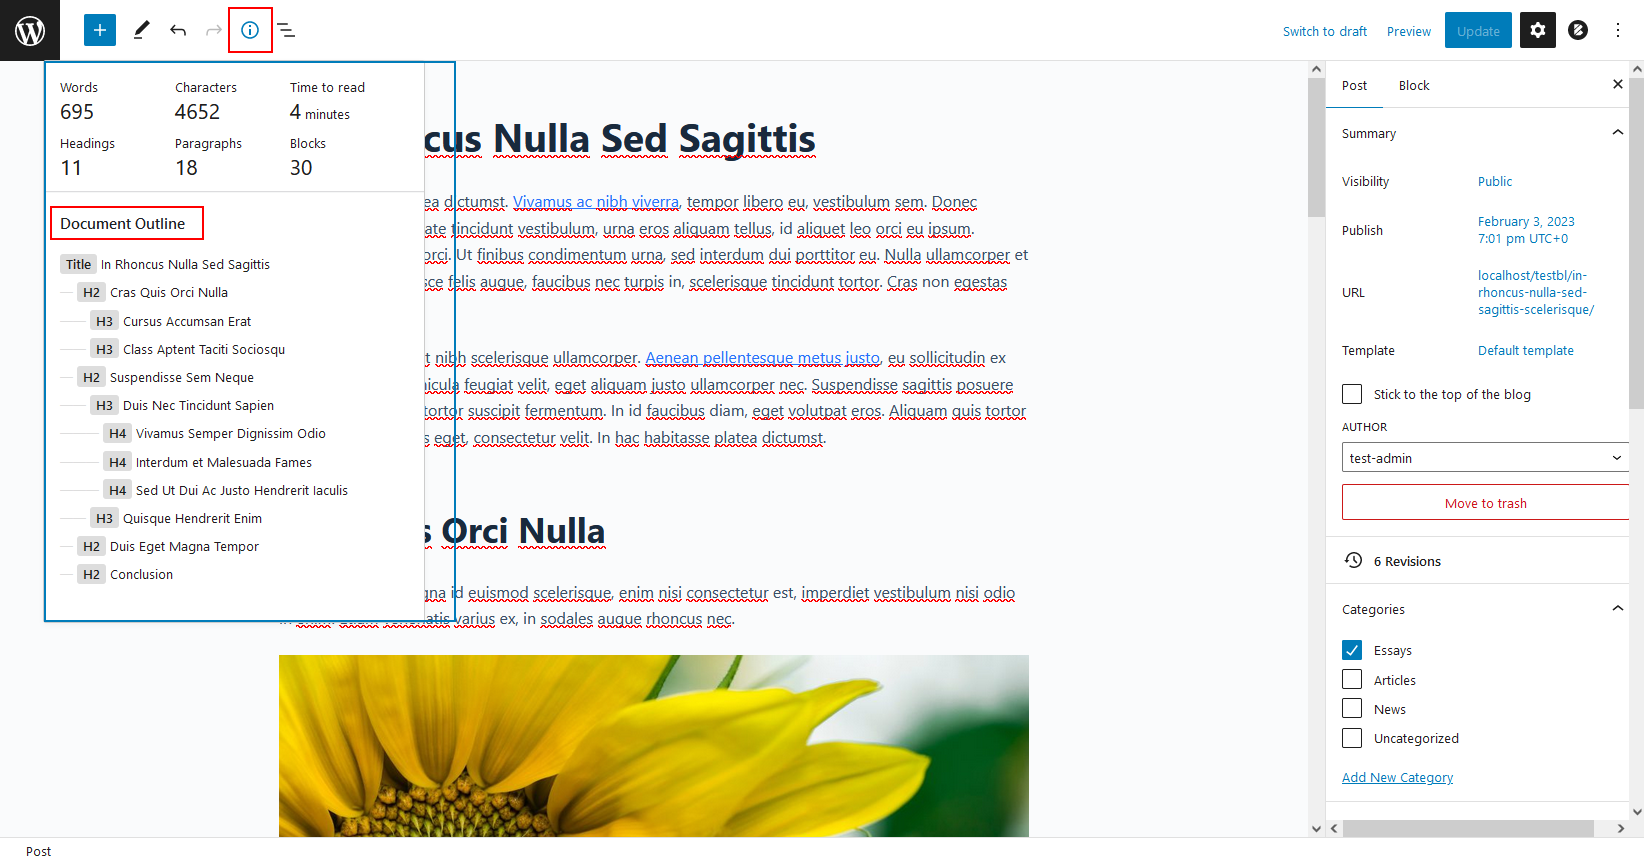
You can also use the info box to check the document outline (the structure of your headings).
A consistent heading structure helps people with cognitive disabilities understand your content, and screen readers can also better interpret it:
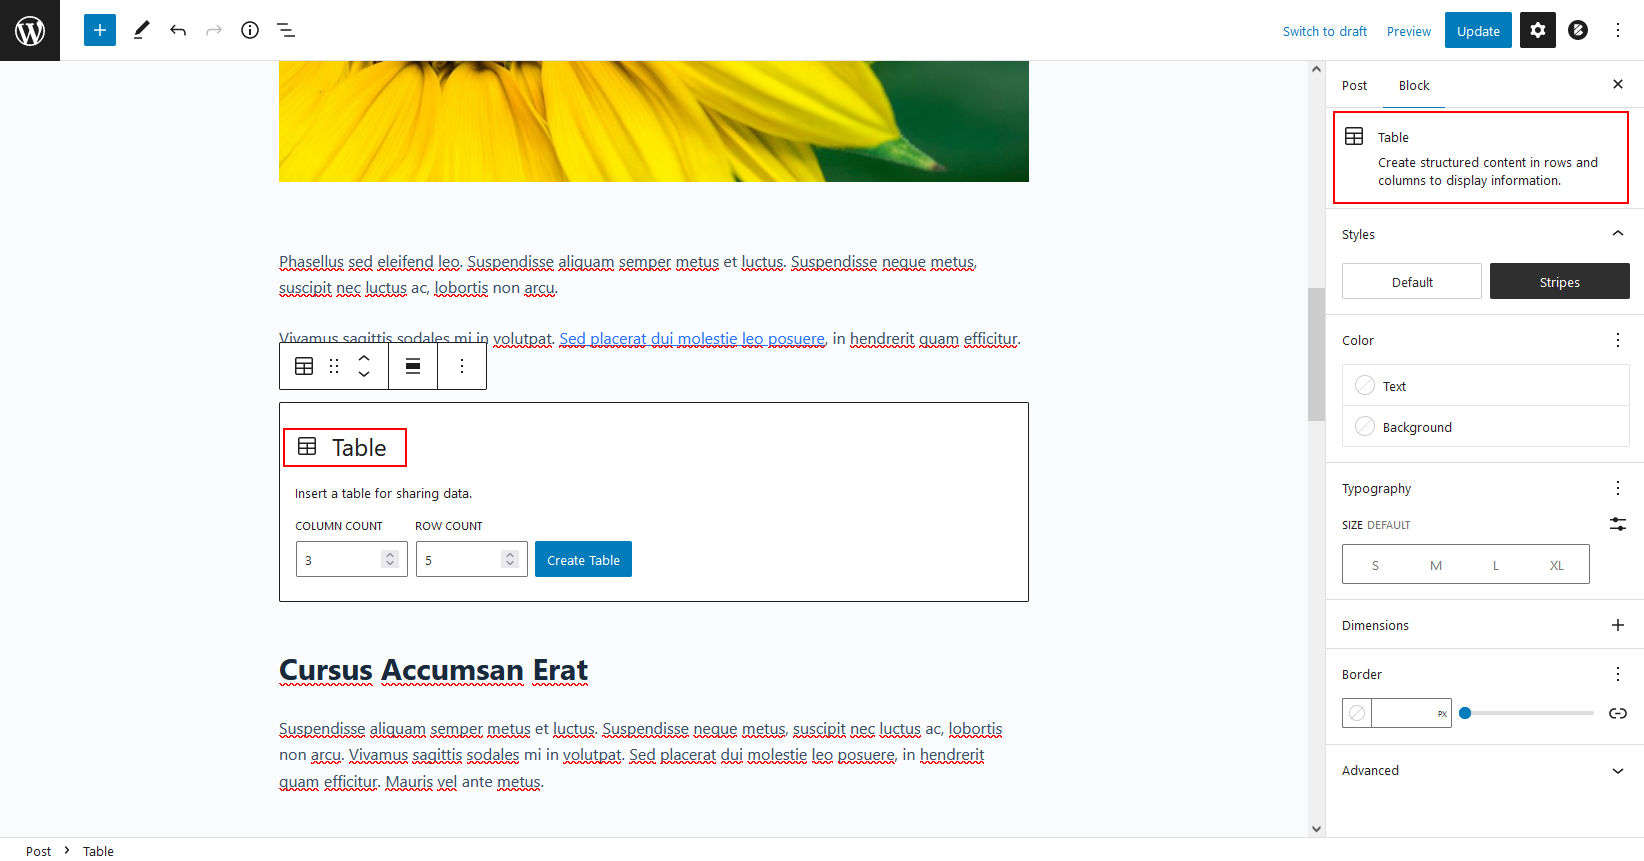
There are also many content blocks available by default that let you break up your content, which makes it easier to skim through longer articles.
You can add tables, lists, images, videos, blockquotes, and more — for example, here’s a customizable table block:
In addition to using the default options of the WordPress editor, also make sure that the content you embed from external sites or upload from your computer is accessible. For instance, videos must be close-captioned so that people with hearing impairments can watch them without information loss.
Accessible content ensures inclusivity across your site. Here are key practices with real-world examples:
- Add Alt Text for Images – Use descriptive alt text like “blue cotton t-shirt with front pocket” on product images, giving screen reader users meaningful context.
- Structure with Headings – In a blog post, use H2s for main topics (“Benefits of Organic Skincare”) and H3s for subsections to create a logical flow.
- Write Descriptive Links – Use “learn more about our sustainability practices” instead of “click here” to clearly indicate the link’s purpose.
- Provide Captions and Transcripts – For a tutorial video, add captions and a transcript so users can follow along by reading or watching.
- Use Lists and Tables – In a menu, list dishes, prices, and descriptions in a table for easy comparison.
- Simplify Language – Use terms like “loan options” instead of “financial credit instruments” to improve readability.
4. Avoid Over-Reliance on Accessibility Plugins
While there are some accessibility plugins available for WordPress, it’s not a good idea to rely on these tools. People with disabilities tend to configure accessibility settings globally from their operating systems, browsers, screen readers, or other assistive technologies.
For example, they can set a high-contrast color theme for all the applications they use (including the browser, together with every website they visit from there) or increase the default font size. Modern browsers also offer a reader mode that helps declutter web pages and uses high color contrast by default.
By adhering to the general WCAG recommendations, browsers and devices will support disabled users in the best possible way, so they won’t need a separate accessibility plugin to configure settings specifically for your website (these accessibility widgets also add clutter to the page and can be confusing to many people).
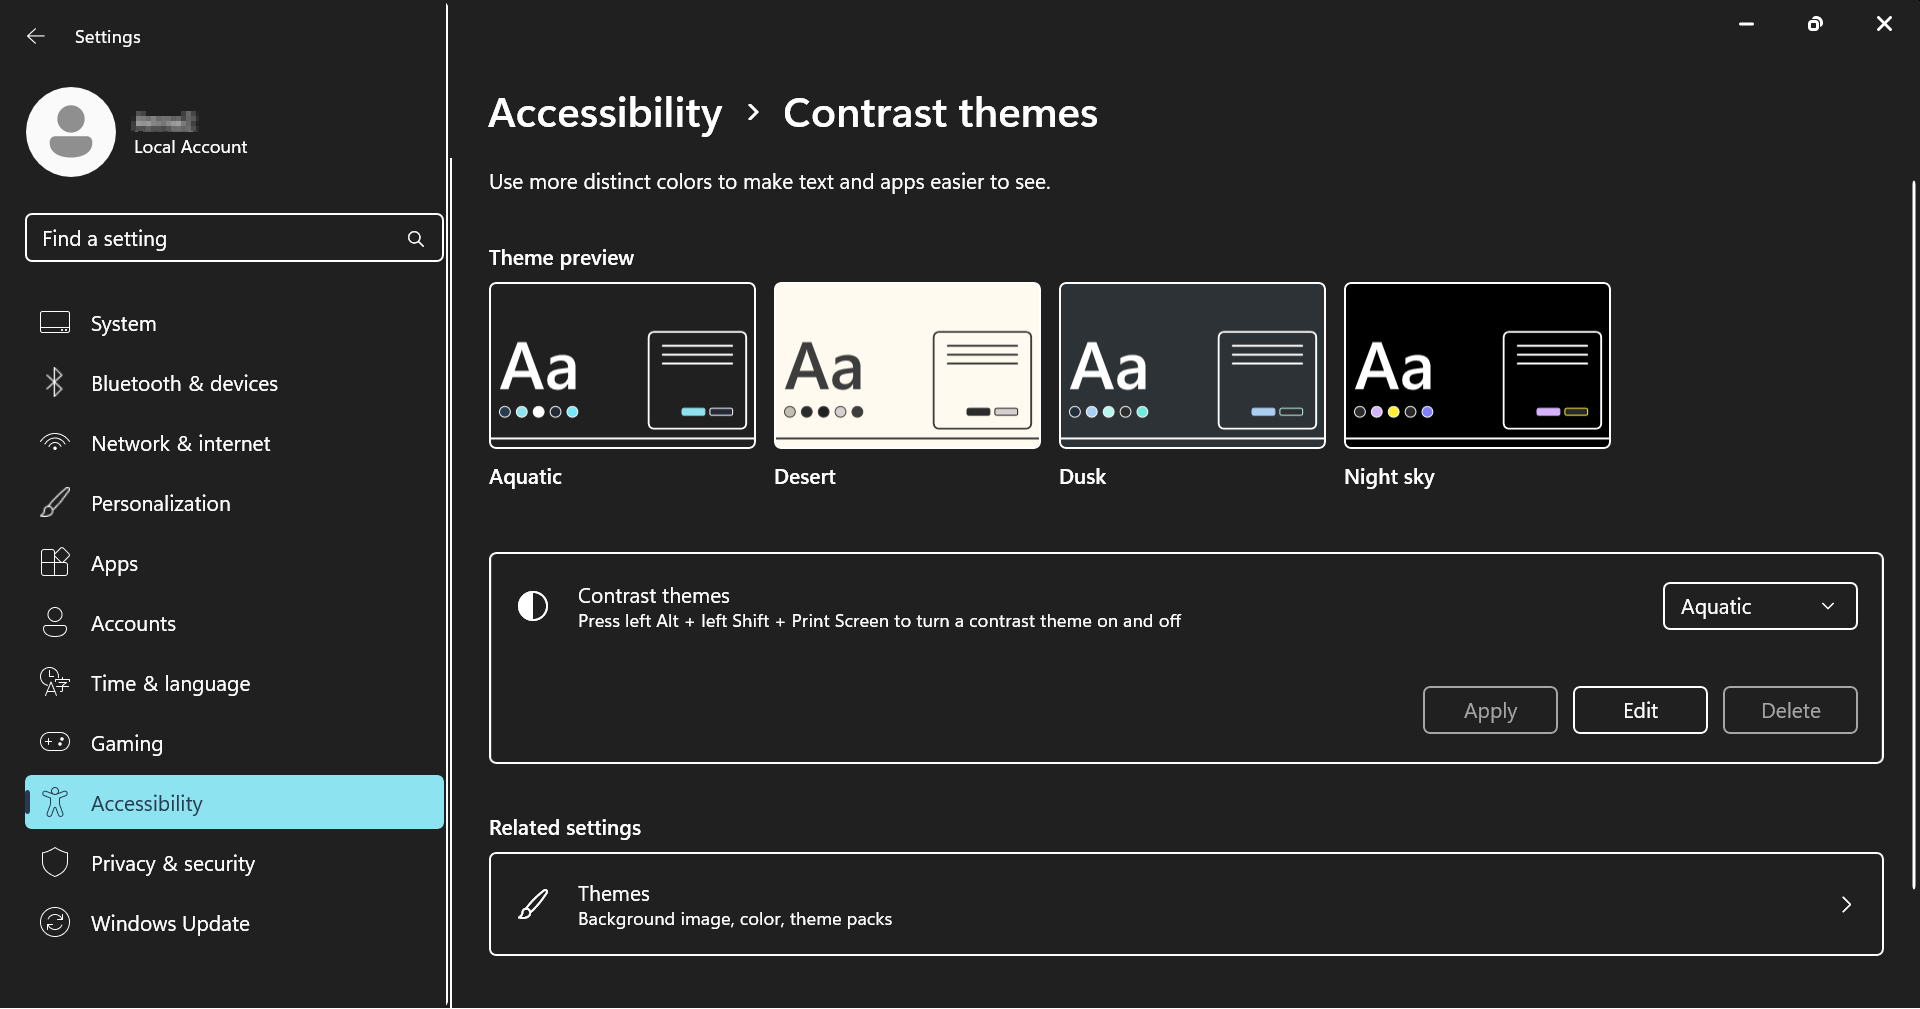
For instance, here’s a screenshot of Windows 11’s contrast theme settings that will be applied to all web pages:
While accessibility plugins can be useful for adding quick fixes to your WordPress site, they’re not a complete solution. Here’s a look at when they’re helpful:
- Quick Enhancements: Plugins can add helpful features like high-contrast modes, font resizing, and text-to-speech, making your site more usable for certain audiences.
- Ease of Use: For site owners unfamiliar with accessibility coding standards, plugins offer a simple way to implement adjustments without complex customization.
- Temporary Solutions: Plugins can temporarily improve accessibility on older sites while you work on more comprehensive updates.
And where they may fall short:
- Limited Control: Plugins can add basic accessibility features but don’t address deeper issues, like keyboard navigation, semantic HTML structure, or screen reader compatibility.
- User Experience Issues: Accessibility overlays or widgets can sometimes disrupt the user experience by cluttering the interface or conflicting with native browser and OS settings.
- Reliance on Core Site Accessibility: Plugins are only effective if your theme and core content are accessible to begin with. For instance, a plugin can’t fix poor color contrast if it’s hard-coded into the theme.
Focus on building accessibility into your site’s design and content first. Plugins are best used as supplements to an already accessible site, not as a replacement for proper accessibility practices.
5. Test Your WordPress Site for Accessibility
There are two ways to test your website for WordPress accessibility — I recommend that you use both methods:
- testing it with a keyboard and different kinds of assistive technologies such as text-to-speech apps and screen readers
- using accessibility testing tools, e.g. WAVE, axe, or Lighthouse
- test your site on a mobile device, using features like screen magnification, text resizing, and TalkBack (Android) or VoiceOver (iOS) to navigate.
- reach out to users with disabilities for feedback on navigation, readability, and overall user experience. Consider conducting user testing sessions for direct insights.
It’s important that you:
- run the accessibility testing tools in Incognito mode
- test both the desktop and mobile versions of your website
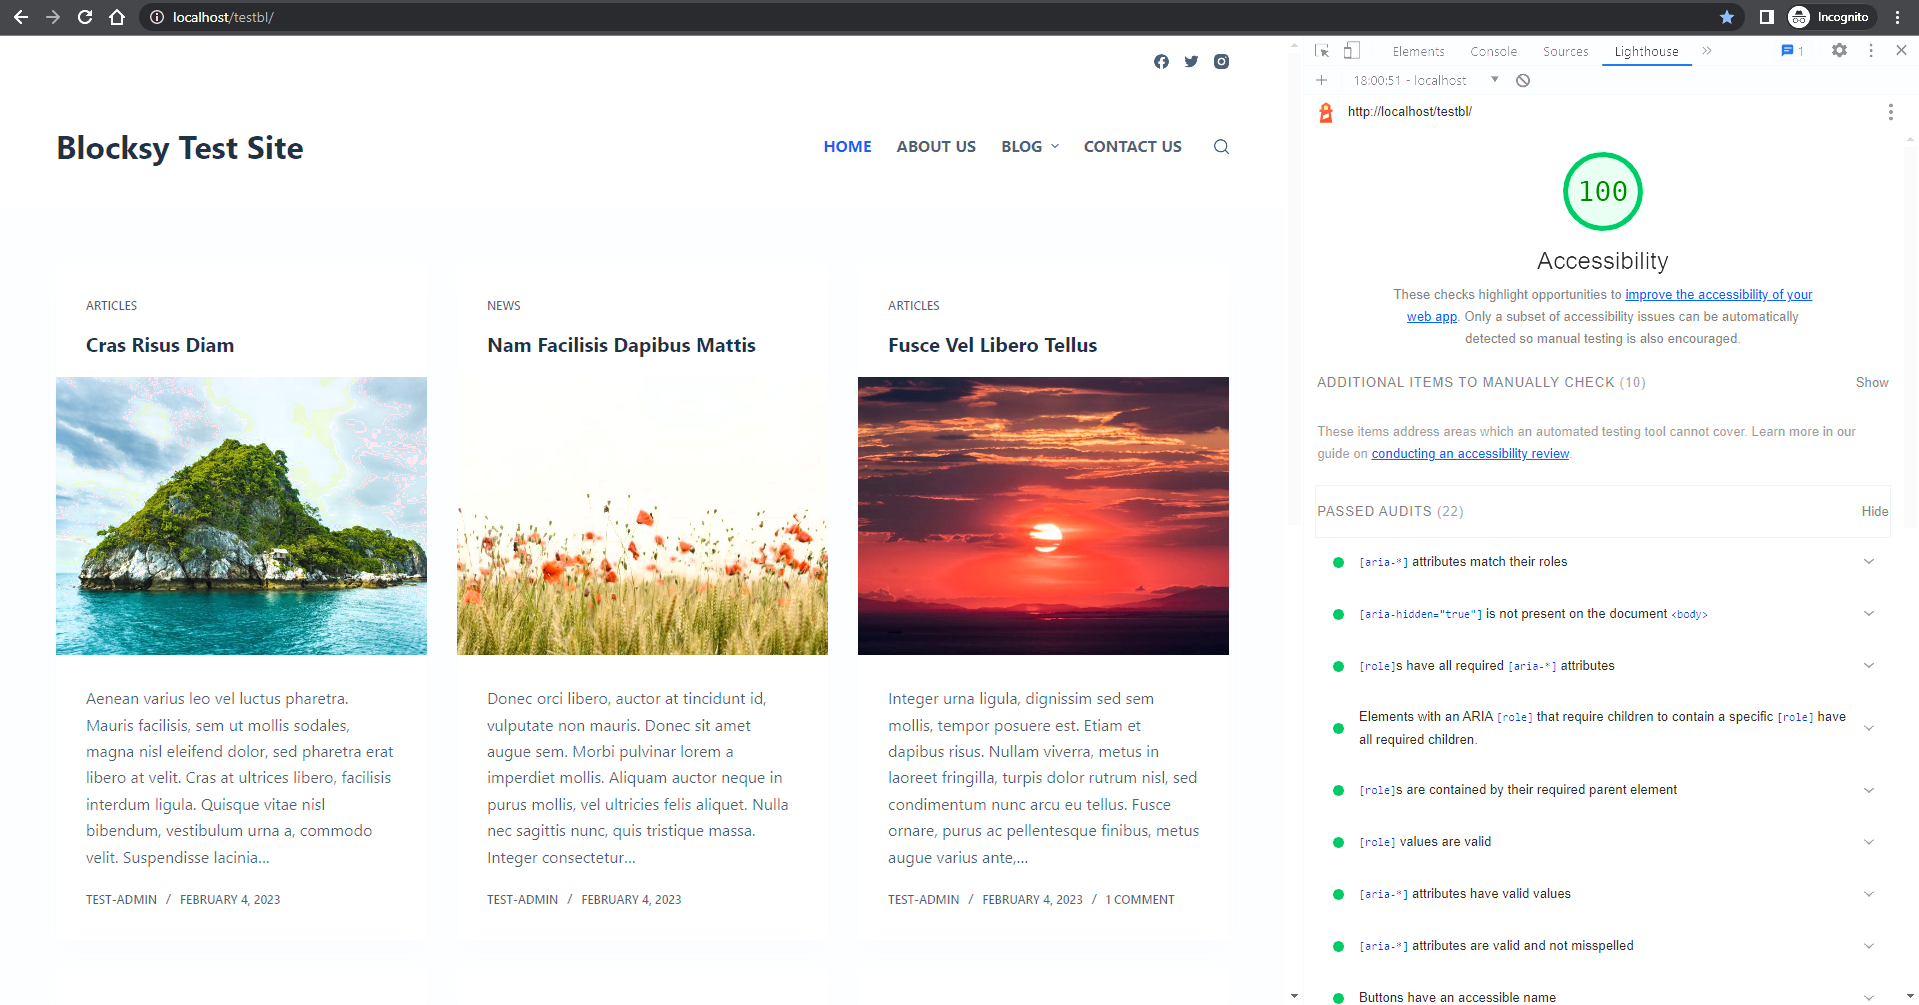
For example, here’s Lighthouse’s accessibility audit for my Blocksy test site — it scored 100/100 for both desktop and mobile:
FAQ
What Is the Most Important First Step to Make a WordPress Site Accessible?
Start by choosing an accessible WordPress theme that supports keyboard navigation, visible focus states, semantic HTML, and high-contrast design. A well-coded theme like Blocksy lays the foundation for accessibility.
Do I Need Accessibility Plugins for My WordPress Site?
Not necessarily. While accessibility plugins can offer quick fixes, they often don’t address deep structural issues. It’s better to follow WCAG guidelines, use an accessible theme, and build accessibility into your content and design directly. The latest WebAIM report reveals that a staggering 96.3% of the world’s top one million webpages still have detectable accessibility problems, underscoring how prevalent these barriers remain online.
How Can I Test If My WordPress Site Is Accessible?
Use both manual and automated testing: navigate your site with a keyboard and assistive technologies (like screen readers), and run accessibility audits using tools such as Lighthouse, axe, or WAVE. Always test both desktop and mobile versions.
Conclusion: Making Accessibility an Ongoing Practice
Making your WordPress site is a multi-step process that starts with choosing an accessible theme, involves creating accessible content and design, and ends with careful testing.
However, WordPress accessibility is not something that you do once, then forget about it.
To ensure long-term accessibility, you need to stay consistent, keep following the principles of accessibility, and regularly test your website.
Editor’s note: This article was the second part of our WordPress Accessibility series. It covered how to create an accessible WordPress website, including the WordPress core, themes, plugins, the Gutenberg editor, and accessible content. Also check out the first part, which discusses website accessibility in general, and the third part, which looks into the four dos and four don’ts of choosing an accessible WordPress theme.