Synced patterns streamline the content creation process in WordPress. Synced patterns let you save content for future use. This boosts efficiency and helps maintain a consistent style. But you might not know what type of content to convert into synced patterns.
Well, you can turn anything into a synced pattern. Then, you can insert the same custom element into multiple posts or pages. However, some blocks can be more useful to save than others. These include CTAs, disclaimers, and forms.
In this post, we’ll take a closer look at synced patterns and why you need them. Then, we’ll show you how to build five handy blocks for your WordPress site. Let’s get started!
Key Takeaways
- Synced Patterns Save Time and Ensure Consistency: Synced patterns (reusable blocks) help streamline content creation by letting you reuse styled blocks—like CTAs, disclaimers, or subscribe forms—across multiple pages while maintaining brand consistency.
- Affiliate Disclaimers Should Be Reused Across Posts: Creating a synced pattern for your affiliate disclaimer ensures legal compliance and builds reader trust without rewriting the disclaimer every time.
- Promotional Content and CTAs Benefit from Visual Consistency: Ads, product blurbs, and call-to-action buttons are more effective when uniformly styled. Synced patterns help keep these elements cohesive site-wide.
- Pricing Tables and Subscribe Forms Can Be Modular: Instead of designing pricing blocks and newsletter forms from scratch on every page, you can build once and reuse synced patterns, especially using Blocksy’s theme tools.
- Manual Setup or Plugins Can Be Used Depending on Your Control Needs: Whether you want precise manual control or dynamic placement through plugins, synced patterns work with both approaches, allowing flexibility for different use cases.
Table of Contents
How to Sync Patterns in WordPress (And Why Are They Useful)?
Synced patterns (also known as “reusable blocks”) enable you to save sections of content that you plan to use in other posts and pages. This way, you won’t have to recreate the same text multiple times or re-apply the same customizations to a particular block.
For example, many bloggers conclude articles by asking readers to follow them on social media or leave a comment. Therefore, they might save this call to action as a synced pattern so they can quickly add it to all future posts. Some examples:
- CTA Button: Save a “Subscribe Now” button with your brand colors as a synced pattern to quickly add it to any post or page.
- Social Media Links: Create a reusable set of social icons to place at the end of each article, keeping them consistent across your site.
- Affiliate Disclaimer: Store a legal disclaimer as a synced pattern to easily add it wherever you use affiliate links.
- Testimonials: Use synced patterns for client testimonials, ensuring they look the same on every page you display them.
Besides saving you time, synced patterns enable you to maintain a cohesive design across your site. For instance, if you create a “subscribe now” button with your brand colors and fonts, you’ll want to use the same element on different pages. Having buttons in varying styles can make your site look messy and unprofessional. Unlike regular patterns that only update isolated instances, synced patterns ensure that a change in one place updates every occurrence across the site—saving time and boosting design consistency.
Note that some themes add new blocks to your collection. For example, Blocksy gives you blocks for breadcrumbs, an “about me” section, contact info, and more:
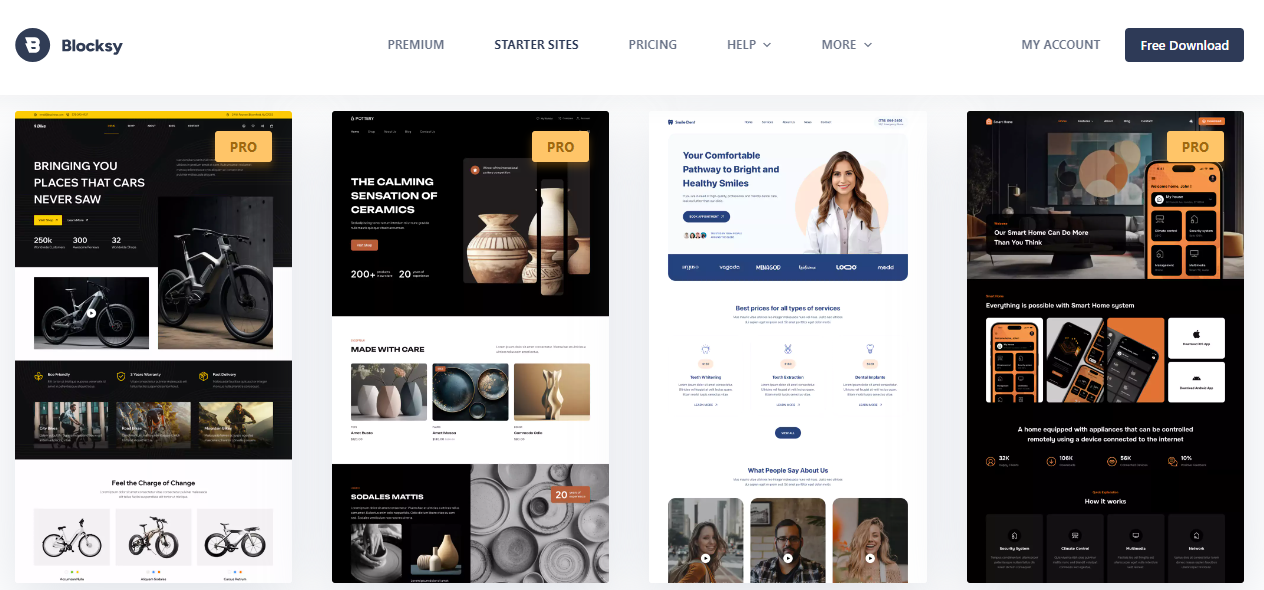
You can turn any of these blocks into synced patterns. We’ll show you how to do this in the next section.
5 Handy Synced Patterns to Create for Your Website
Now that you know a bit more about synced patterns, let’s look at five elements that you’ll likely need to use multiple times. We’ll show you how to build and save these blocks for easy access.
1. Affiliate Disclaimers: Practical Tips on Style, Placement, and Use
Affiliate disclaimers inform readers that when they make a purchase through one of your product links, you’ll earn a commission on that sale.
It’s important to disclose this information to maintain transparency and build trust with your audience, especially since you’re influencing their purchasing decisions. It’s also good practice to include affiliate disclaimers multiple times to make sure that readers have taken notice.
For example, you might insert disclosures at the start and end of articles:
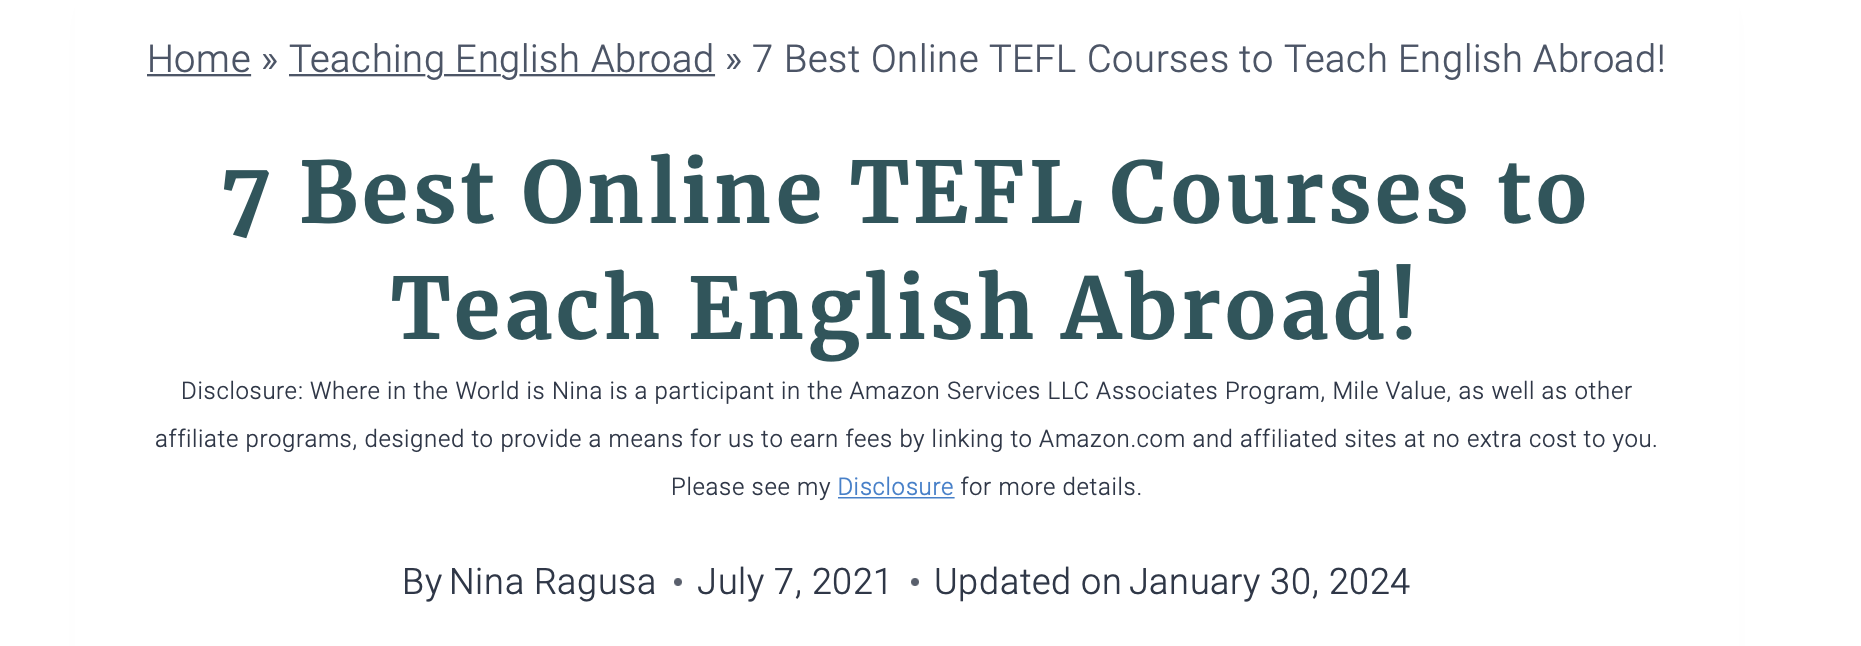
To make things easier, you can create a synced pattern with your affiliate statement and insert it into every new post you write.
Open the Block Editor and enter your disclaimer into a paragraph block. You might also like to add a heading, include details about your affiliate programs, or link to your privacy policy.
Then, you can style your block to align with the design of the page. When you’re done, click on the three dots in the block toolbar and select Create pattern:
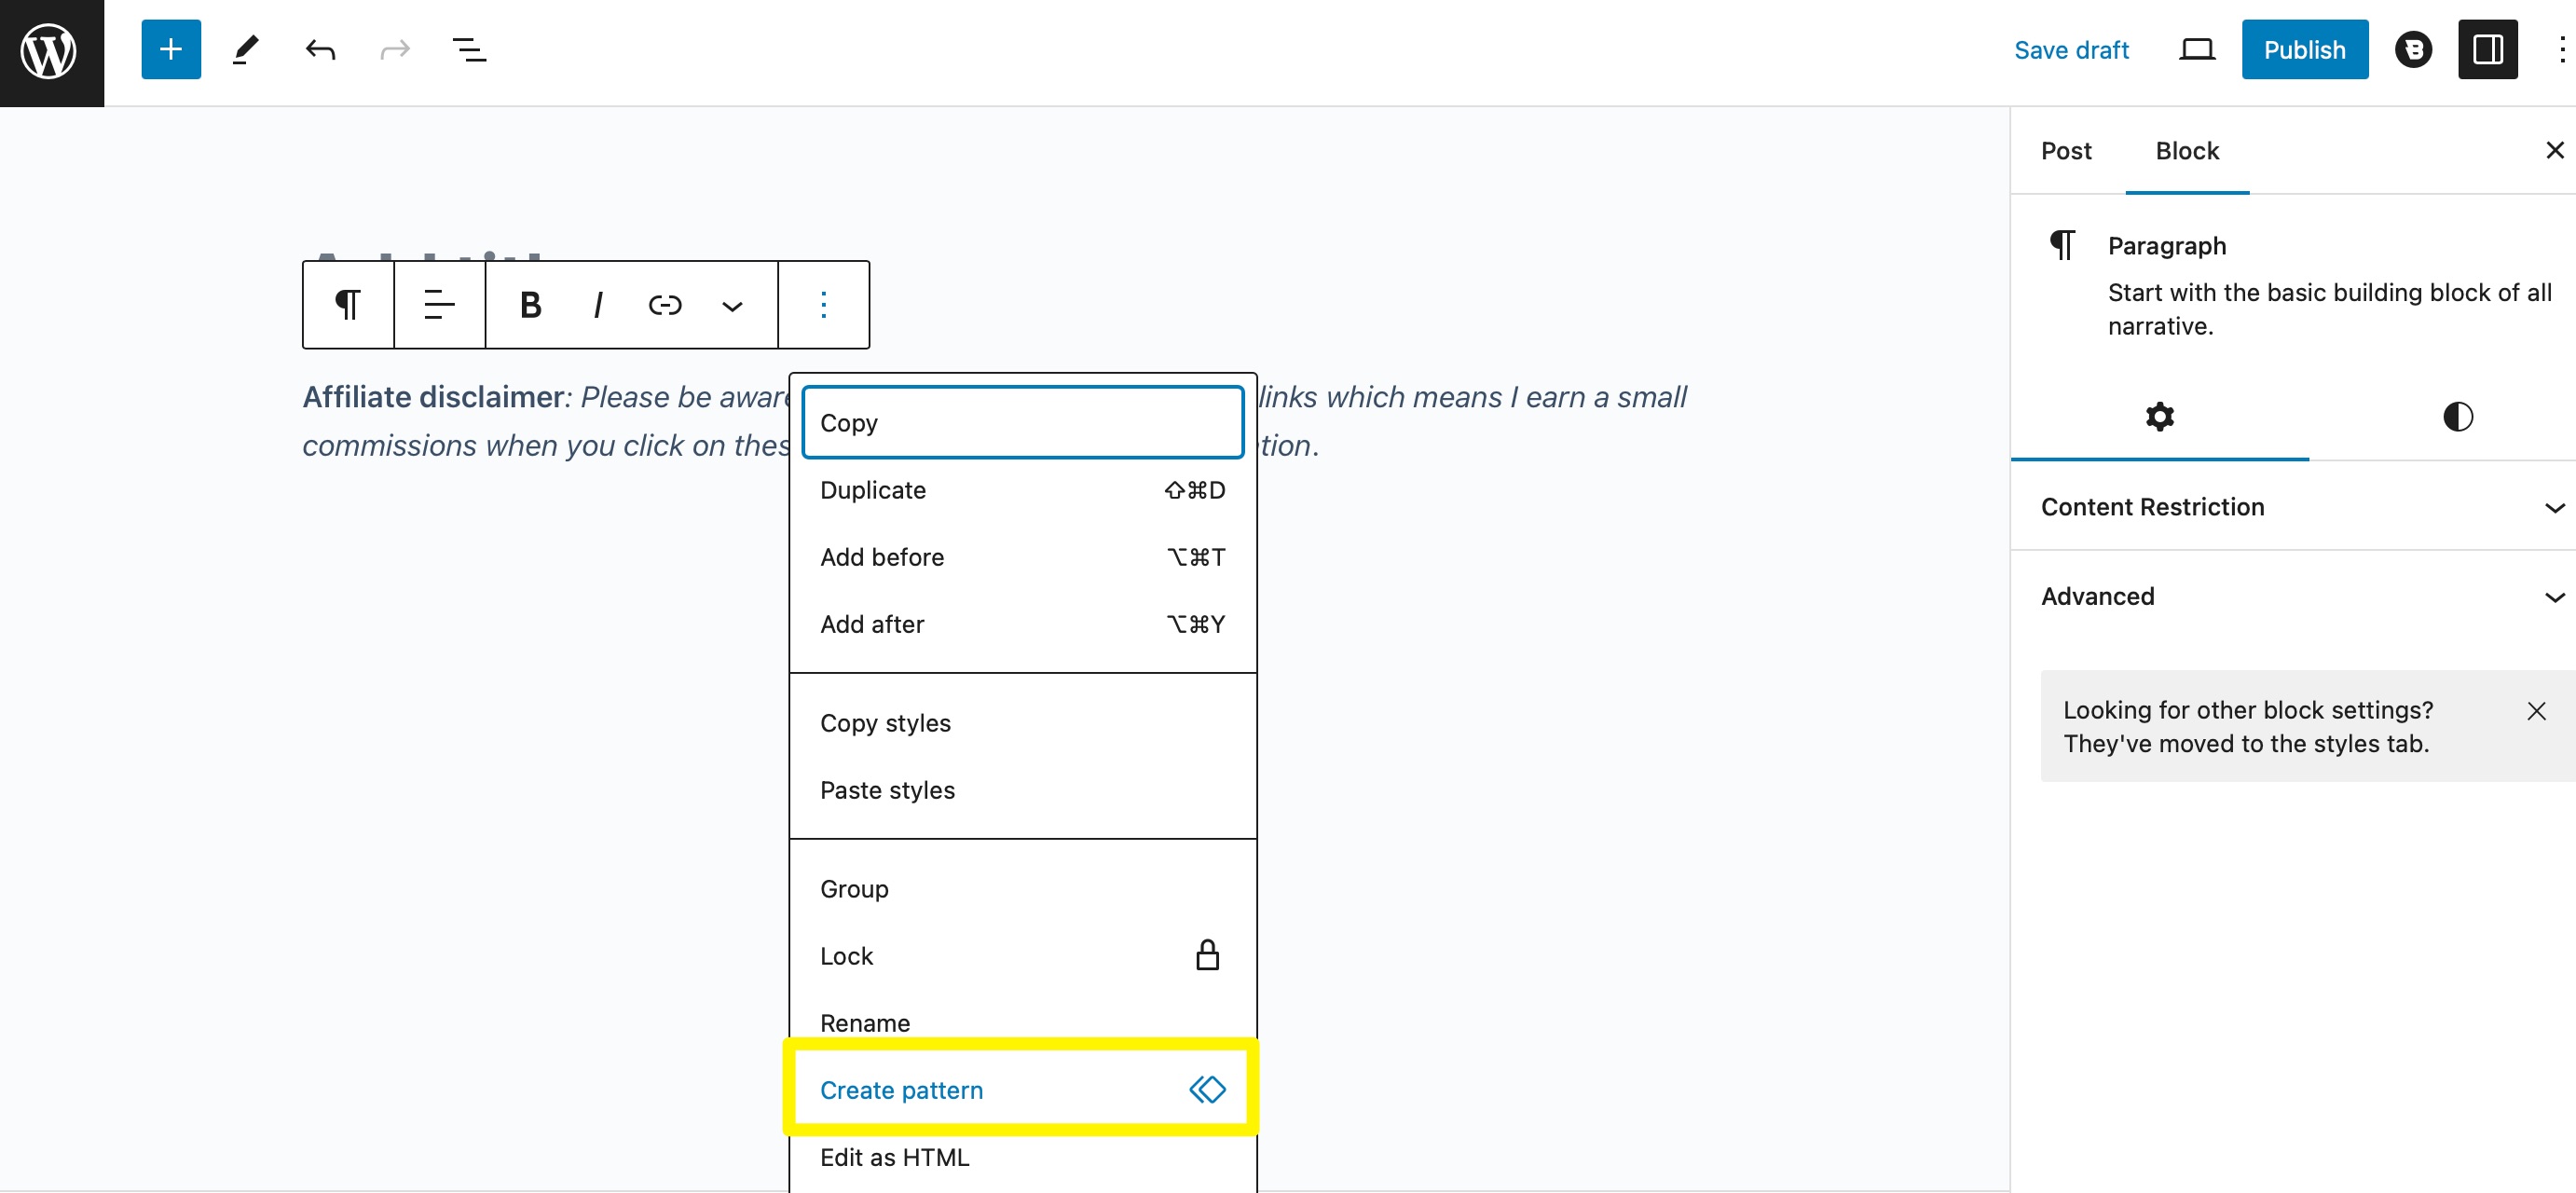
After that, enter a descriptive name for your pattern and assign it to a category. Make sure that the Synced toggle is active and click on Create.
Then, in a new post or page, click on the + icon to add a new block and choose Browse all to see more options. Switch to the Patterns tab and go to My patterns:
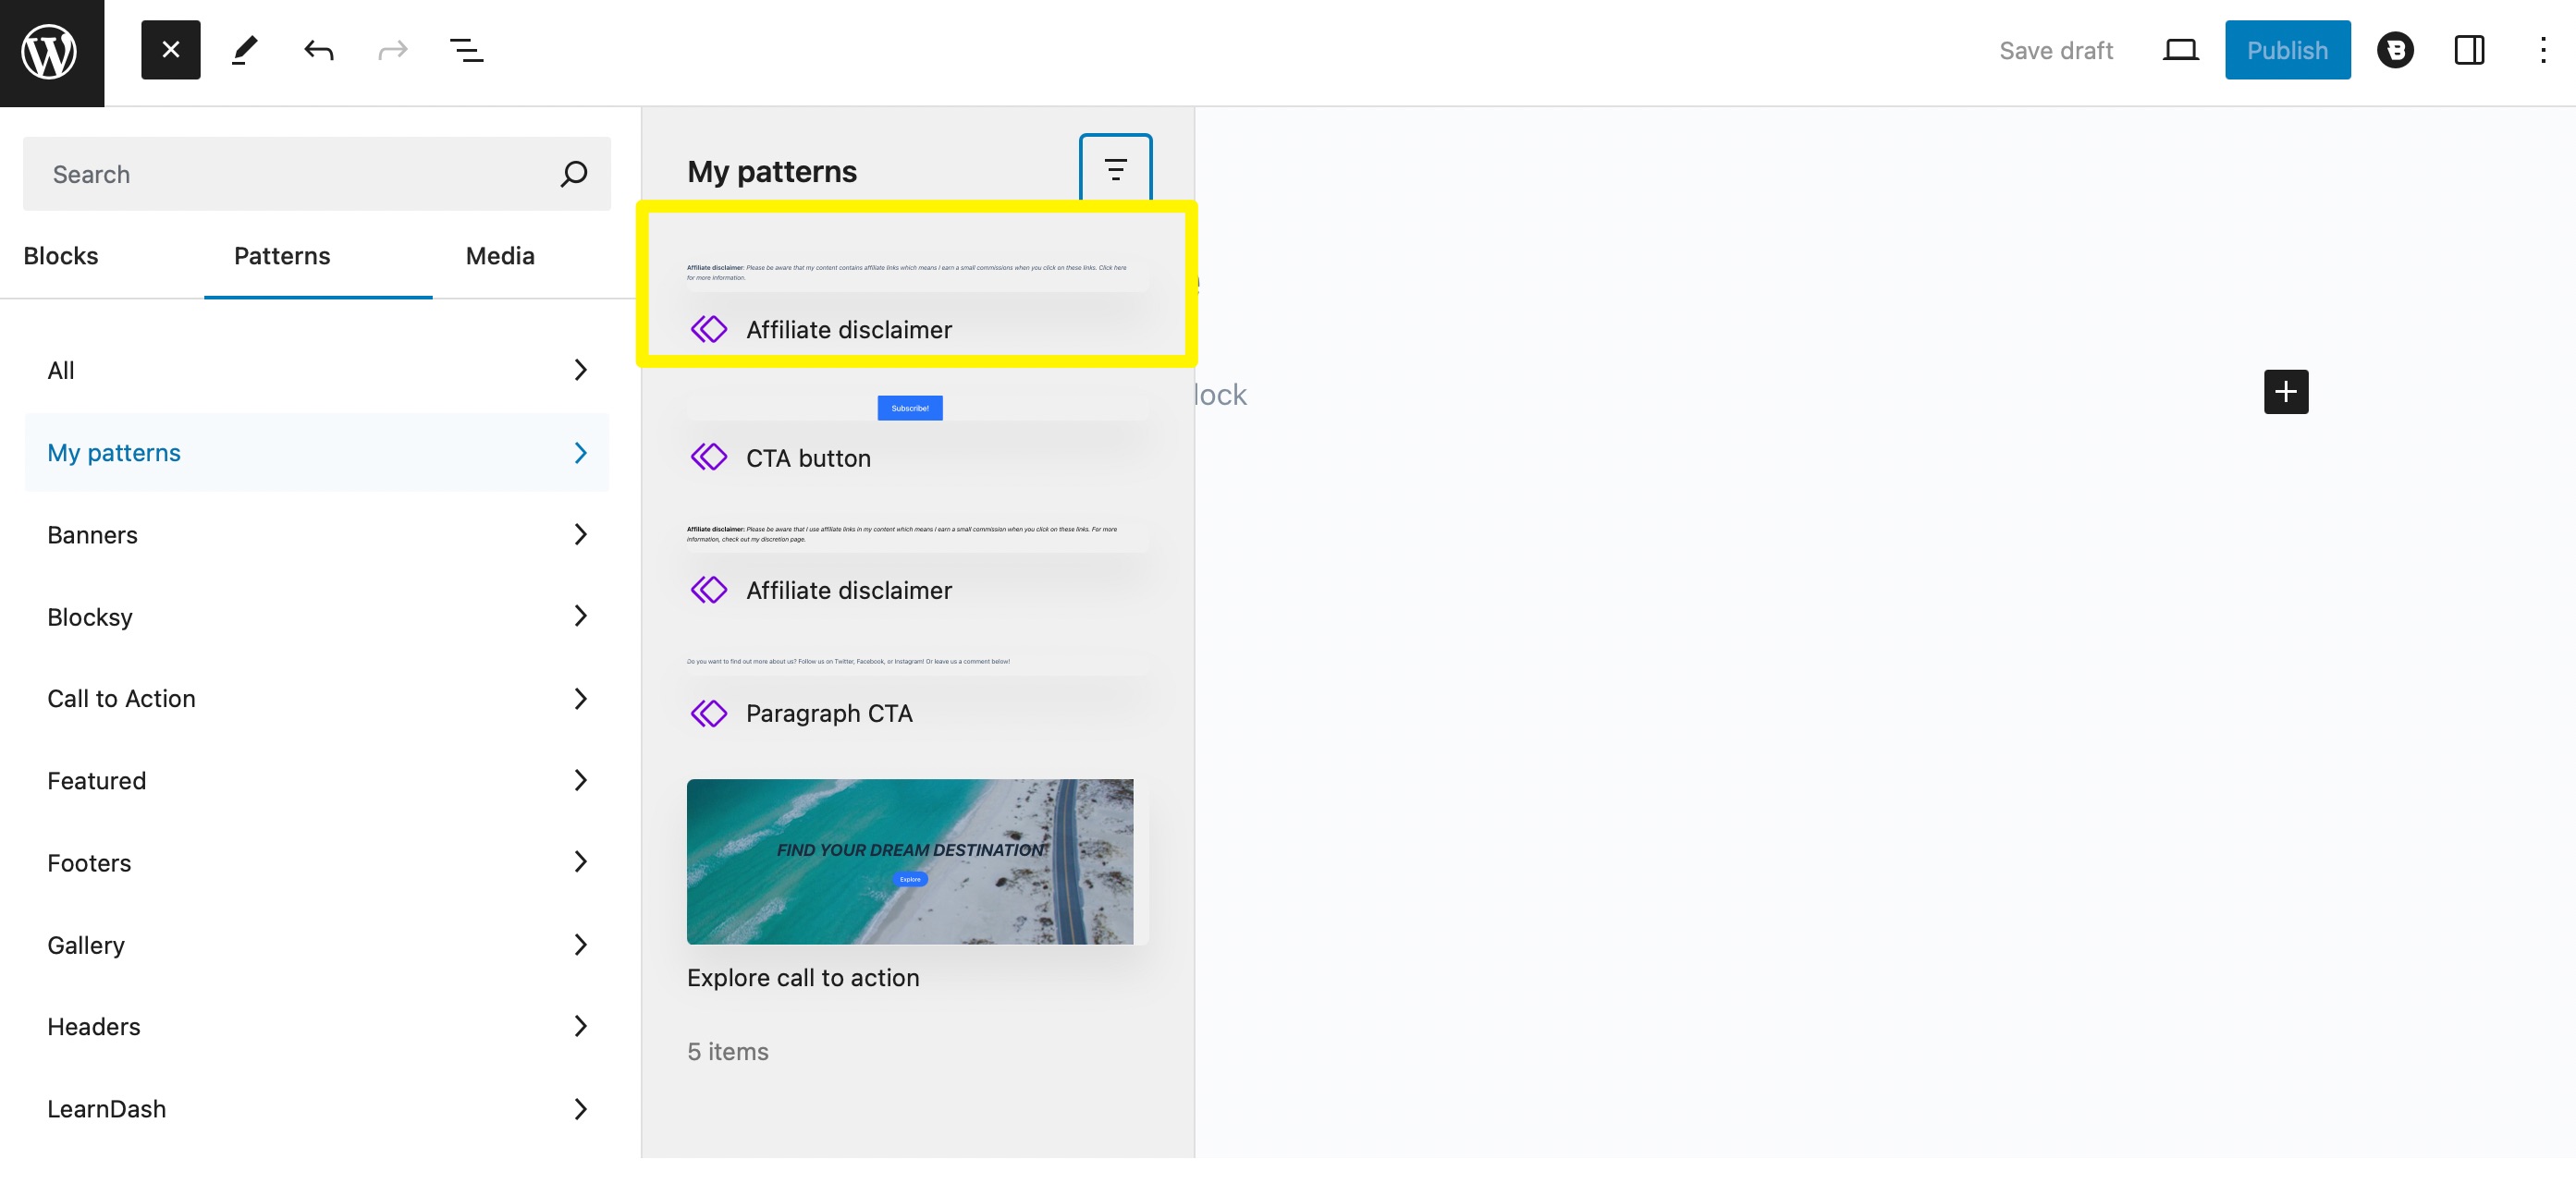
Here, you should see your affiliate disclaimer pattern. Simply click on it to insert it into your post.
2. Promotional Content: Visual Consistency Tips and Setup Instructions
If you run a business website, you might have a blog where you create posts like tutorials, roundups, or reviews that highlight your products or services. Occasionally, you might even place an advertisement with a link to your product page.
Similarly, if you’re an affiliate marketer, you could feature banners and ads for third-party products and services.
In this case, you can create a synced pattern for your promotional content, so that it’s quick and easy to slot into your posts and pages. Users report that block patterns—prebuilt combinations of Gutenberg blocks—have been a “game-changer” for speeding up their workflow and reducing repetitive layout work.
It’s a good idea to start with a Column block and choose the two-column structure. Then, you can populate the columns with additional blocks like headings, text, images, and buttons to create your advertisement:
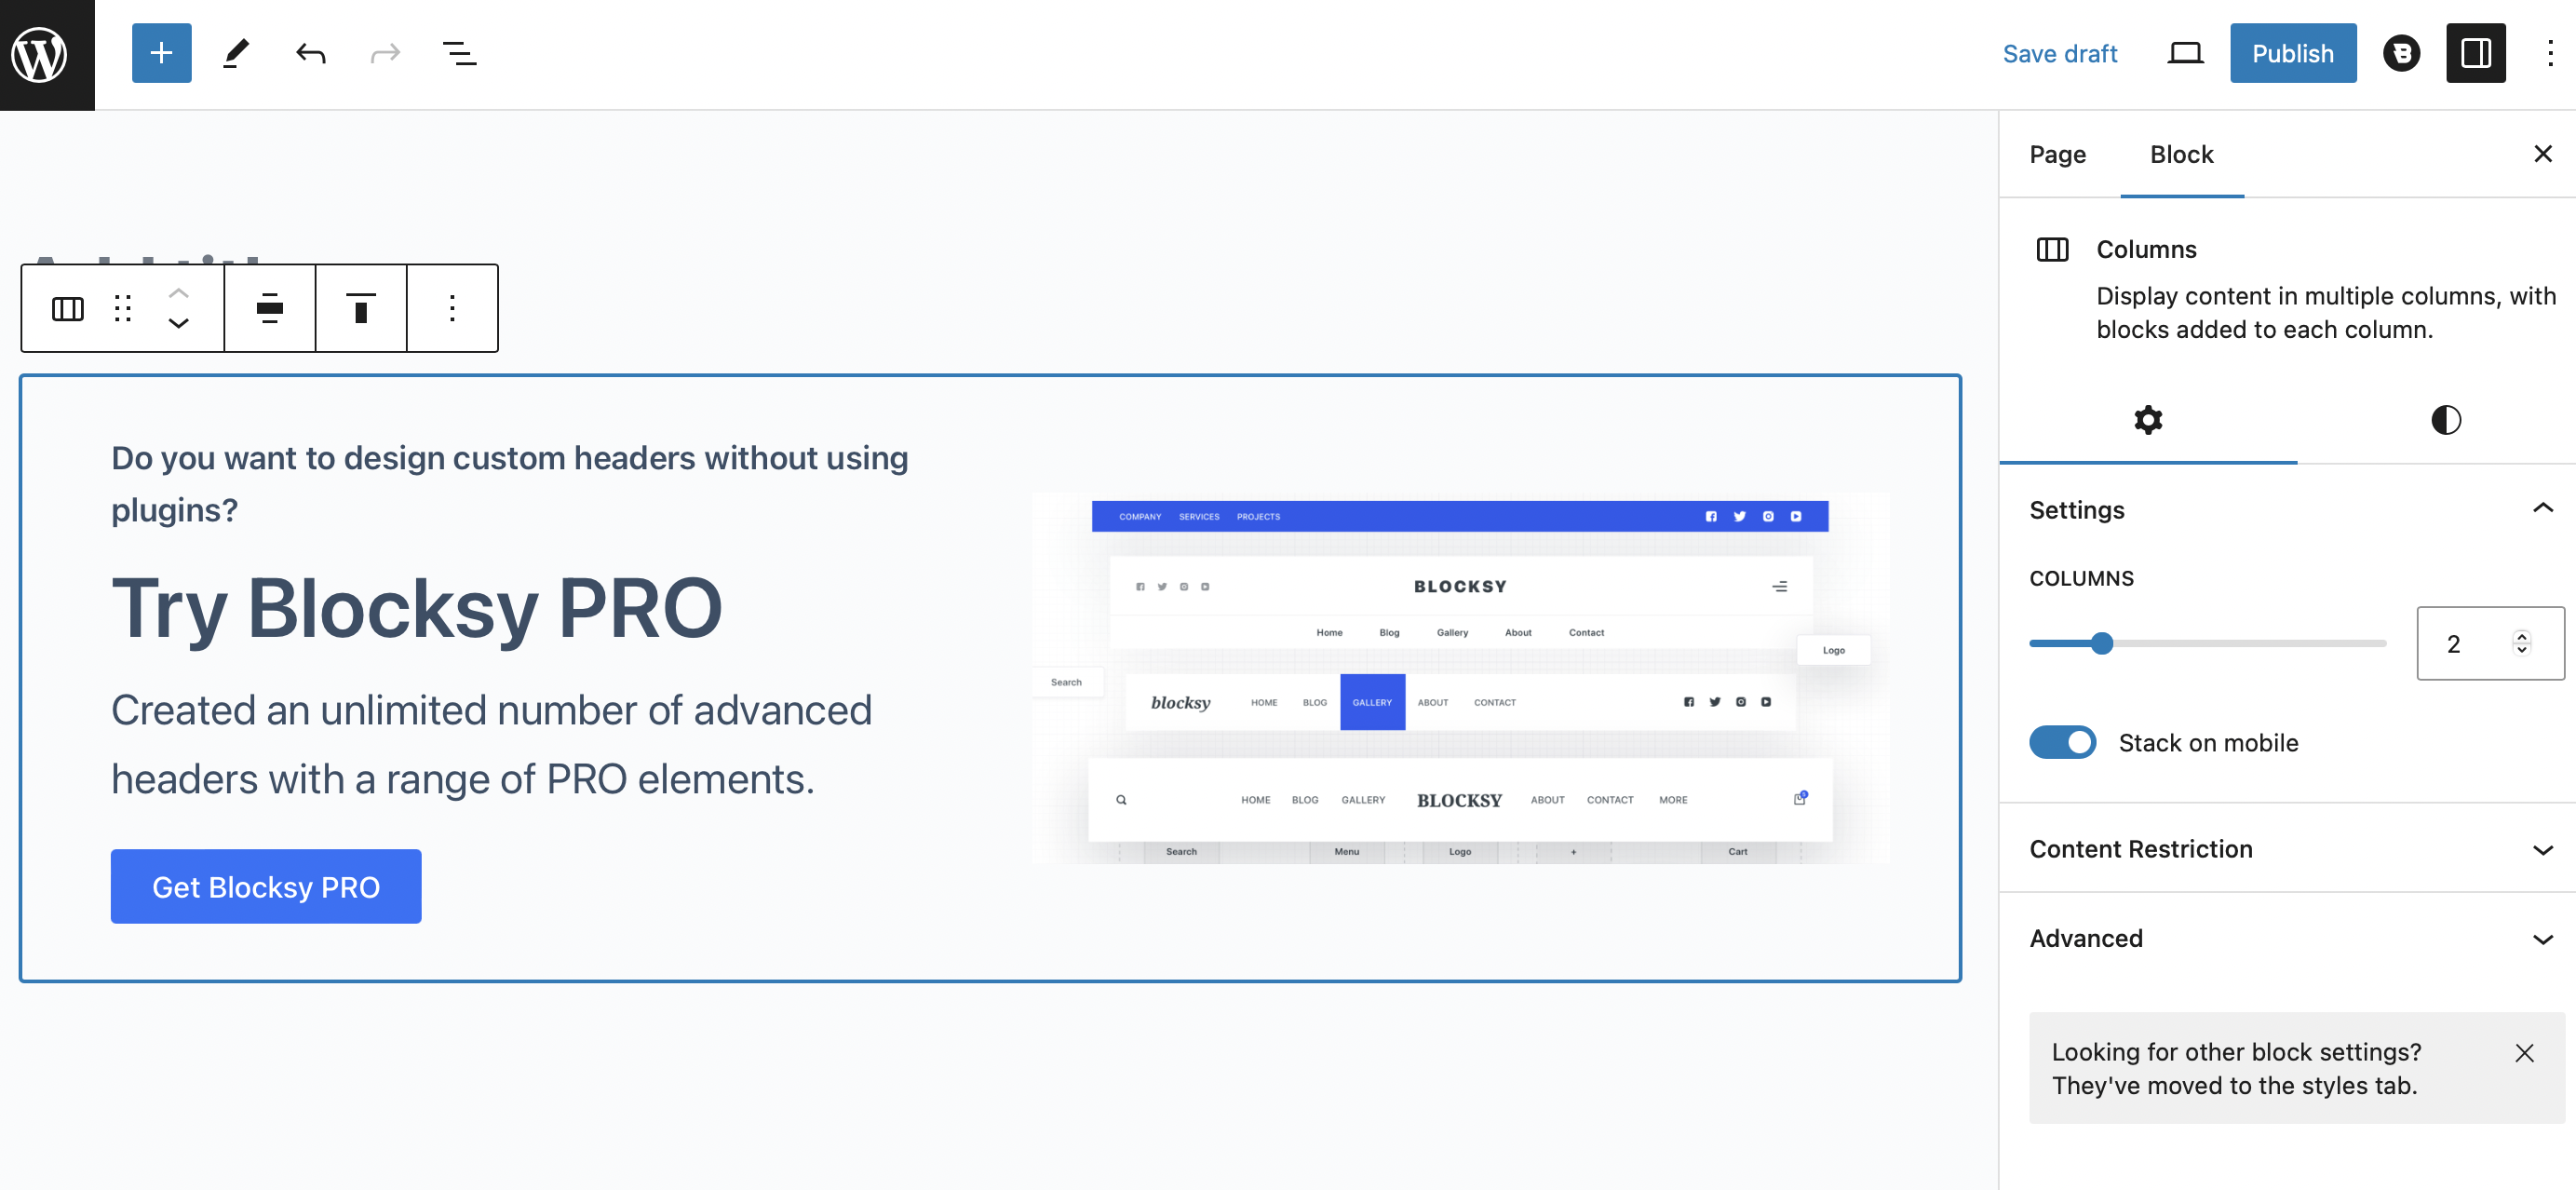
Make sure Columns is selected in the toolbar, then select the three dots and choose Create pattern. Again, you’ll need to give your pattern a name, assign it to a category, and enable the Synced toggle.
3. Call to Action Buttons: Design and Linking Suggestions for Better Conversions
Call to action (CTA) buttons can be placed on pages and blog posts, following promotional content. These CTAs urge visitors to perform an action on your site, such as registering for an account or subscribing to your mailing list.
Typically, CTAs take the form of hyperlinks or buttons. The latter are particularly useful because they’re easier to spot, and you can turn them into synced patterns.
All you have to do is select a Button block and enter your text:
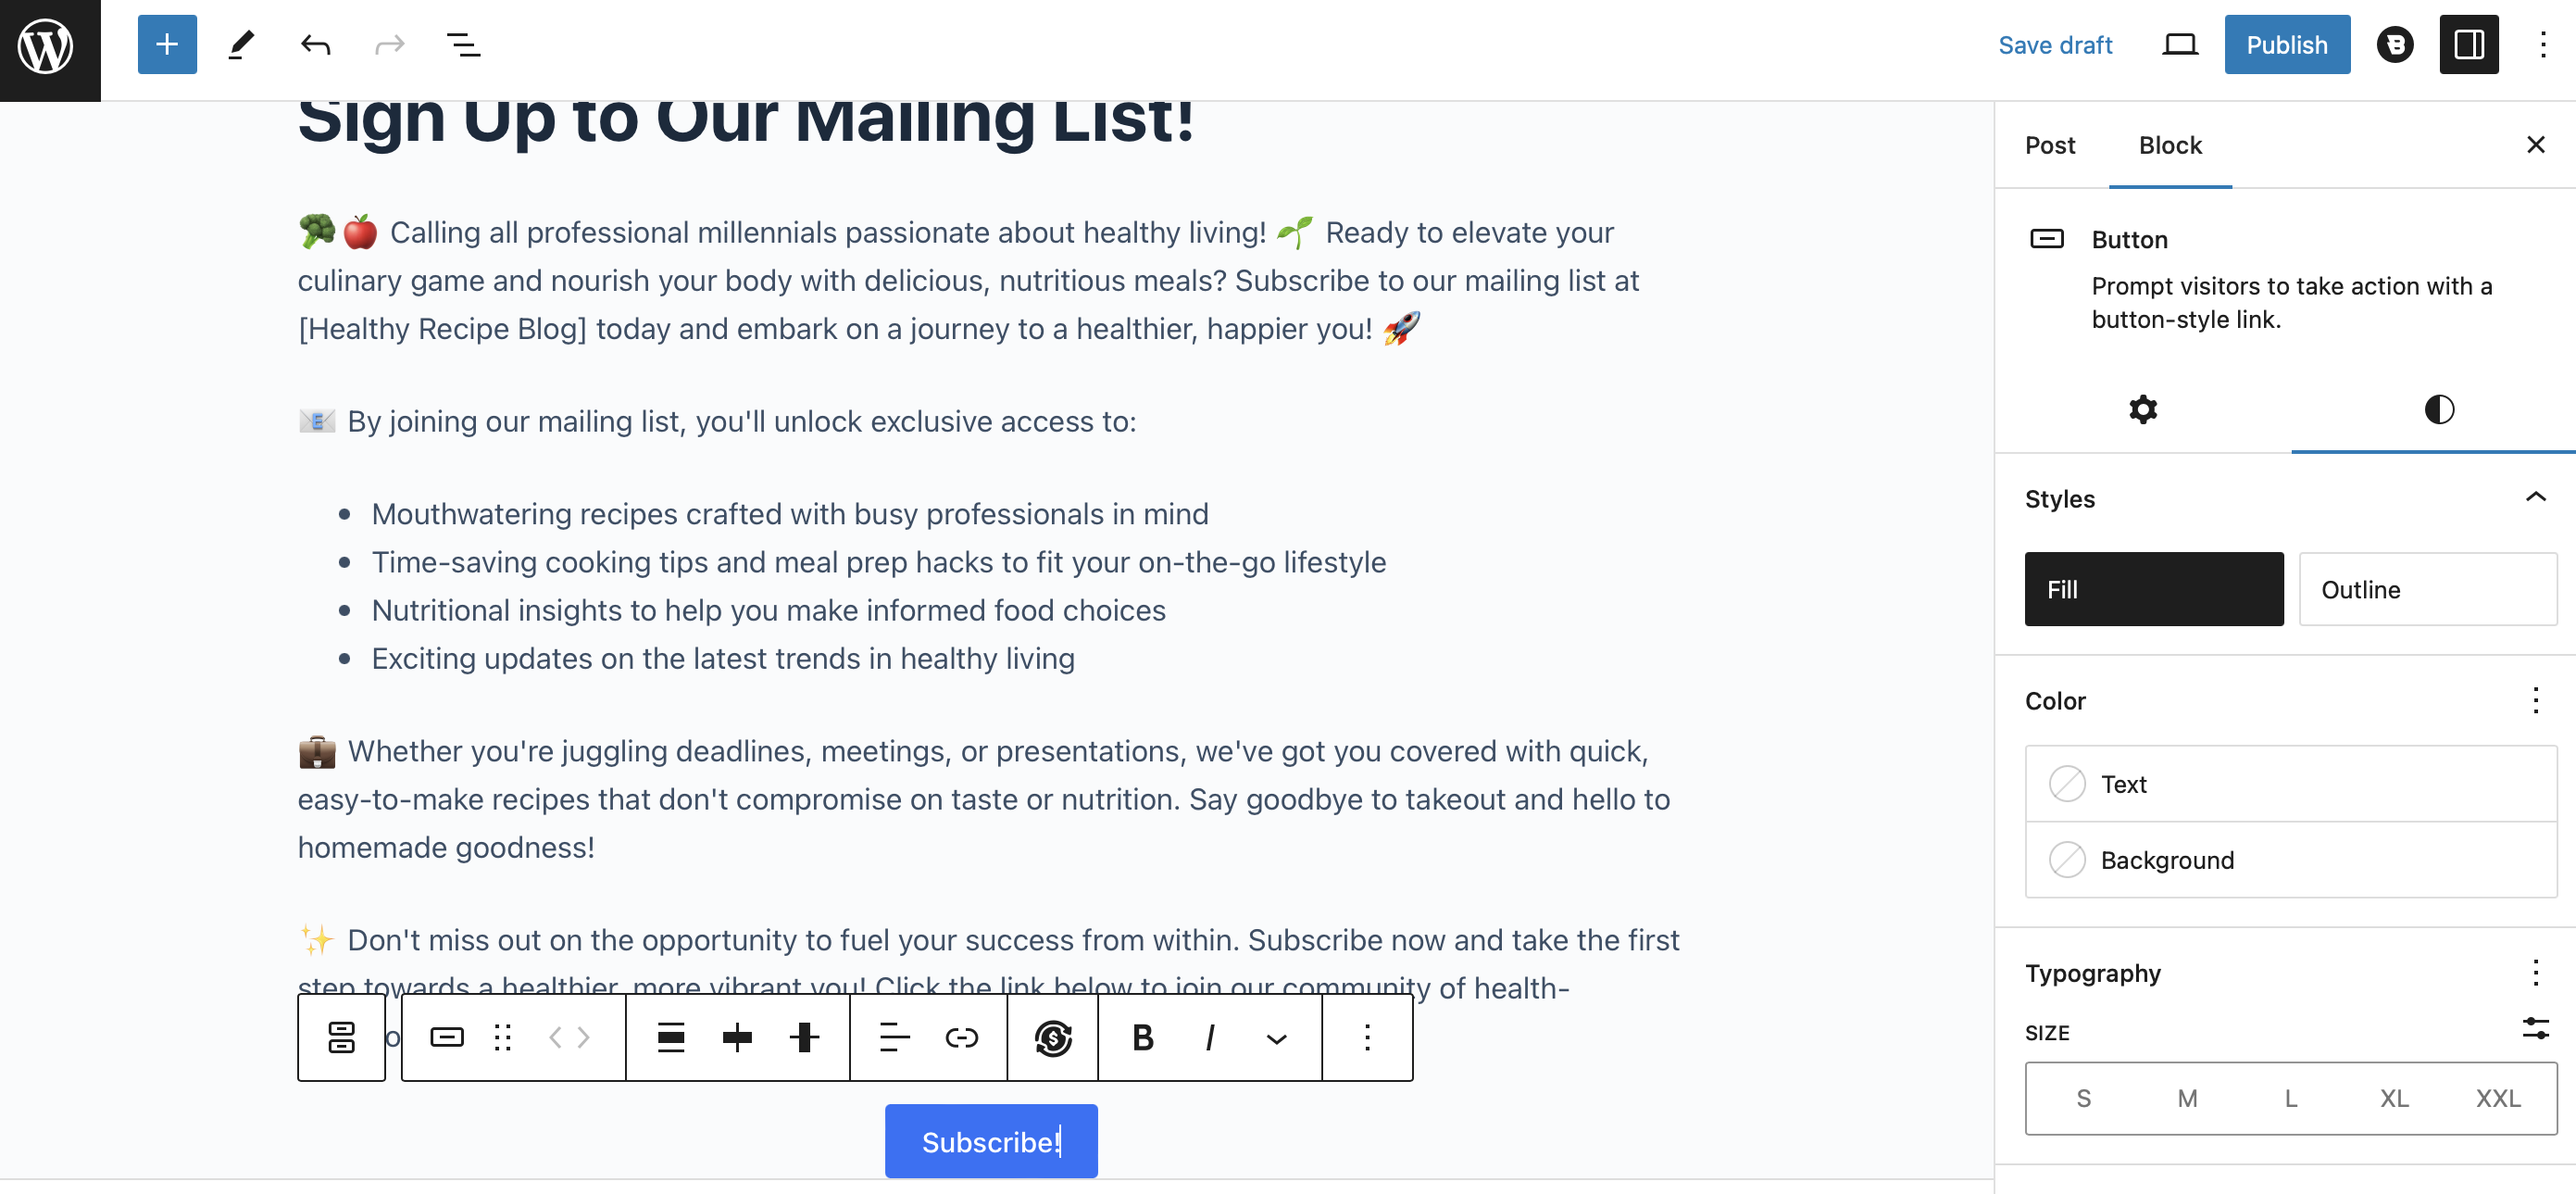
You can also change the alignment, color, and size of the button. Simply use the settings on the right to make your selections.
Remember to add a link to your button, then save it as a synced pattern as shown above.
4. Pricing Tables: Suggested Layouts and Options for Color and Design
If you have a blog, you might consider monetizing it with memberships. This means you would paywall your best content and require readers to purchase a subscription to unlock full access. You could even offer different membership tiers to cater to people with different budgets.
A pricing table can be an effective way to showcase the value and features of your plans. But this can be incredibly time-consuming to create manually each time. For example, you may have a dedicated pricing page, but you might also like to feature the table in blog posts that mention your memberships.
To create a pricing table in the Block Editor, select the Column block. Then, define the number of columns that you want to include. After that, you’re free to add more blocks inside each column like headings, buttons, and bulleted lists:
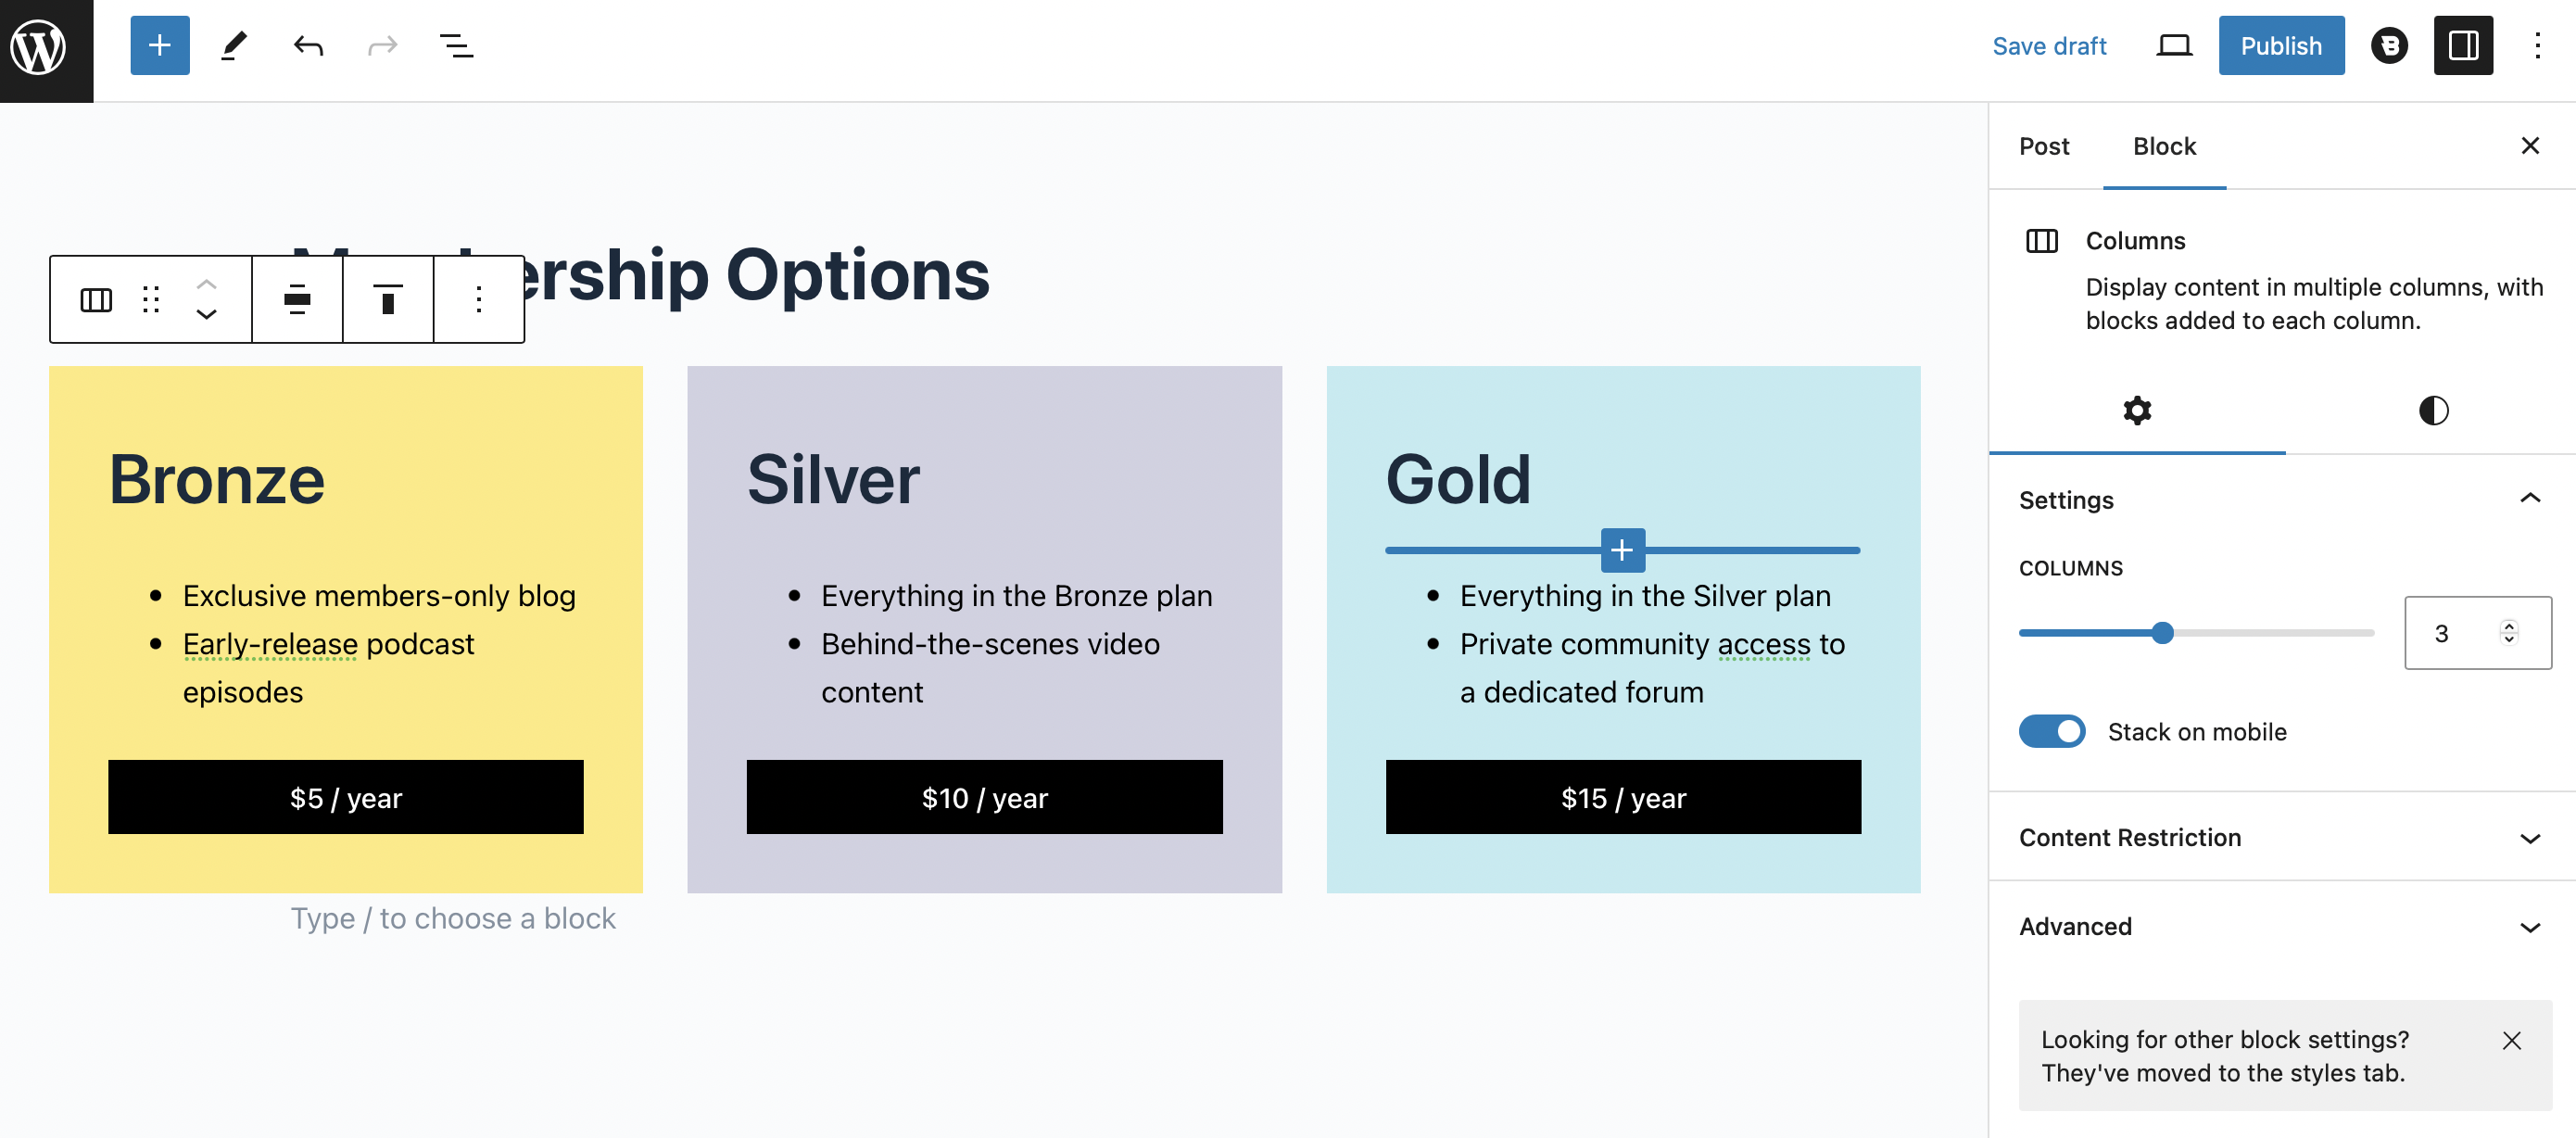
You can also switch to the Styles tab to choose a new color palette for your table.
To save the block, make sure the Columns icon is selected in the toolbar. Then, click on Create pattern, enter a name and category, and make sure the pattern is synced.
5. Subscribe Forms: Using a Theme or Plugin to Build and Save Subscribe Forms
We’ve shown you how to create synced patterns for CTA buttons (which can encourage users to subscribe), but you might also like to create subscribe forms. You can add these to the end of articles to make it easy for readers to sign up for your newsletter.
By default, WordPress doesn’t offer built-in form functionality. However, you can get this feature using the free version of Blocksy. With it, you’ll be able to easily create beautiful subscription forms and automate your campaigns and newsletters using your preferred email marketing provider.
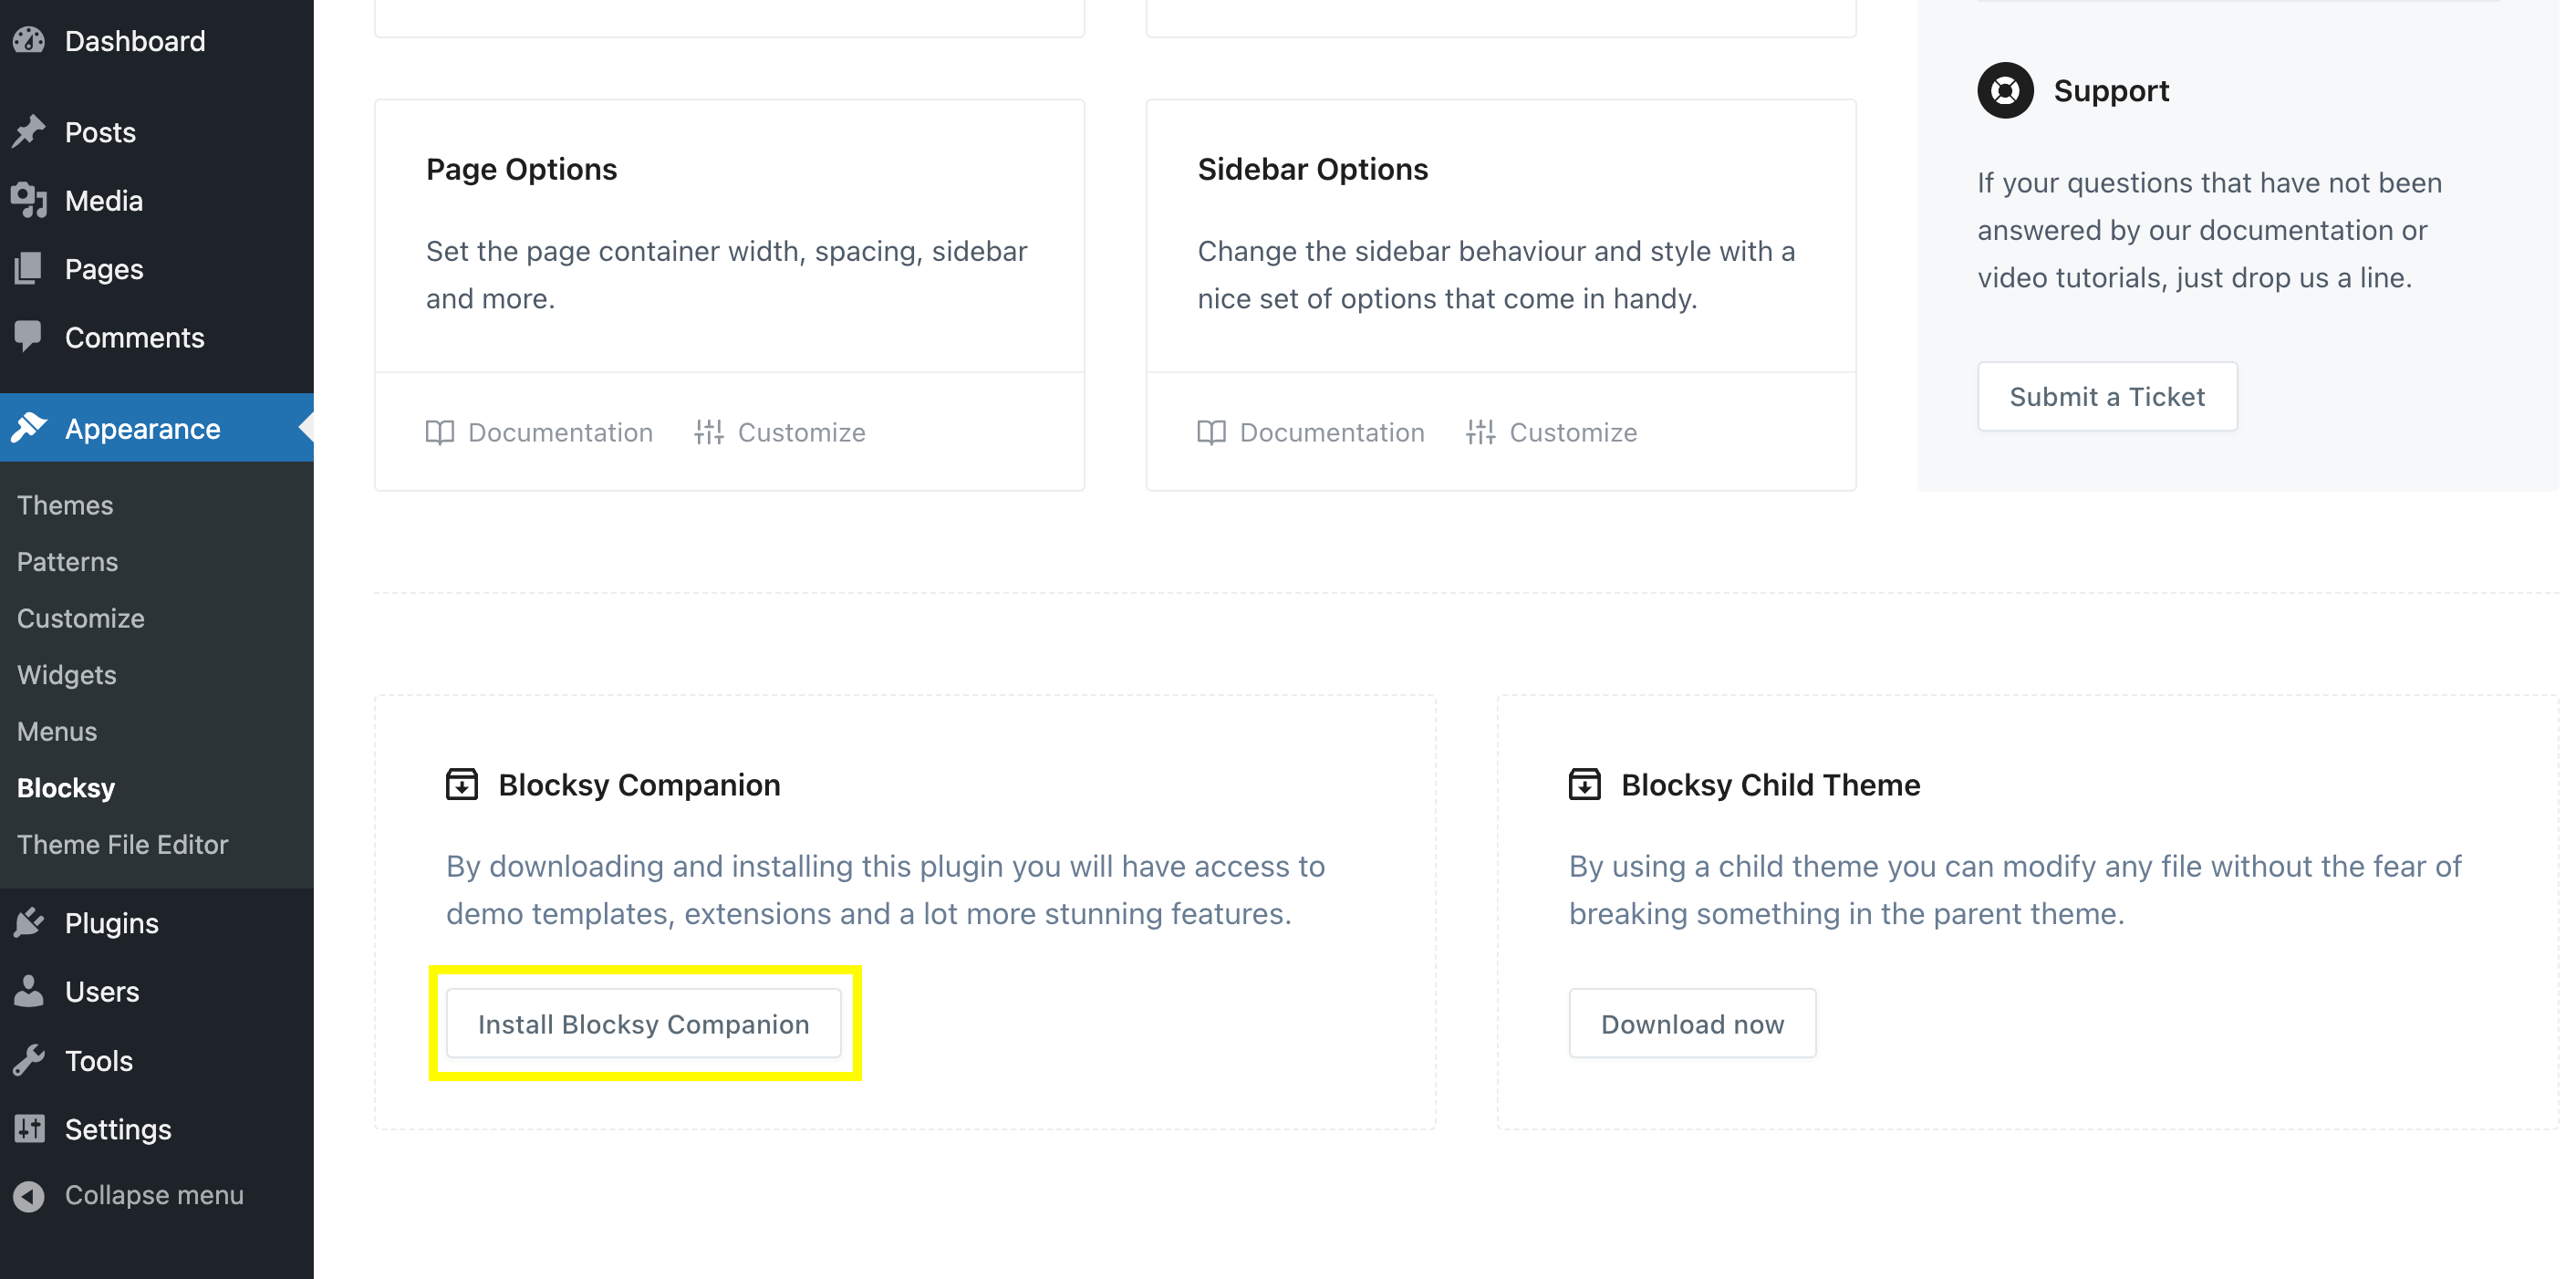
Once the Blocksy theme is active on your site, you’ll first need to enable the Blocksy Companion tool. You should have been prompted to do this when you installed the theme.
But, if you skipped that step, go to Appearance > Blocksy > Home. Scroll to the bottom of the page and click on Install Blocksy Companion:
After that, you’ll see a new Extensions tab at the top of the page. Click on it, and go to the Newsletter Subscribe tab in your left-hand menu:
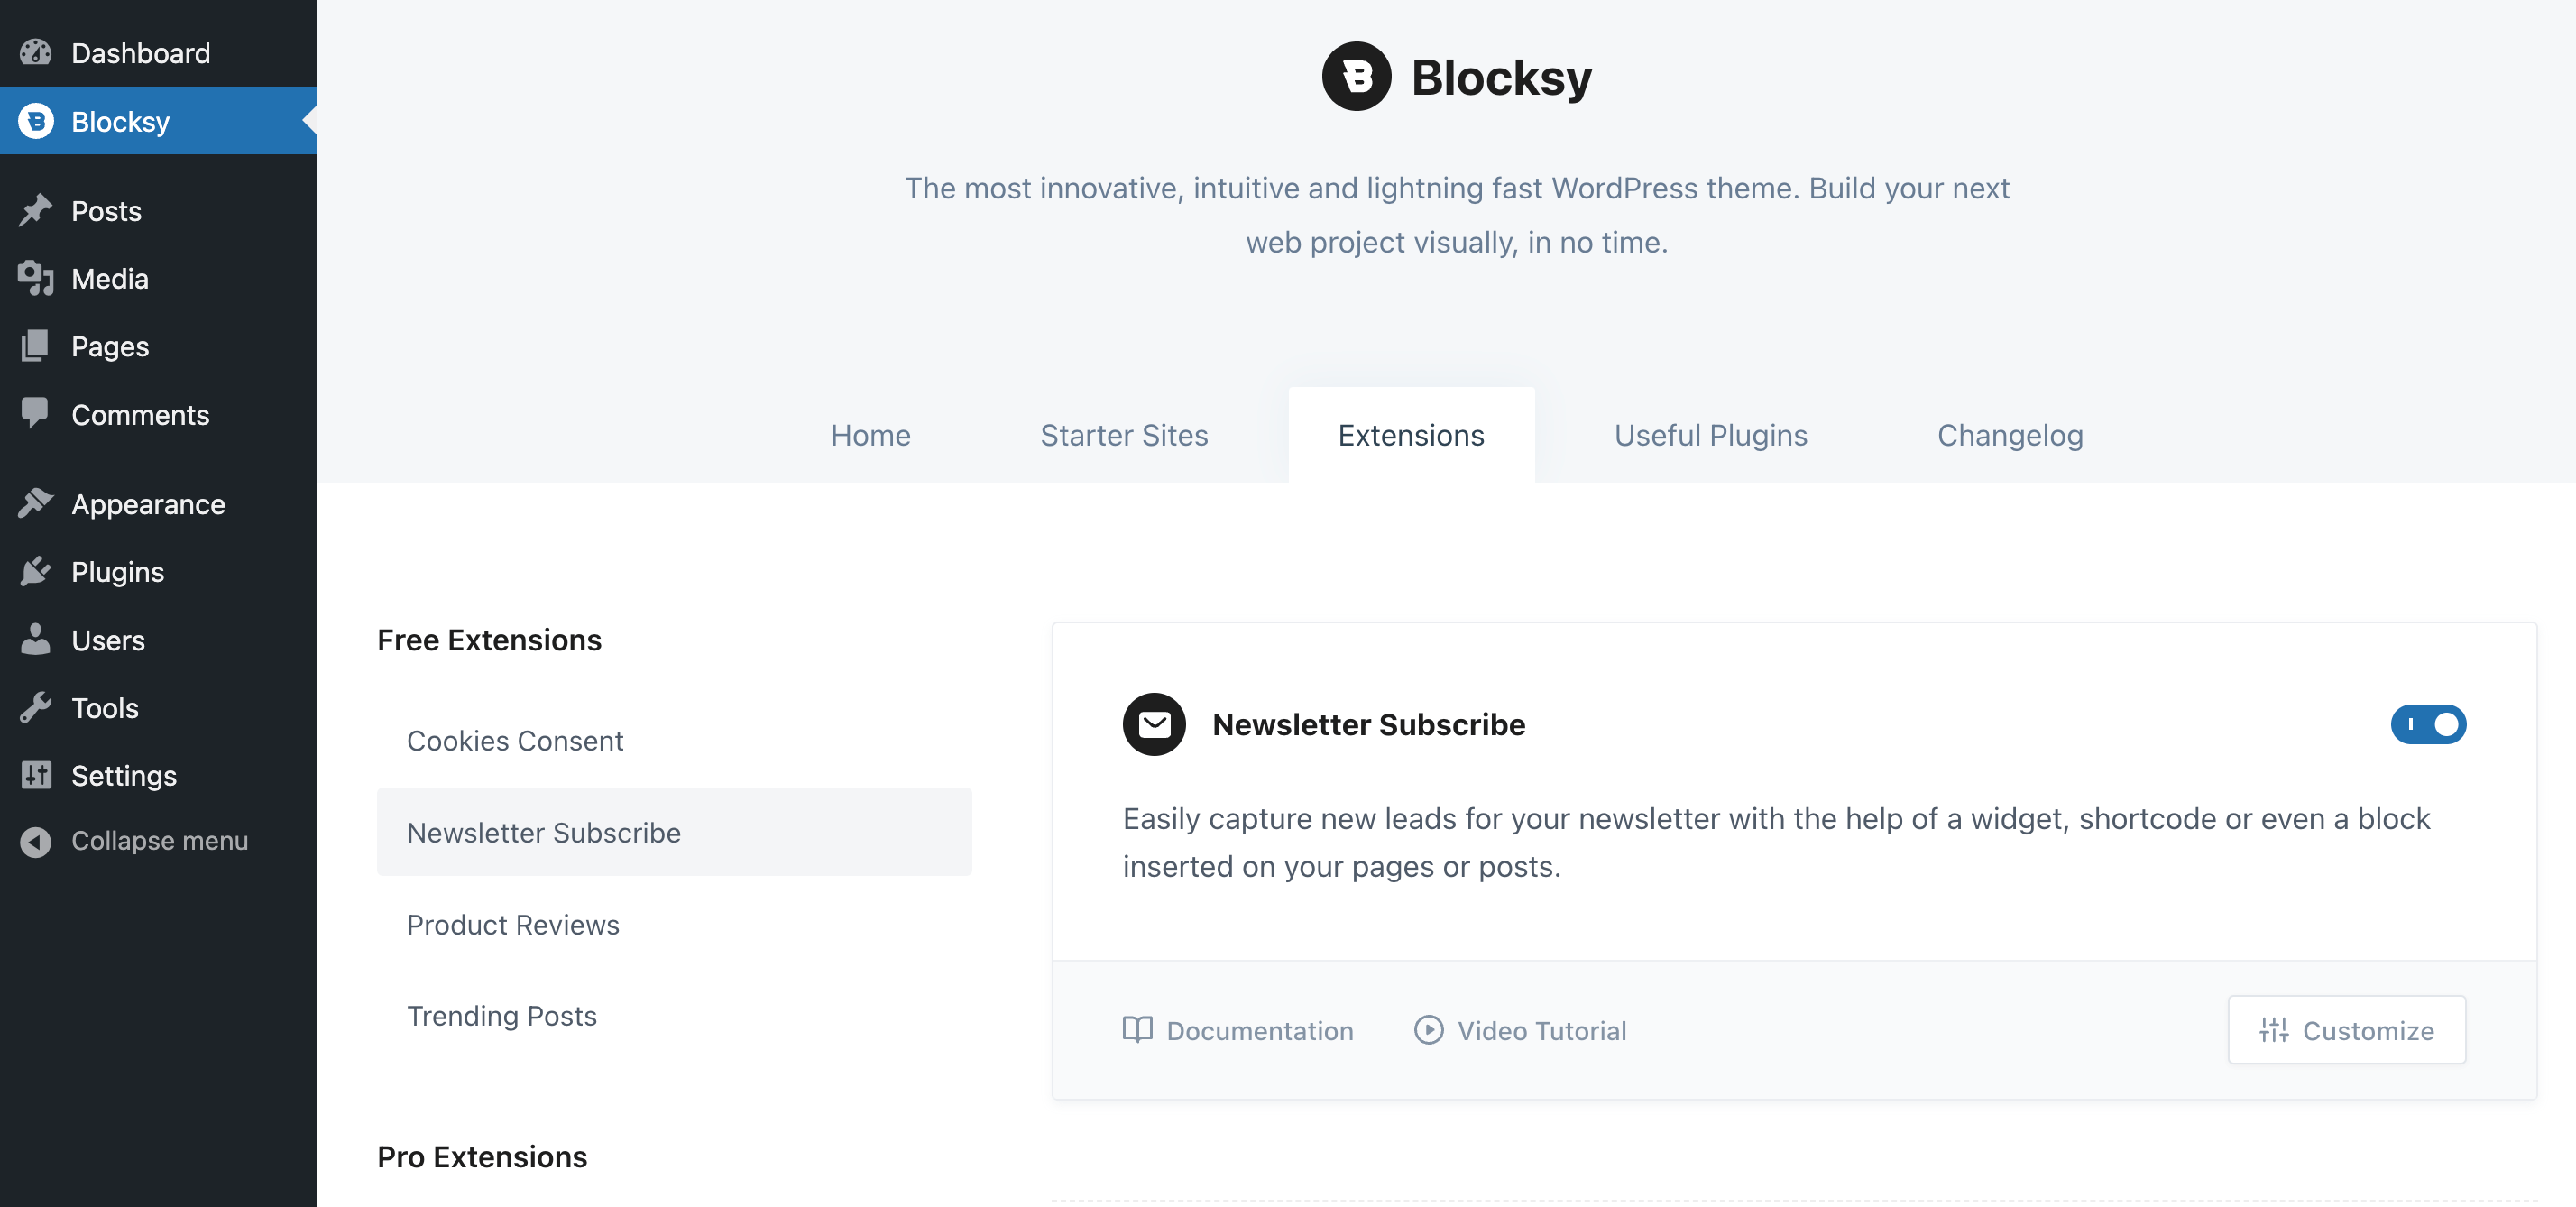
Toggle the button to turn on the free subscribe form extension. Next, connect the form to your preferred email marketing provider.
The theme allows you to integrate your form with some of the most popular options, including Mailchimp, Brevo, ConvertKit, Mailerlite, and more:
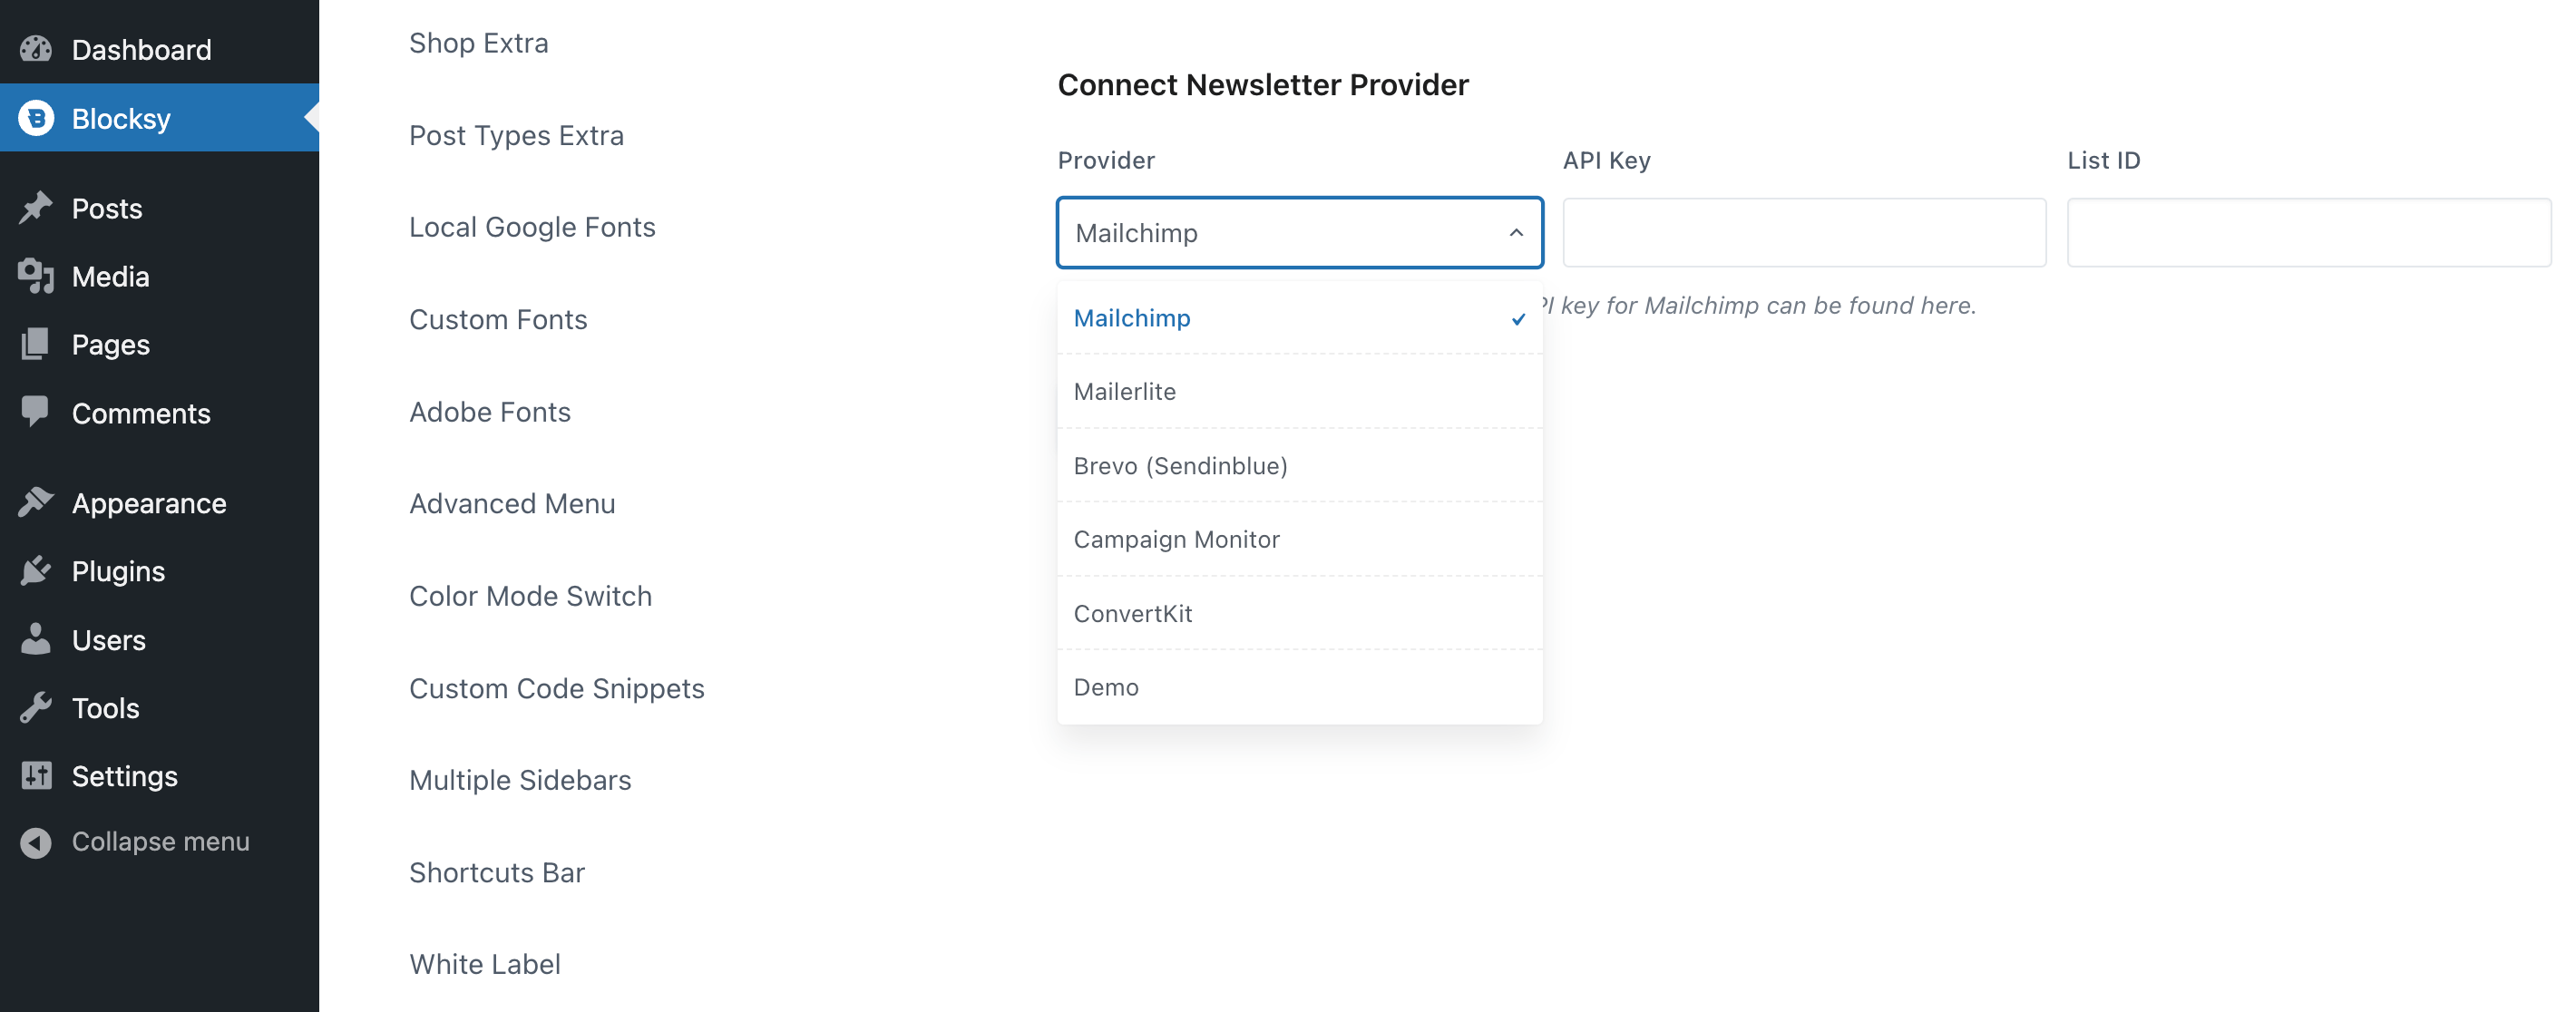
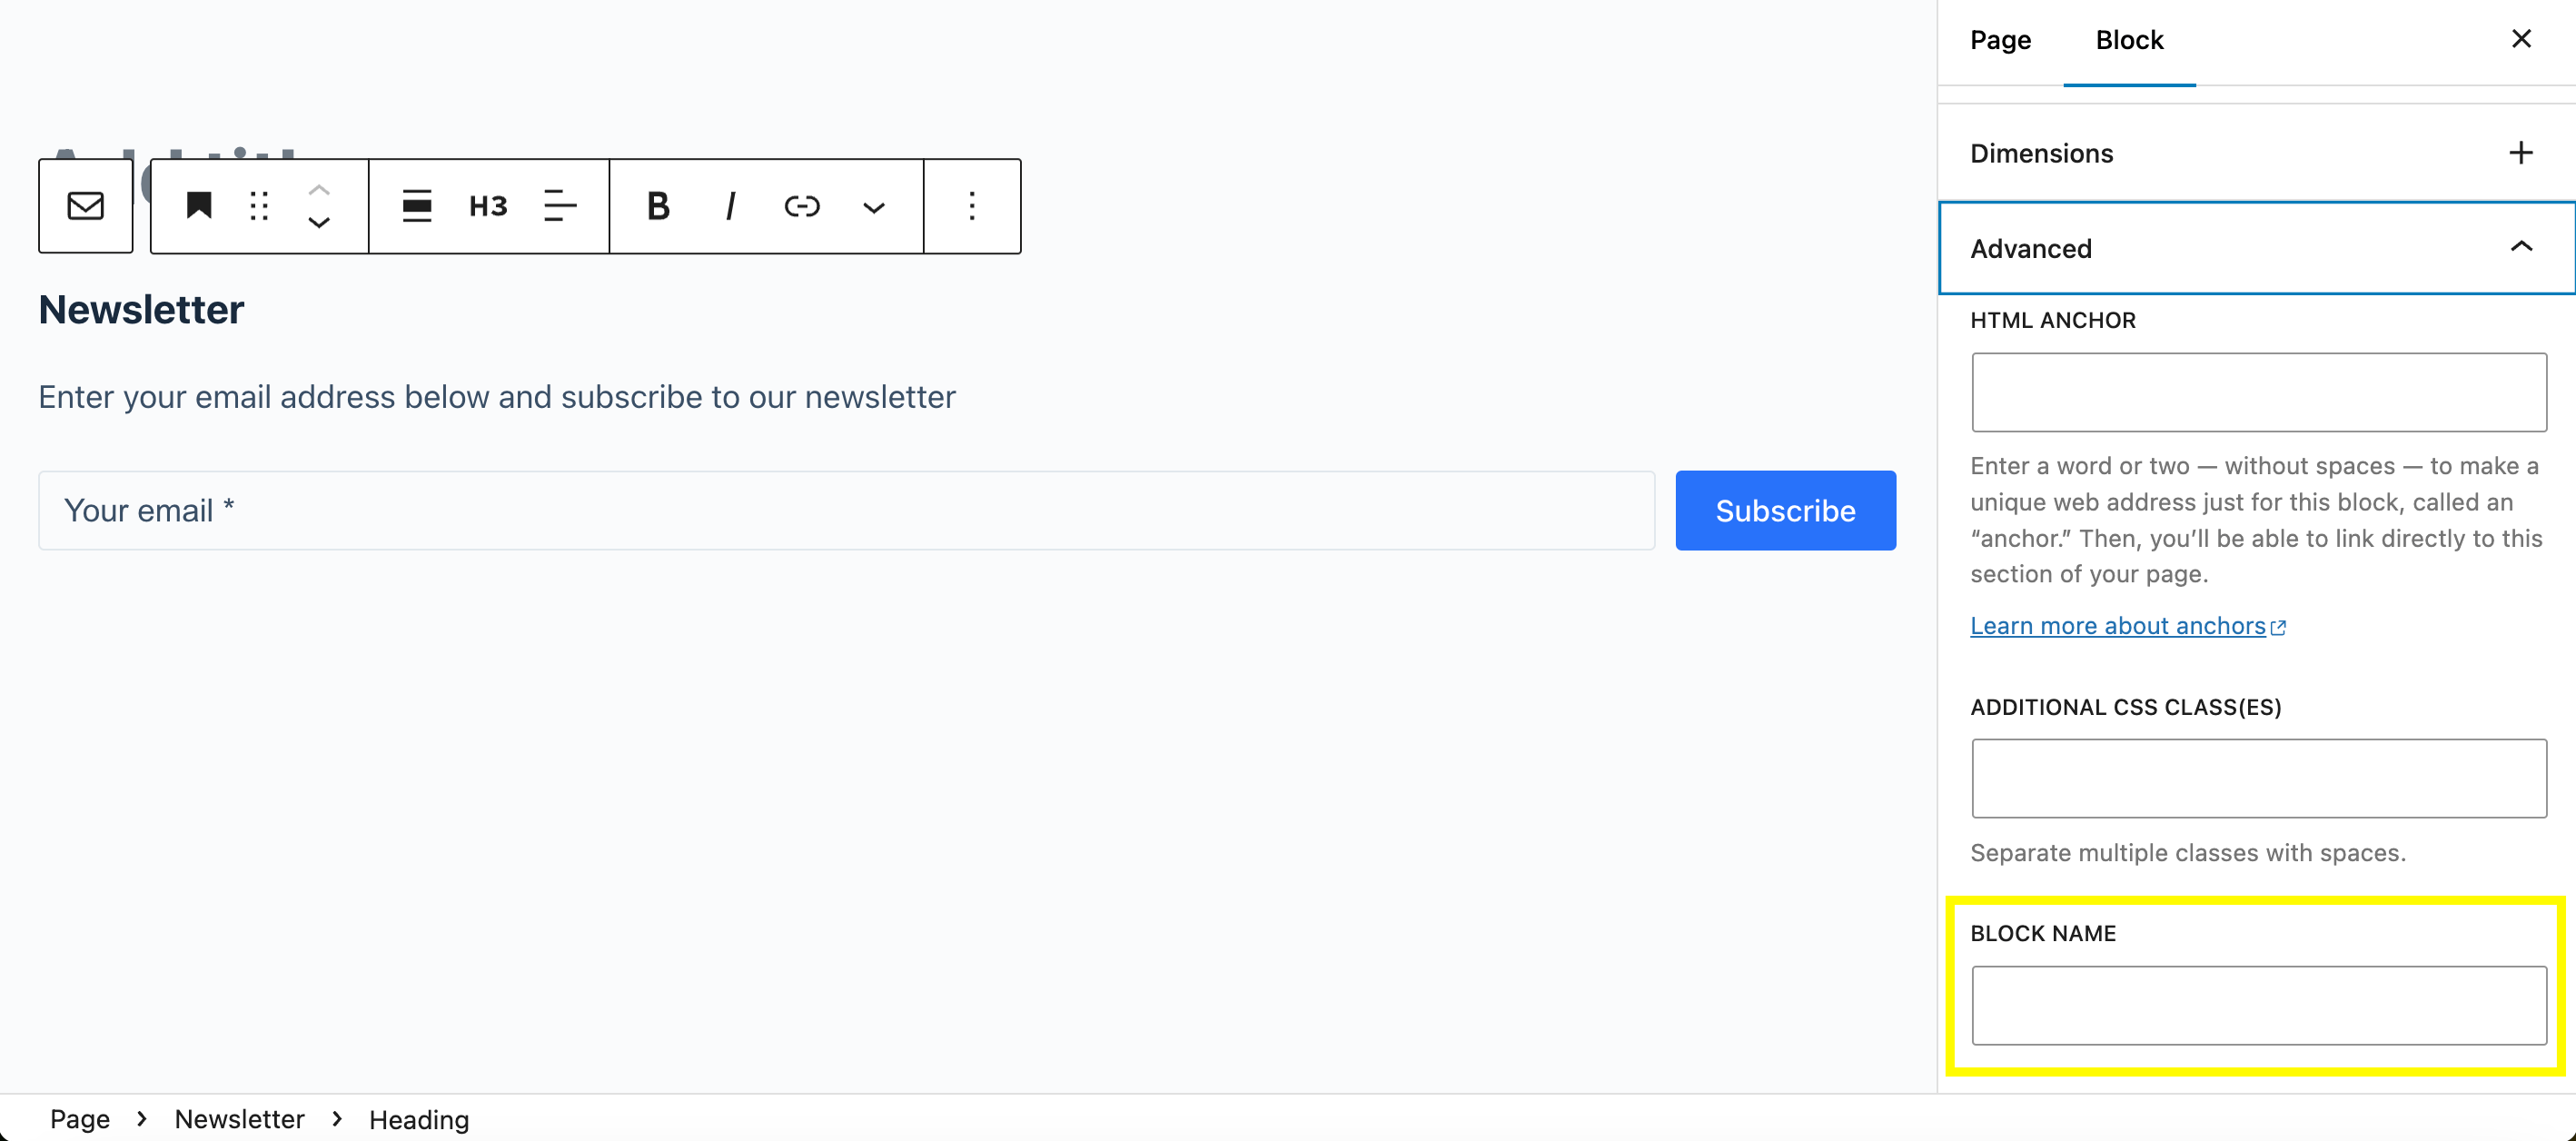
After you choose your provider, enter your API key, and input your list ID, hit Save Settings. You’re now ready to create your reusable Newsletter block, which has been added thanks to the Blocksy extension.
Simply open the Block Editor, find the block, and add it to your page:
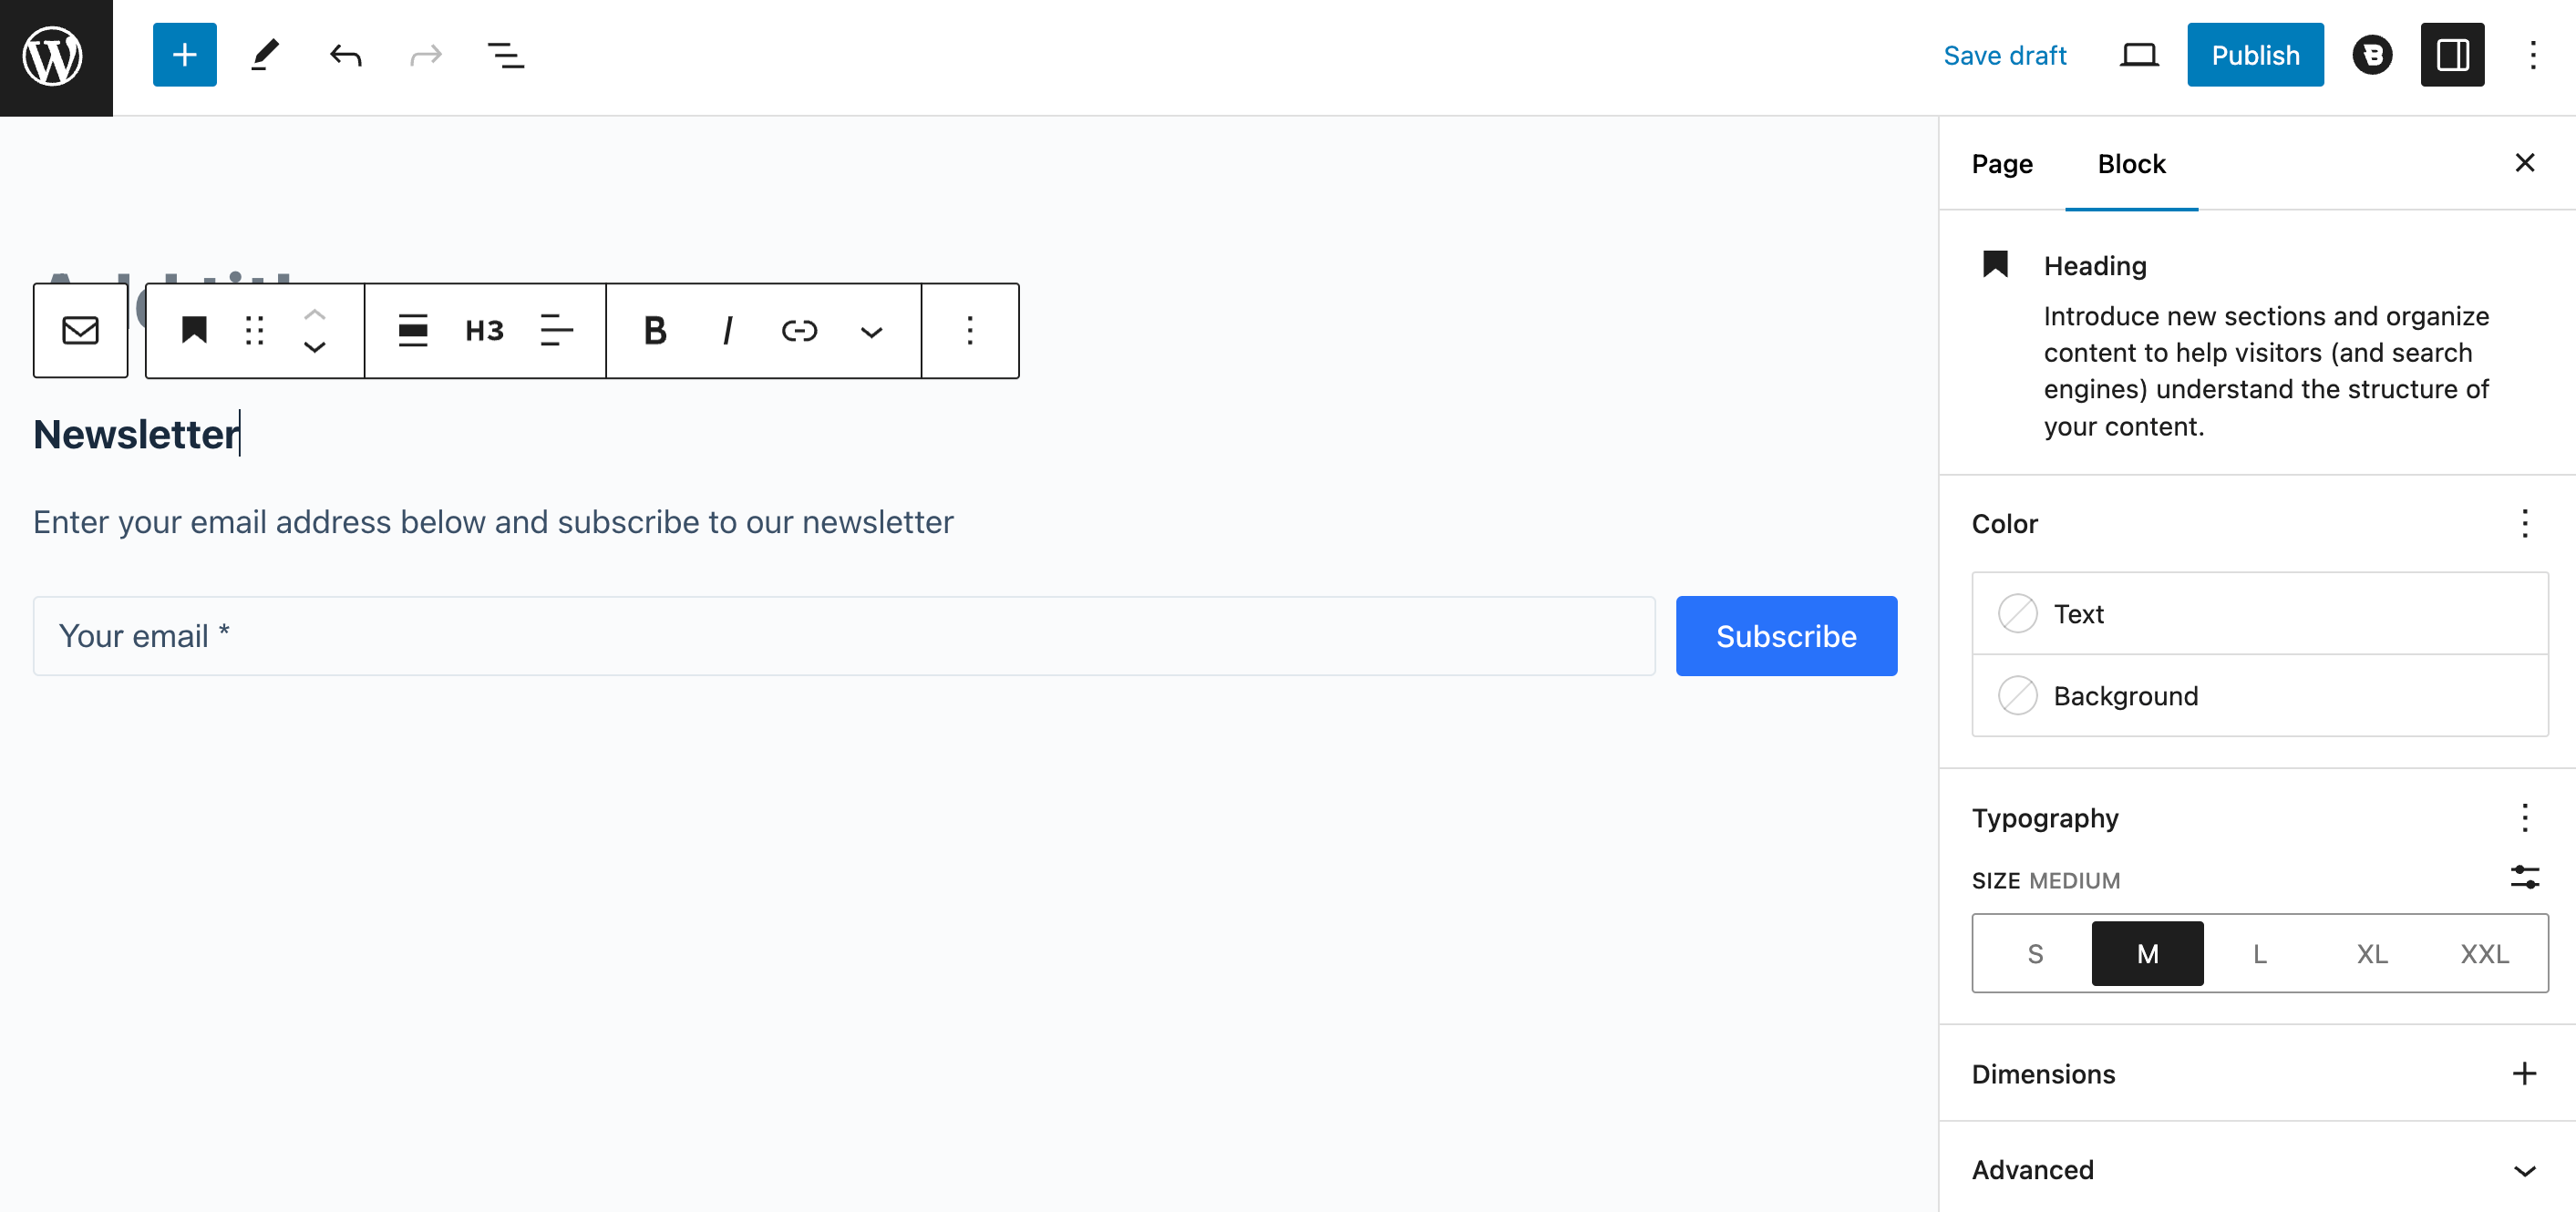
As you can see, the subscribe form provides you with the essential fields, and you can customize it using your block settings on the right. When you’re ready, go to the Advanced tab and give the block a name:
Now, you can turn it into a synced pattern by clicking on the three dots in the block toolbar and selecting Create pattern.
Make sure the toggle is synced. Then, you can find it when you browse for block patterns.
10 Additional Synced Pattern Examples for WordPress
Synced patterns go beyond basic elements, helping you add reusable, consistent content throughout your site. Here are more handy synced patterns you can create:
- Author Bio – Display a consistent author bio at the end of each blog post.
- Use Case: Bloggers and multi-author websites often add a brief bio with a photo, social links, and a short description of the author. Creating a synced pattern ensures this section remains consistent and can easily be updated site-wide.
- Social Share Buttons – Encourage readers to share content by adding social sharing buttons to posts or pages.
- Use Case: Place a synced social share pattern at the start or end of each post to make sharing easy. This also keeps the style and placement uniform, which can improve user experience.
- FAQs – Answer common questions directly within relevant posts or pages.
- Use Case: If your site frequently addresses similar questions, create an FAQ synced pattern. This can be added to posts on related topics or product pages to keep your information consistent without rewriting.
- Testimonial Showcase – Display client testimonials or customer reviews to build credibility.
- Use Case: For a website with multiple service or product pages, use a synced testimonial pattern to highlight positive feedback from clients. Update the testimonial content periodically, and the changes will reflect wherever the pattern is used.
- Service or Product Features – Present a consistent set of features or benefits for a product or service across your site.
- Use Case: This can work well on various pages (landing pages, sales pages, blog posts) to promote specific features of your product. When you update a feature, the synced pattern will update everywhere.
- Contact Information – Easily place your business’s contact details on multiple pages.
- Use Case: Save a synced pattern with your phone number, email, and address, and add it to the footer or contact sections across your site. Update it once, and every instance is updated site-wide.
- Newsletter Sign-Up Prompt – Encourage readers to subscribe to your newsletter without manually adding forms to each page.
- Use Case: Create a synced sign-up prompt with an embedded subscribe form or a call-to-action button to direct users to a sign-up page. This works well at the end of posts or in sidebars.
- Recommended Reading Lists – Offer readers related content to keep them engaged.
- Use Case: Add a synced “Recommended Reading” list at the end of posts, linking to similar articles. Update the list as you publish new content to keep the recommendations relevant across your site.
- Customizable Map and Location Info – Show store or office locations across various pages.
- Use Case: Use a map block combined with location details, hours, and directions, and save it as a pattern. Ideal for businesses with multiple locations or franchises.
- Portfolio Showcases – Display your best work or case studies in a standardized format.
- Use Case: For a designer or freelancer portfolio, create a reusable pattern for each project. Include an image, description, and key outcomes to maintain consistency across multiple project showcases.
FAQ
What Are Synced Patterns in WordPress?
Synced patterns, also known as reusable blocks, are saved content blocks in WordPress that you can use across multiple posts and pages. Once saved, any edits to a synced pattern will update all instances of that pattern throughout your site, making it easy to keep elements consistent.
How Do I Edit a Synced Pattern Without Affecting Other Pages?
If you want to make changes to a pattern on only one page, first convert it to a “regular block” by clicking “Convert to Regular Block” in the block toolbar. This action will break the sync, allowing you to edit it without impacting other instances.
Can I Categorize Synced Patterns for Easy Organization?
Yes! When saving a synced pattern, you can assign it to a category for easy organization. This is especially helpful if you have multiple patterns, allowing you to find and insert them quickly when building new pages.
Do Synced Patterns Work With All WordPress Themes?
Synced patterns are a native WordPress feature and should work with any WordPress theme. However, some themes (like Blocksy) offer enhanced block options that may improve the functionality and appearance of synced patterns.
Can I Use Synced Patterns With Third-Party Plugins Like Elementor or Beaver Builder?
Synced patterns are specific to the WordPress block editor and won’t be usable directly in page builder plugins like Elementor. However, similar functionality is often available within these plugins, allowing you to save reusable templates or elements.
What’s the Difference Between Synced Patterns and Template Parts?
Synced patterns are ideal for smaller, repeatable content sections like CTAs or disclaimers, while template parts are more suited for layout sections, like headers or footers. Template parts are managed at the theme level and are typically used for site-wide elements.
Quick Overview of What You’ve Learned
Synced patterns can help you speed up the design process. WordPress enables you to customize blocks and save them so you can use them on other pages or posts. This way, you won’t have to re-design the same content multiple times.
To recap, here are five particularly handy synced patterns to create for your site:
- Affiliate disclaimers.
- Promotional content like advertisements.
- Call to action buttons.
- Pricing tables.
- Subscribe forms.
Do you have any questions about how to use synced Blocksy patterns in WordPress? Let us know in the comments section below!


Well, I use Mailster for my newsletter and it is not managed by Blocksy 🙂
I hadn’t thought about using synced patterns for subscribe forms before, but I’ll definitely be integrating this into my site. Thanks for the valuable insights!