

Offering a top to bottom personalised experience for your shoppers can seal the deal on a purchase. This means personalising every single part of the website, from having a unique product listing page, to sending a nice message once a shopper has completed a purchase.
With the custom “order confirmation” page feature, or better known as “custom thank you pages”, you can do just that. Once a user has completed a purchase, they will get a personalised page, where you could offer an incentive for them, such as a coupon code for the next purchase, a custom message or anything you may think of.
It couldn’t be easier to get started!
Getting Started
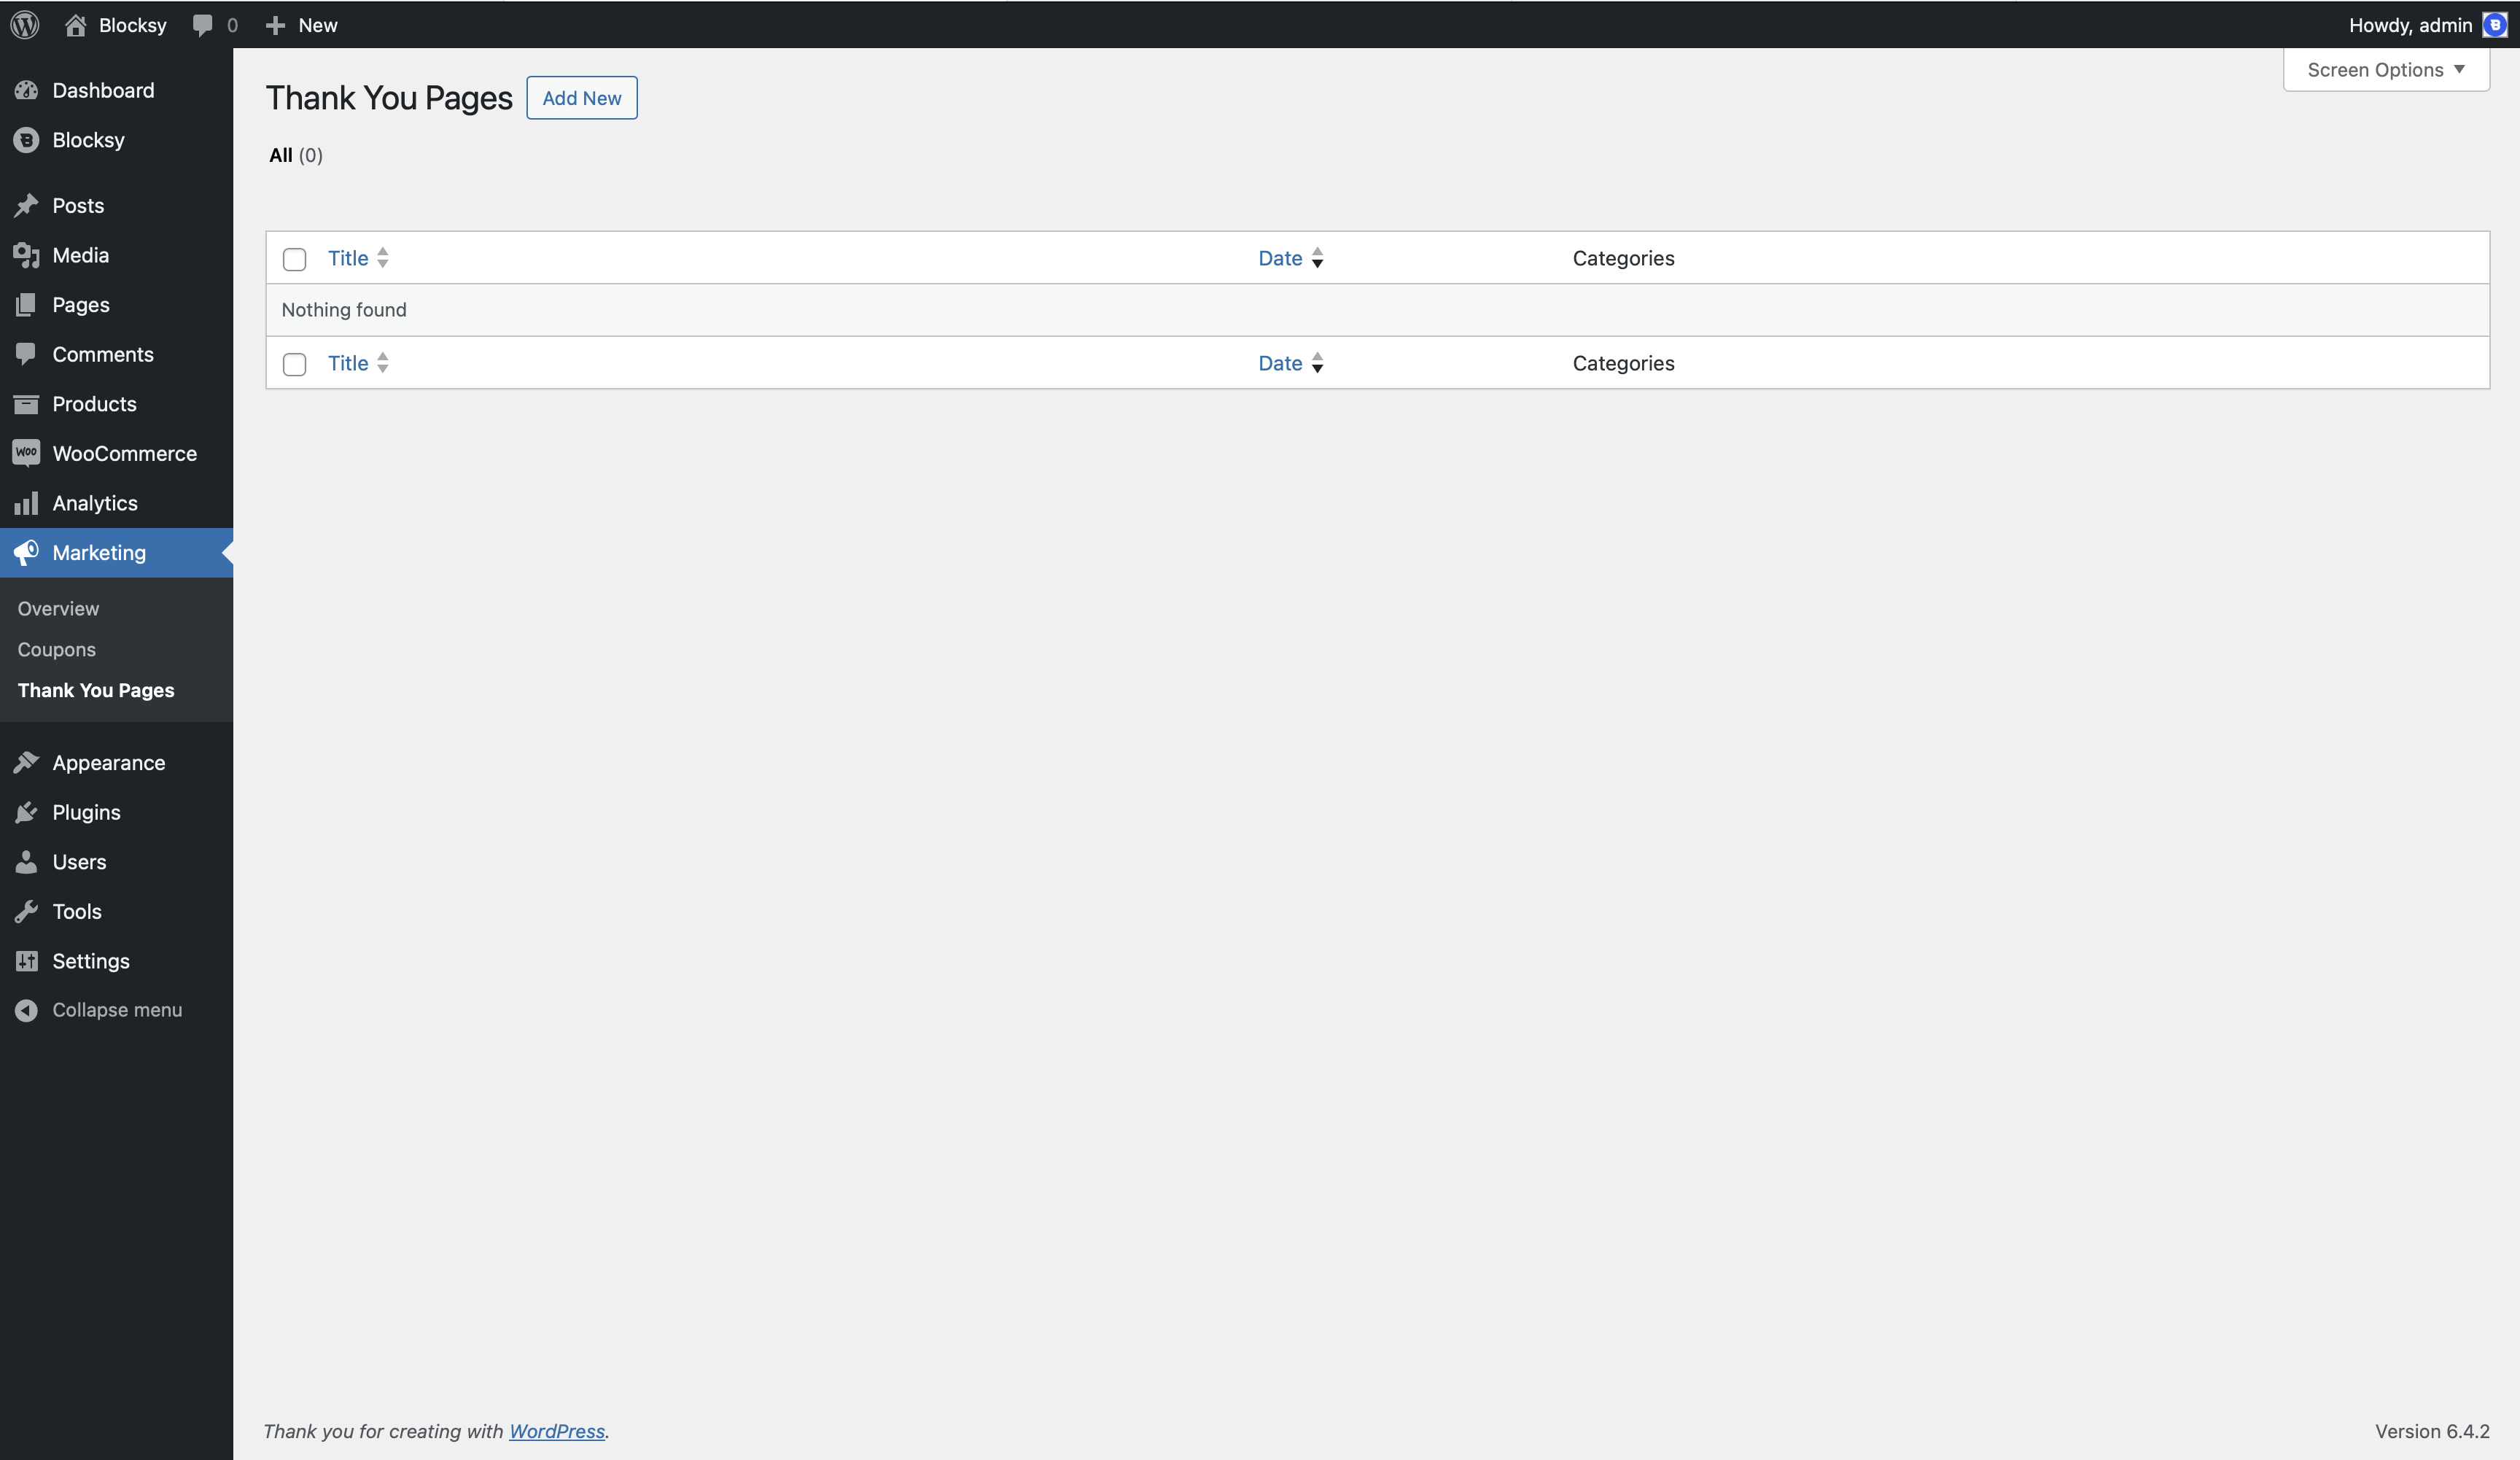
Once the module has been activated, a new “Thank You Pages” option should appear under WooCommerce’s Marketing menu. This works just like any post type in the WordPress dashboard, with an “Add New” button at the top, which you can use to create a new page.
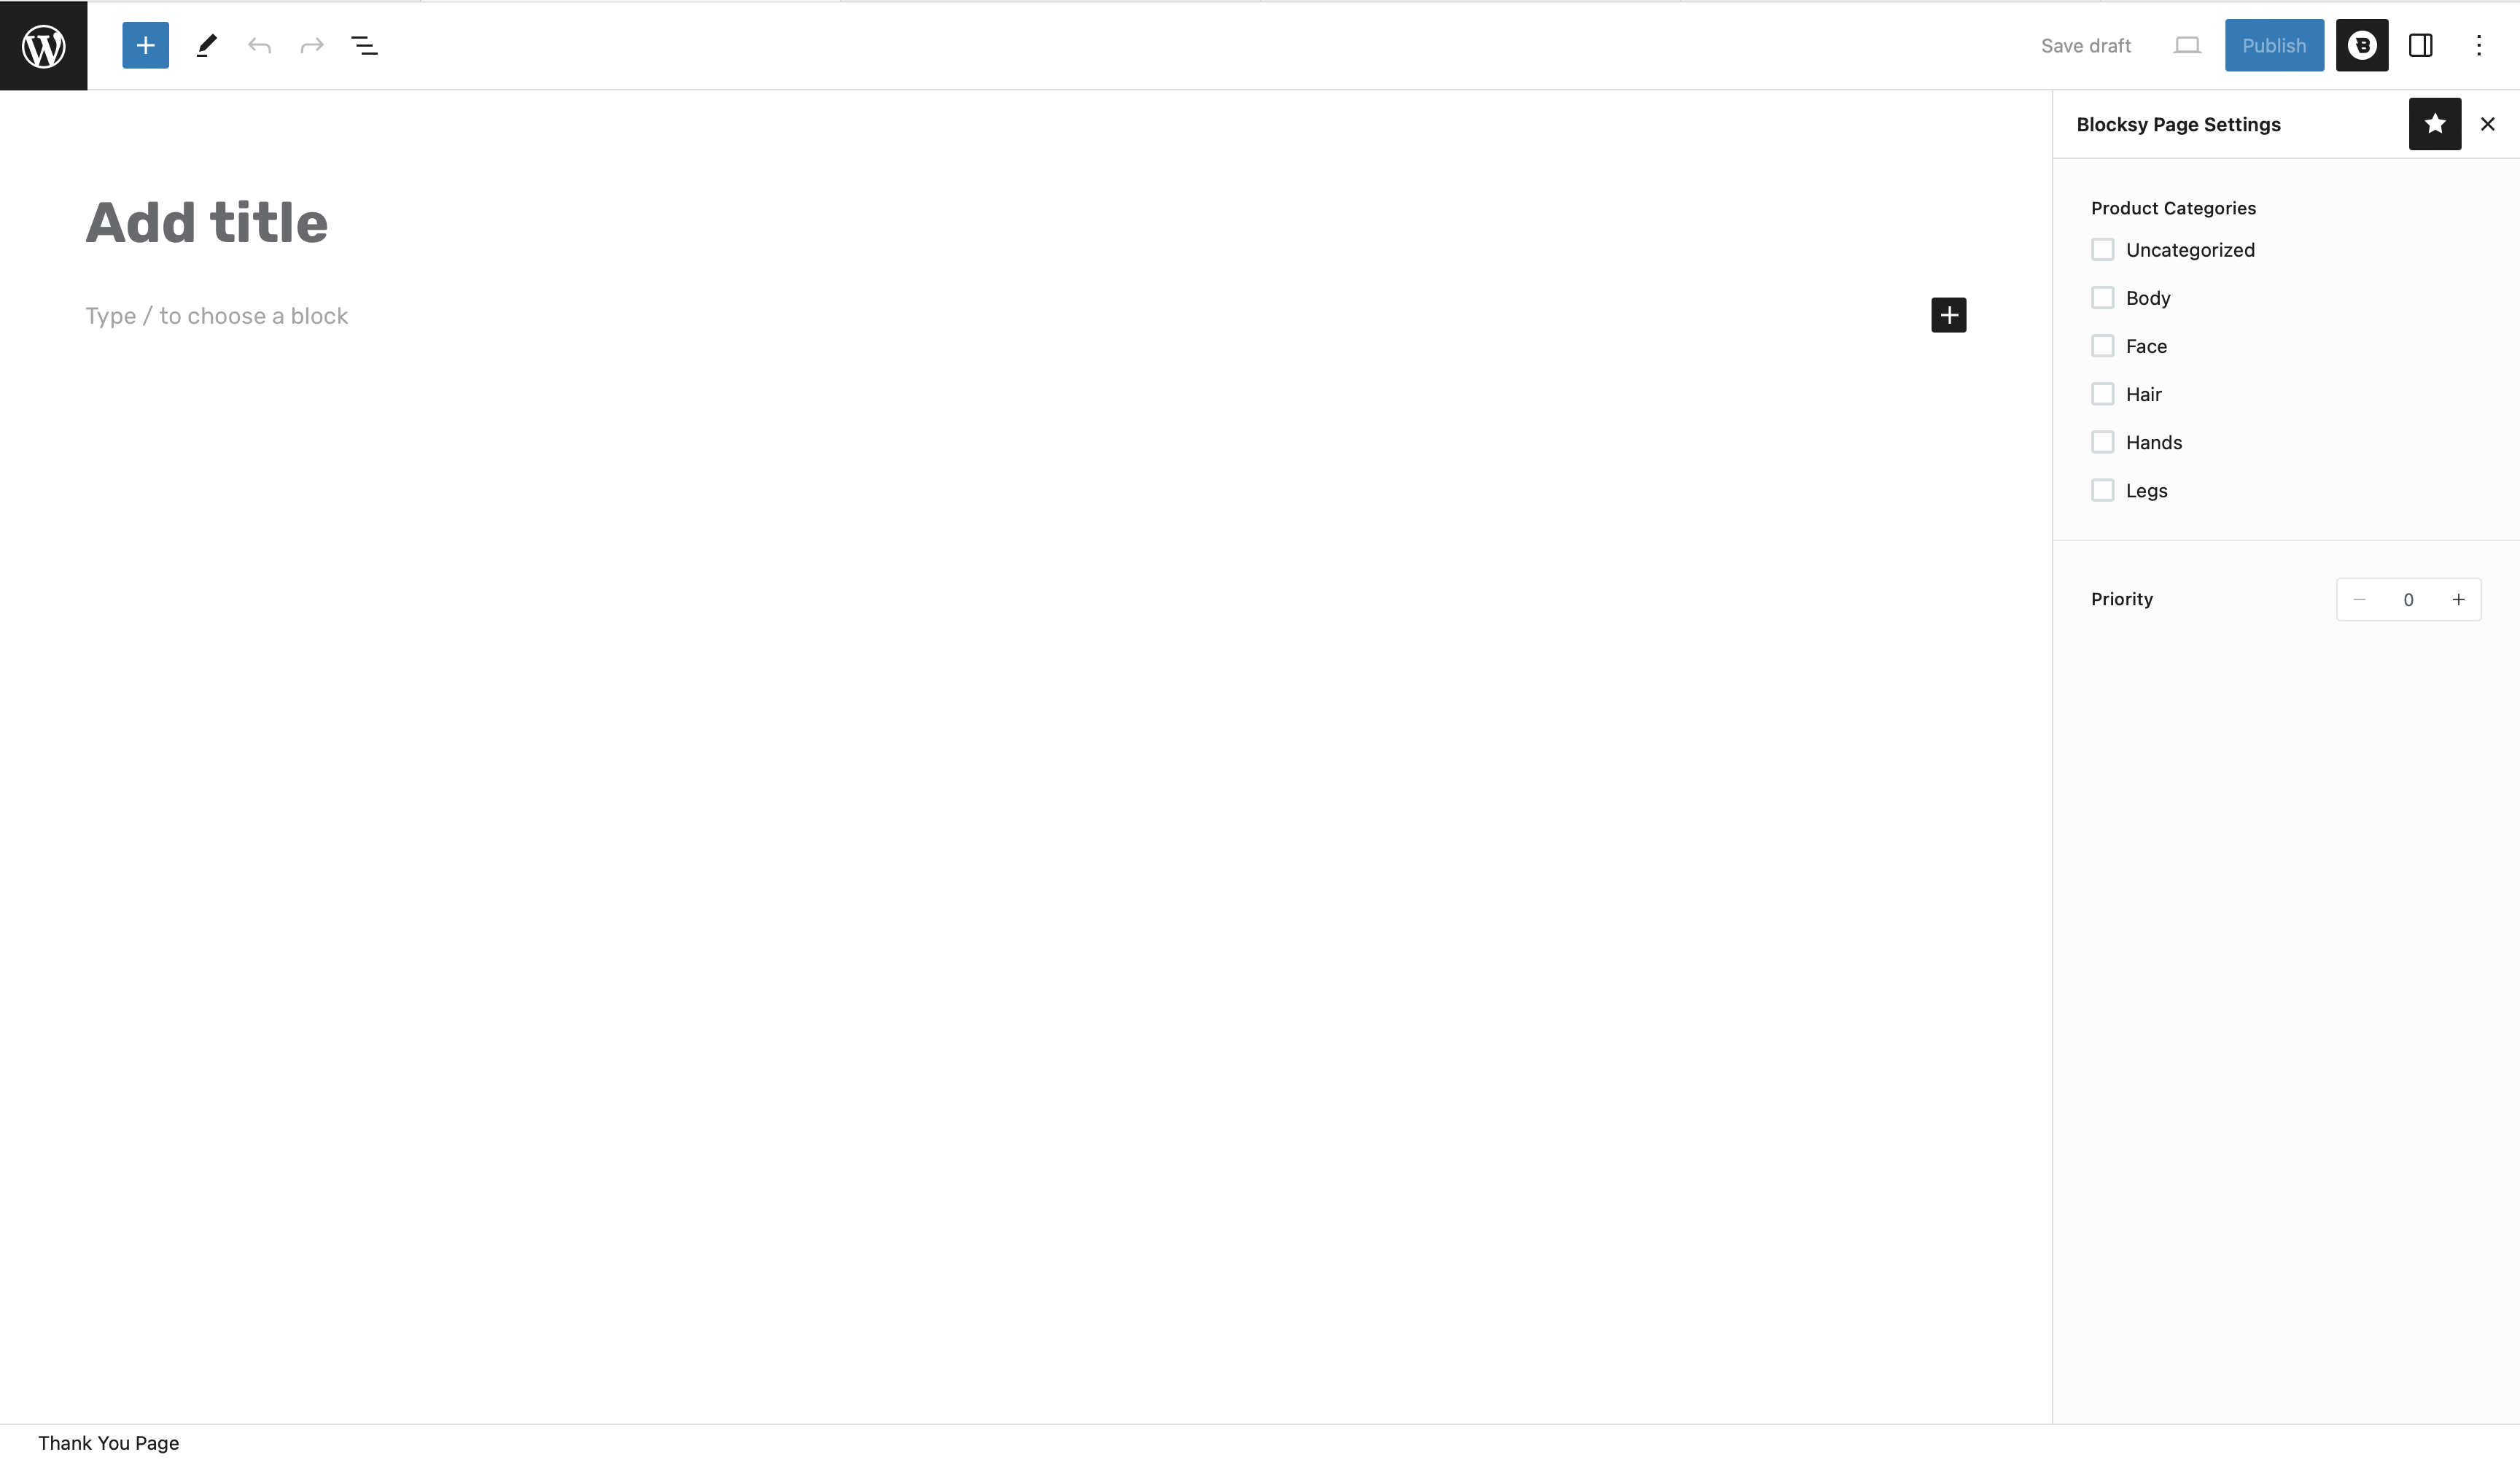
The edit screen couldn’t be simpler to work with. It works with the Gutenberg editor, just like all of your other posts or pages do. You can insert here anything that you may think of, including dynamic data blocks that pull in data from the order or the client.
What’s important to note here is the Blocksy settings sidebar, where you can configure when the new “thank you” page triggers. You can select things such as a category of products, a payment method used or if a user has chosen a specific shipping method. All of these options automatically populate the Blocksy settings sidebar, as they are configured.
