

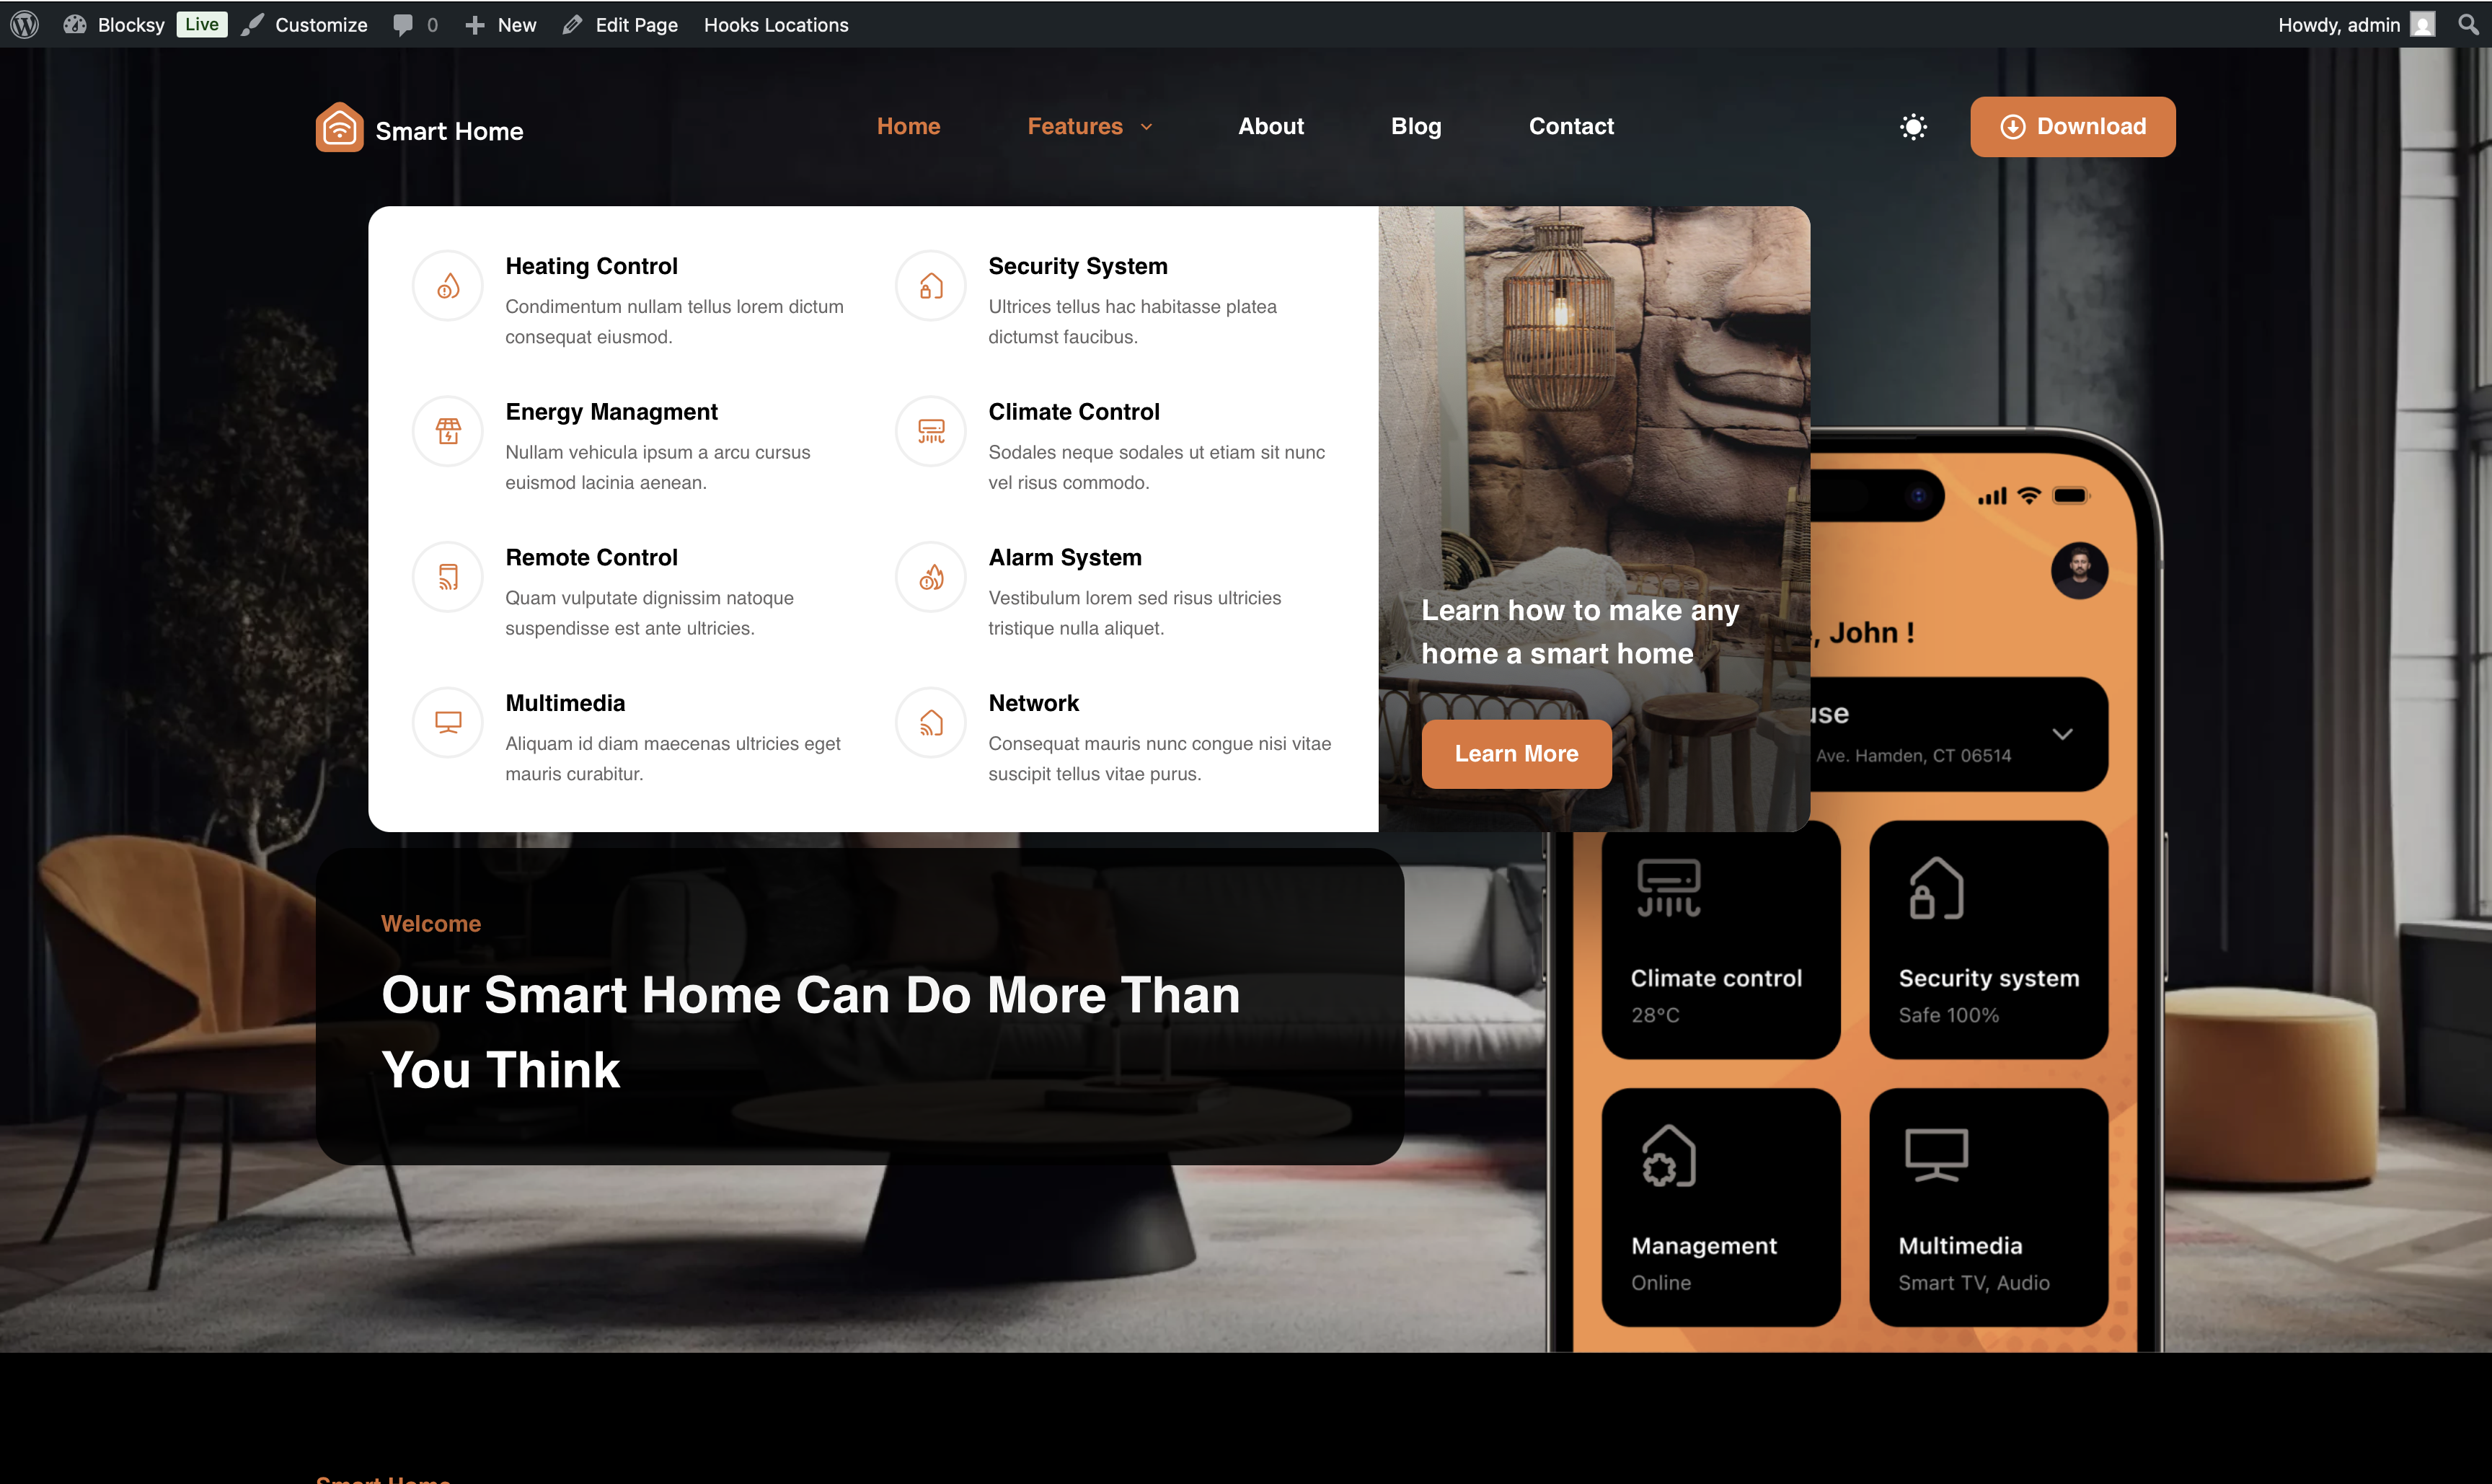
The Advanced Menu extension gives you full creative control over your site’s navigation. It allows you to build rich, interactive menus by adding elements like Content Blocks, headings, icons, and more—going far beyond the standard WordPress menu options. This opens the door to a fully custom menu experience that matches your site’s unique style and needs.
Activating the Extension
To activate the Advanced Menu extension, follow these steps:
- Head over to your WordPress Dashboard.
- Click on Blocksy in the sidebar.
- Navigate to the Extensions tab.
- Find Advanced Menu in the list and toggle it on.
Exploring the Advanced Menu Settings
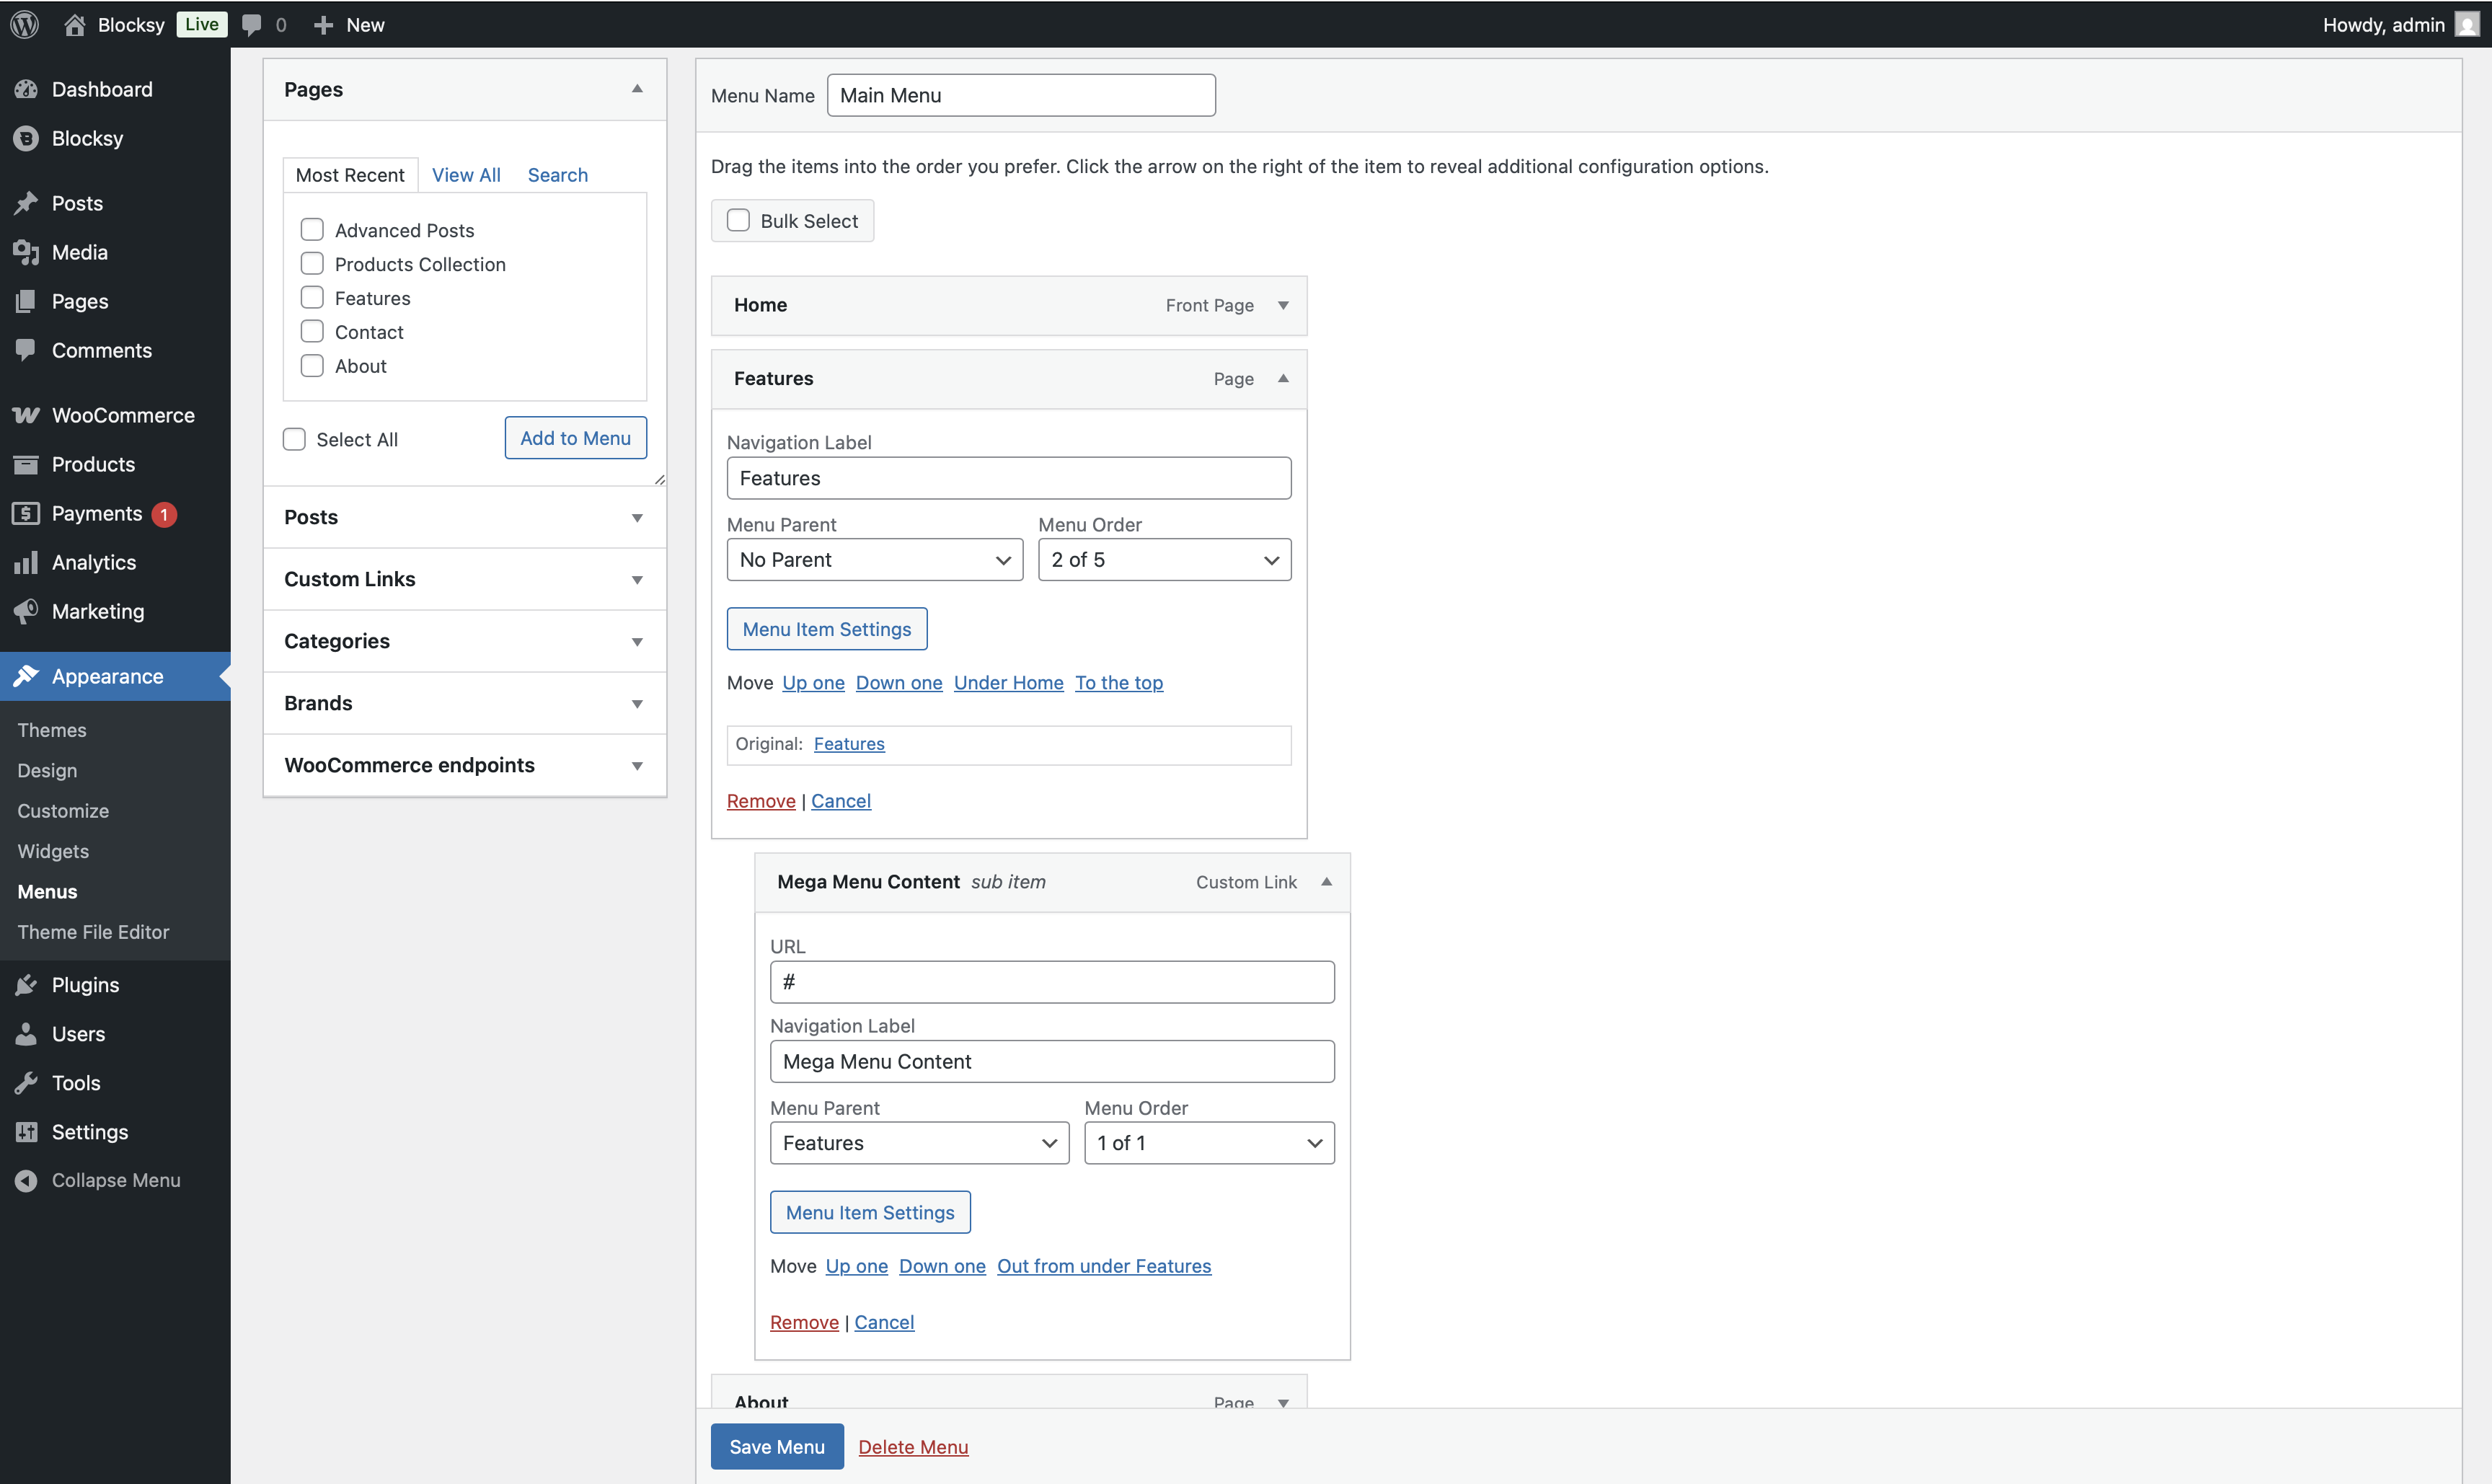
Once the extension is activated, you’ll find the Advanced Menu options directly within the Menus section of the WordPress Dashboard.
Each individual menu item will now include a Menu Item Settings button. Clicking this will open up additional configuration options, allowing you to fine-tune the behaviour and appearance of that specific item—such as adding icons, inserting Content Blocks, or customising layout elements.
Top Level Menu Options
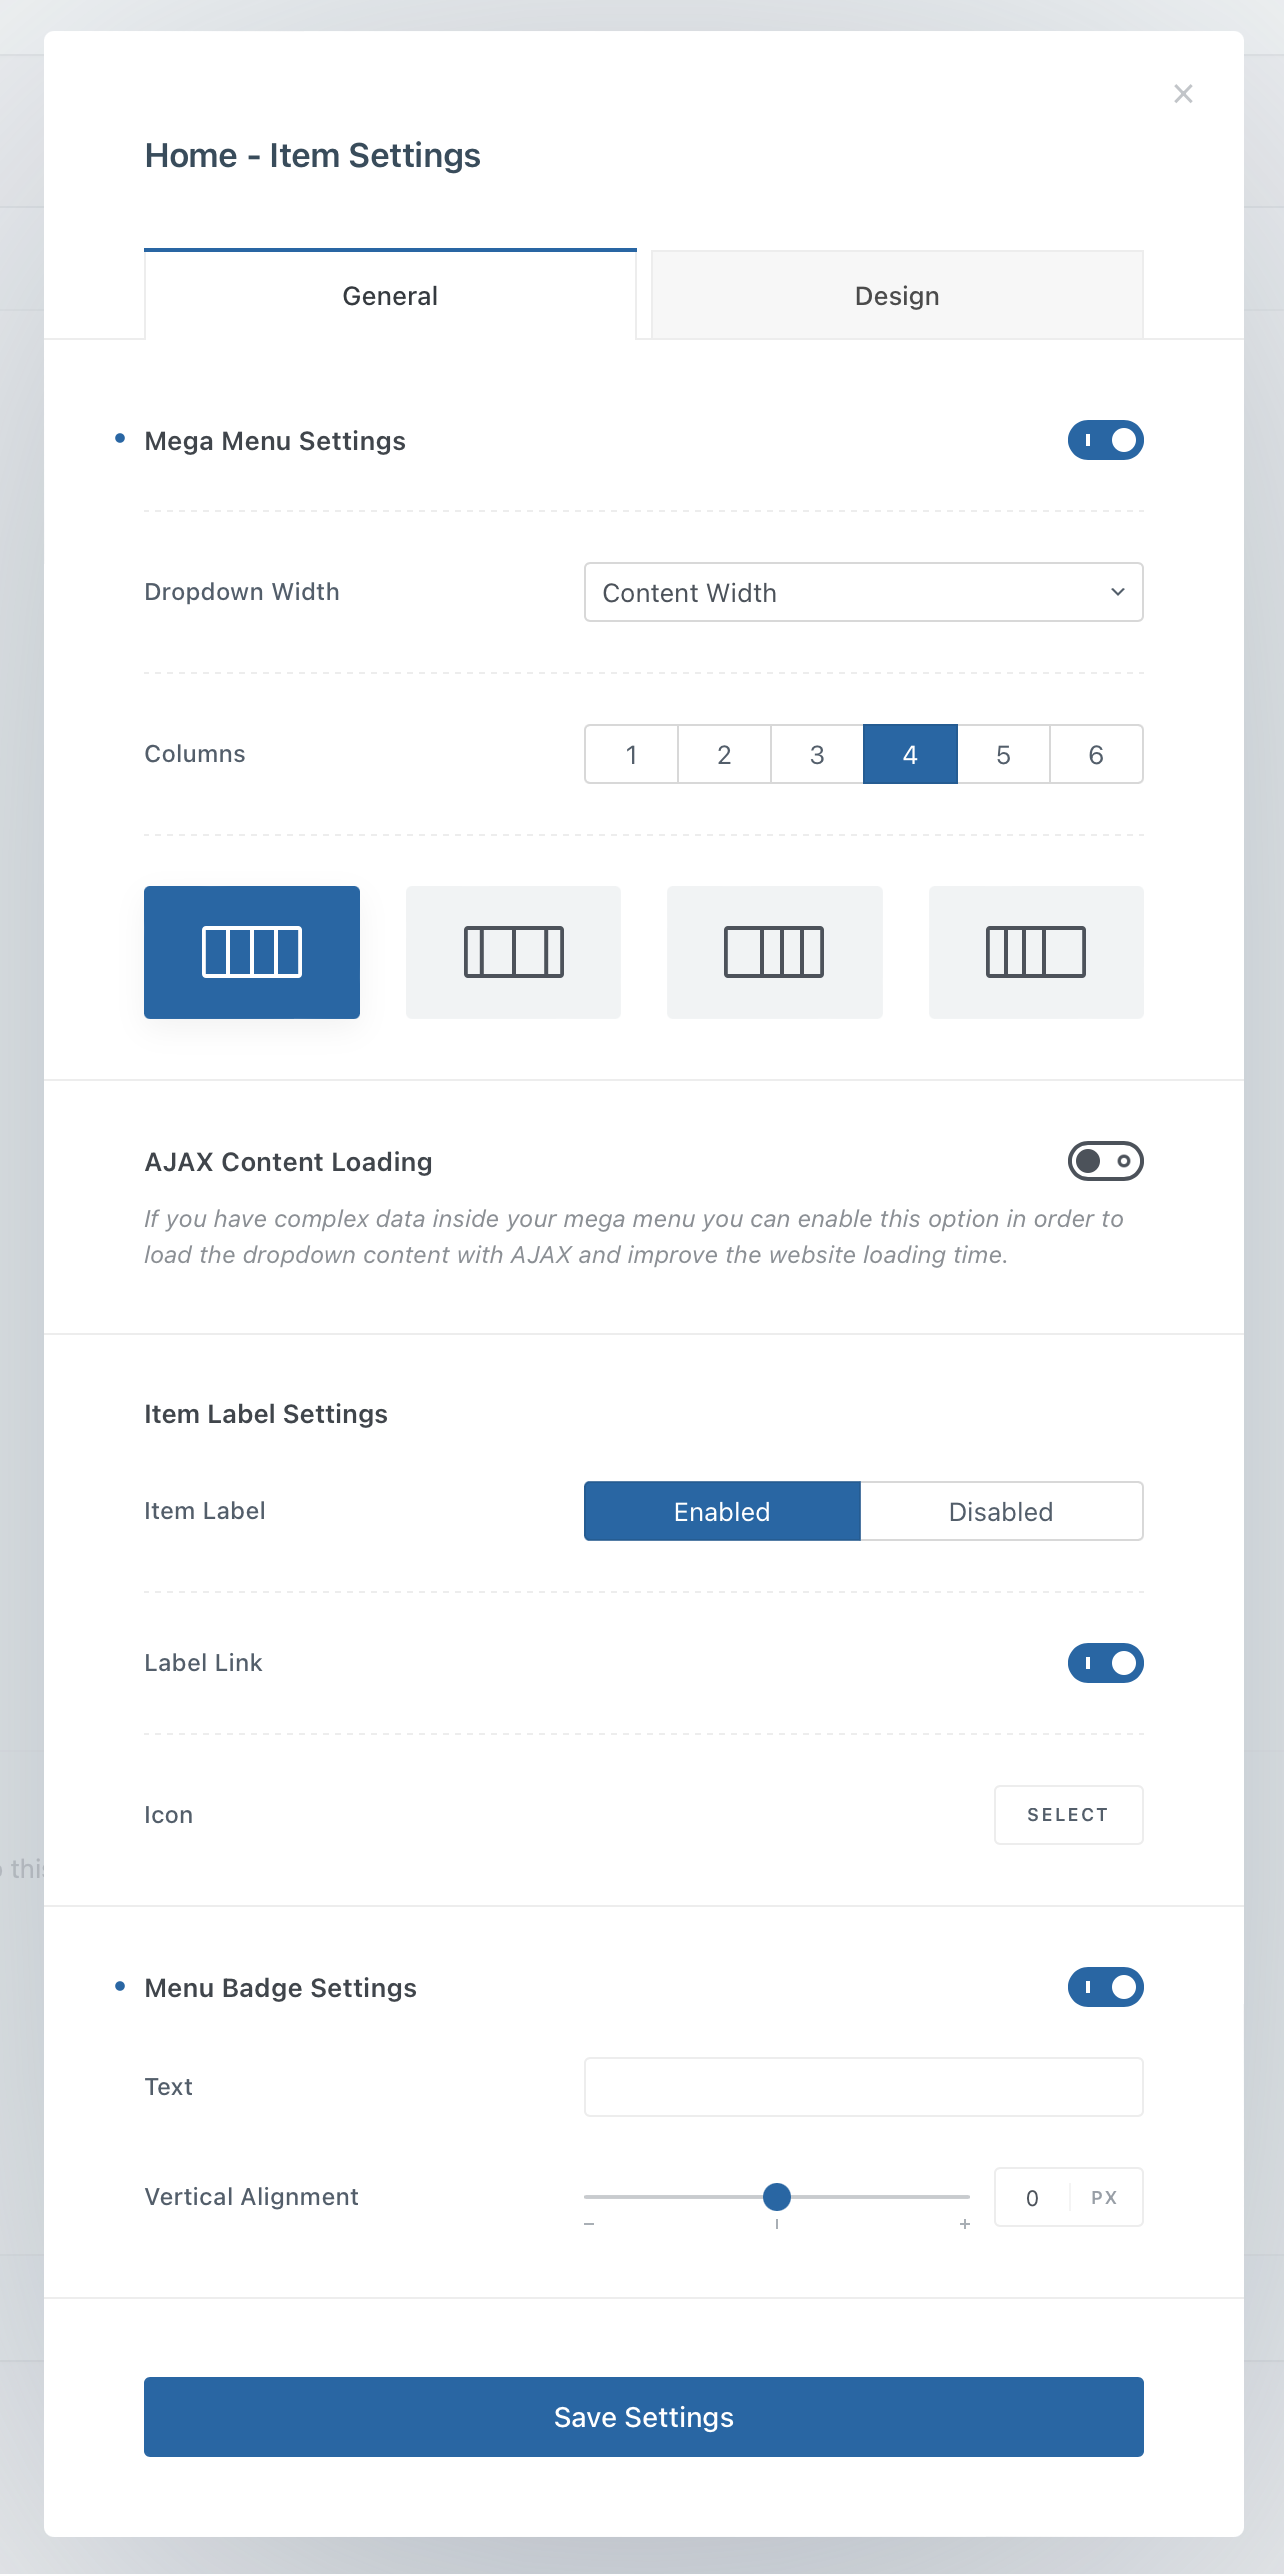
Mega Menu Settings
This section controls how the dropdown of the top-level menu item appears. To access the full set of options, make sure the Mega Menu Settings toggle is enabled for the item.
- Columns — Allows you to split the dropdown into multiple columns. You can also choose how the content within each column is arranged for better visual structure.
- Drop Down Width — Controls how wide the dropdown menu will be on the screen. Useful for creating full-width or compact drop-downs based on your design needs.
AJAX Content Loading
If your dropdown contains heavy or complex elements—like Content Blocks—this option lets you load the content only when the user interacts with the menu. It helps reduce initial page size and speeds up load times.
Item Label Settings
This section gives you control over the visibility and behavior of the menu item itself.
- You can choose to hide or show the menu label, which is especially handy if you want to use an icon instead of text.
- Optionally, you can disable the link on the menu item entirely, turning it into a non-clickable label.
Menu Badge Settings
Add a visual badge next to your menu item to highlight something new or important. This can be a helpful cue to draw attention to specific areas of your site—like promotions, updates, or featured sections.
Child Menu Options
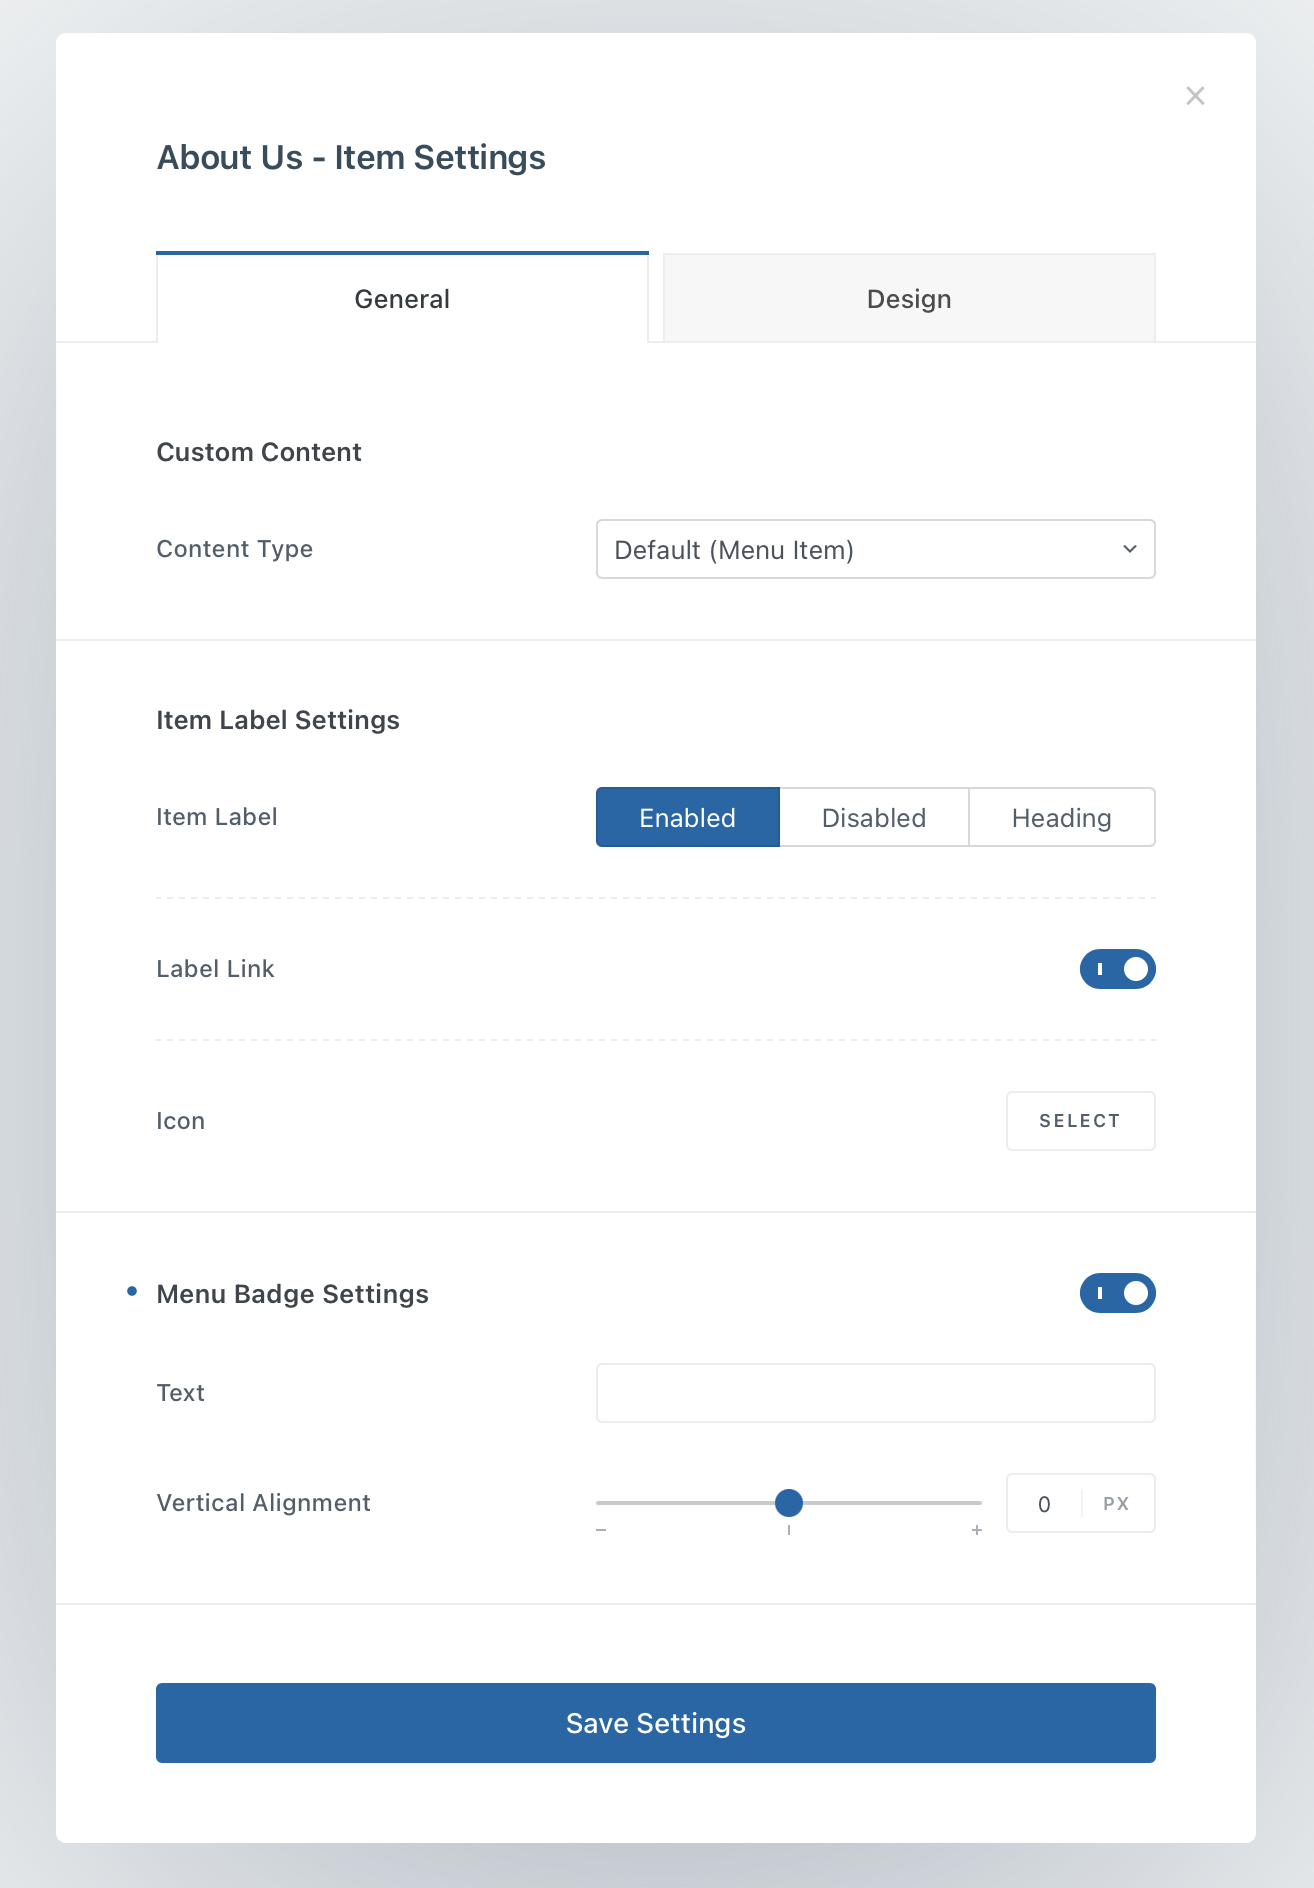
Custom Content
The Content Type setting defines what kind of content the first child item will display.
You can keep it as a classic link that navigates users to a specific page, or you can switch it to a Content Block, allowing you to design the menu content using the Gutenberg editor. This gives you full flexibility to include rich visuals, layouts, or any dynamic elements you’d like.
Item Label Settings
Here you can control whether the label for the menu item is shown or hidden. You also have the option to turn the item into a heading, which can be useful for organizing your mega menu into clearly defined sections.
If you’re building a more visual menu, you can opt to use an icon instead of a label. And if needed, you can disable the link entirely, making the item act purely as a label or heading.
Menu Badge Settings
This option lets you attach a badge to the menu item—perfect for drawing attention to special content, promotions, or updates within that section of the menu.
Importing Advanced Menus
Starting with the latest Blocksy 2 updates, you can now import and export your entire Advanced Menu setup between websites — making it easier than ever to reuse complex menu structures across multiple projects.
To ensure everything works smoothly, make sure the following requirements are met:
- The source site (where you’re exporting from) must be publicly accessible online.
- The Advanced Menu extension must be enabled on the target (importing) site.
- If your menu includes Content Blocks, those need to be exported and imported separately, as they are managed independently from the menu itself.
Getting started is easy. Just head to the Tools → Export / Import section in the WordPress dashboard and use the built-in tools, just like you would for any other post type.