



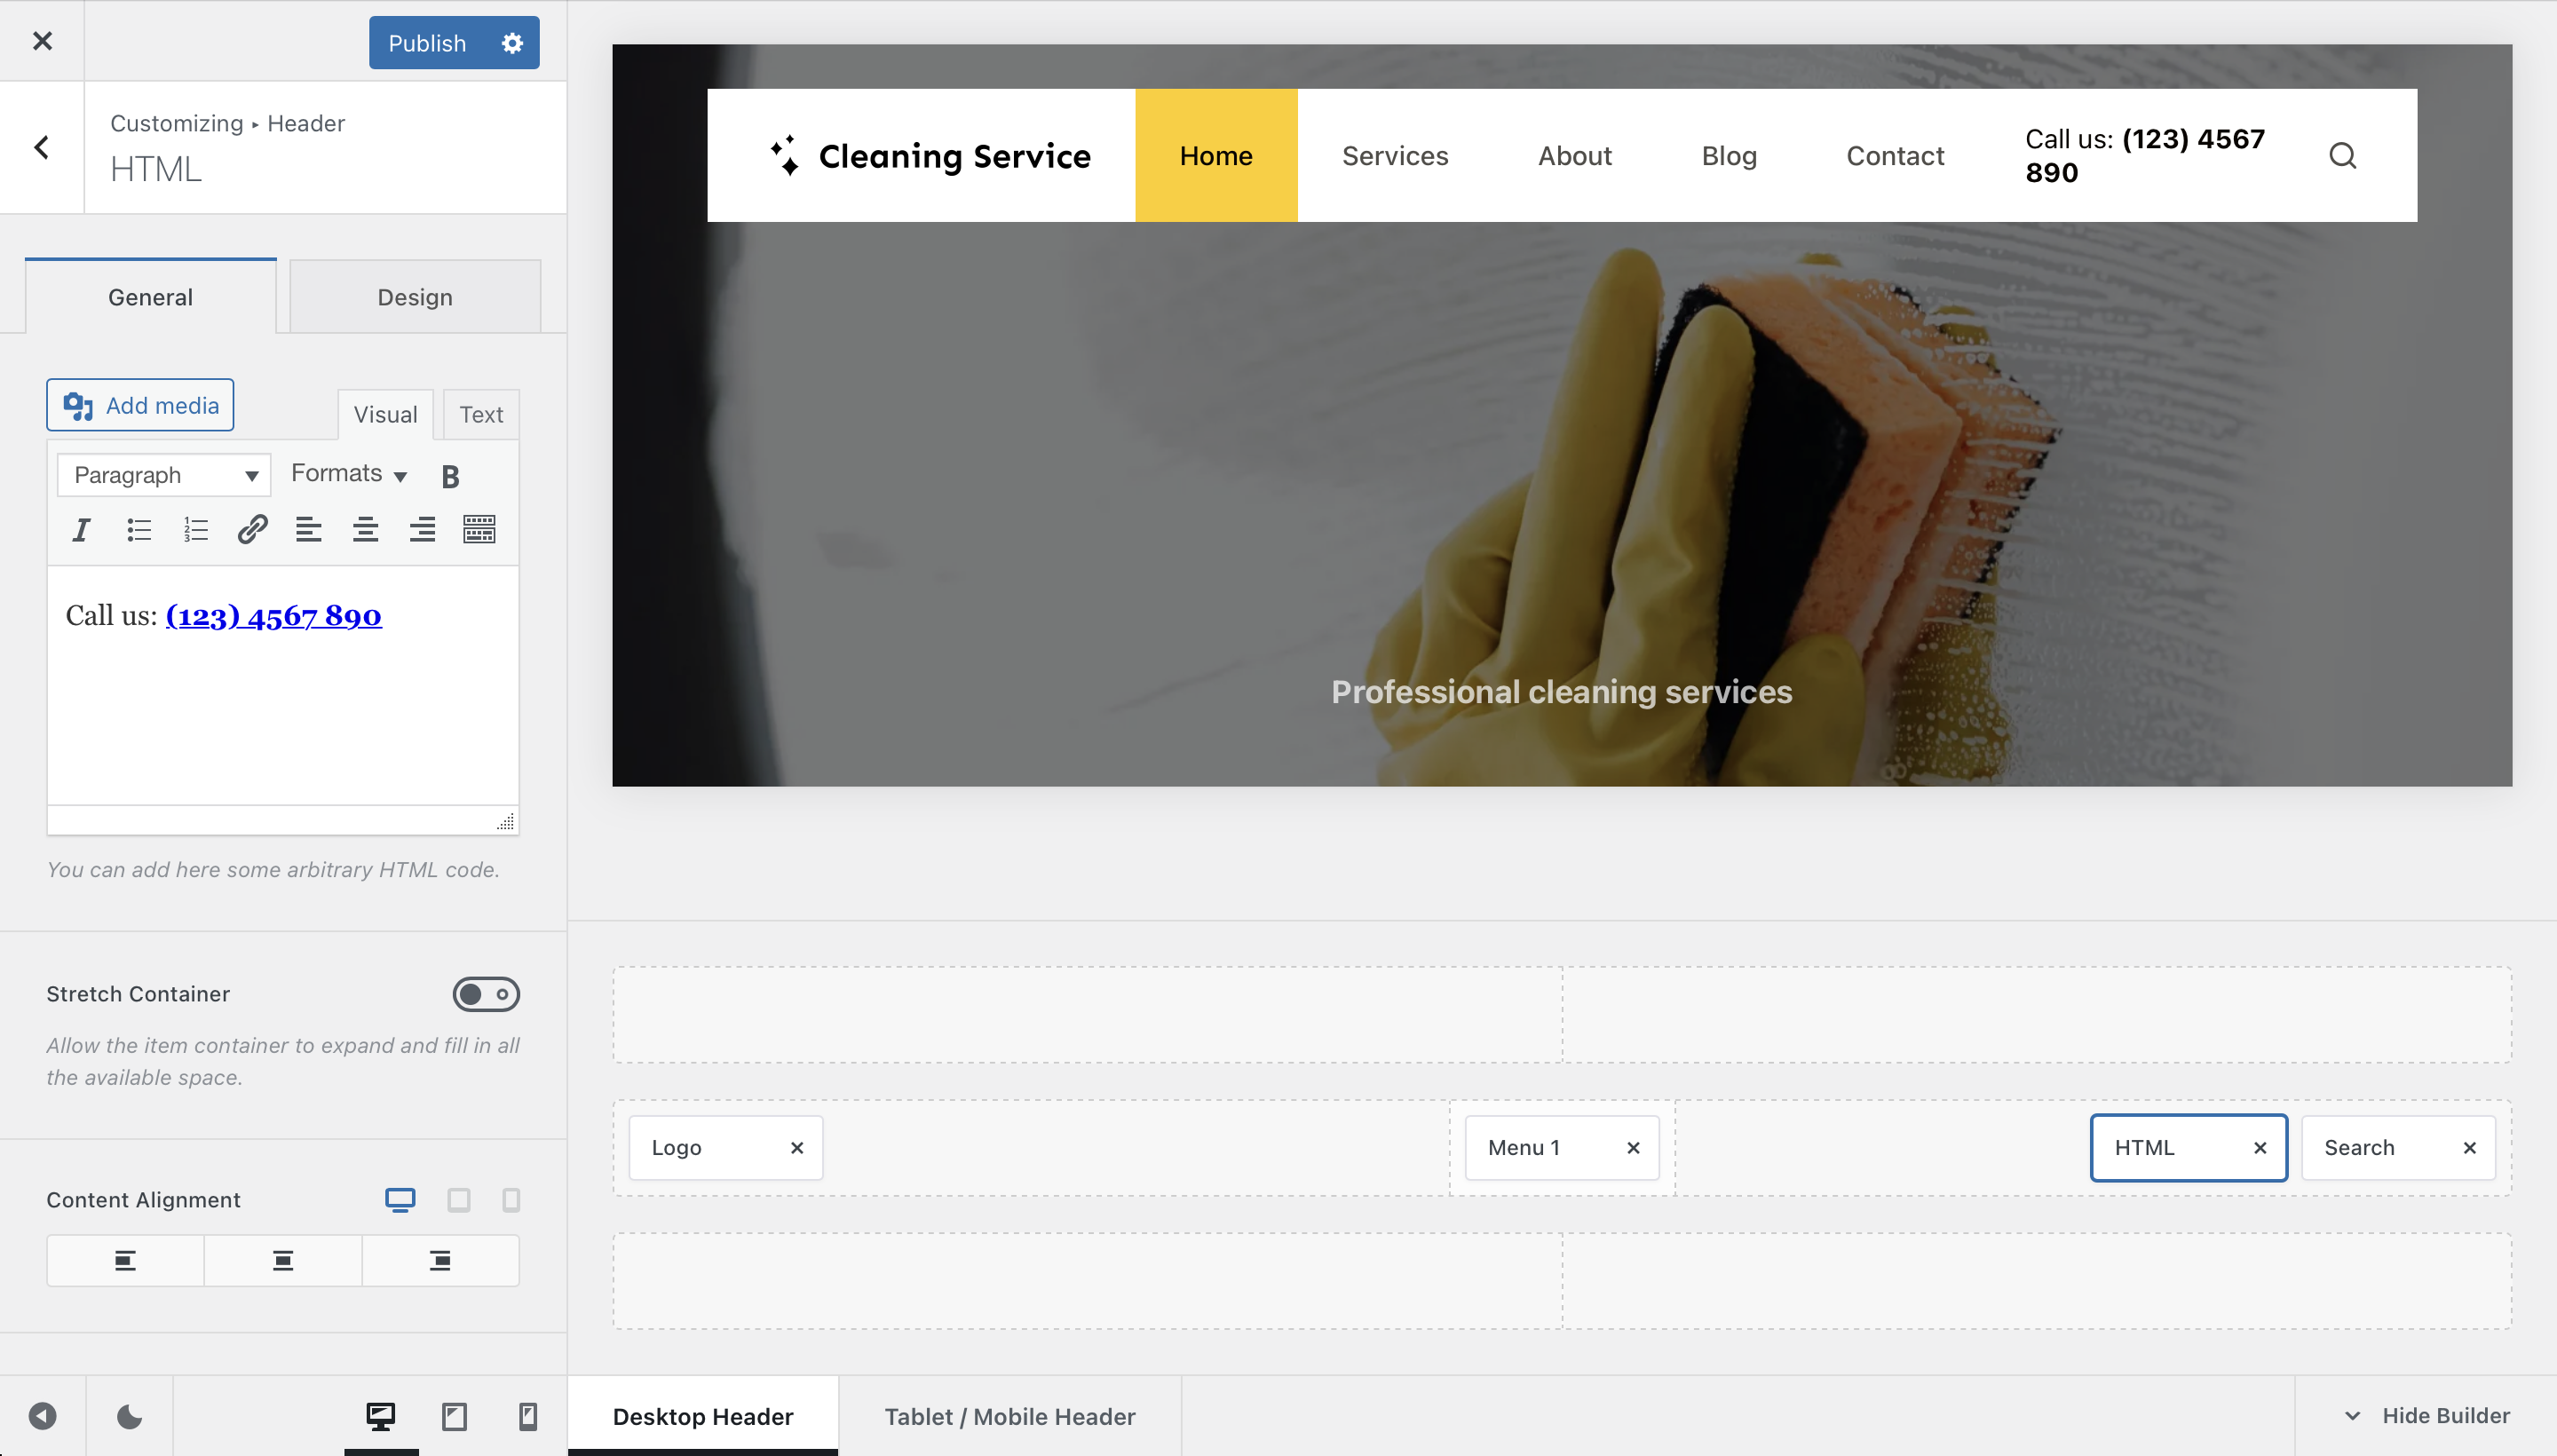
The HTML element lets you add custom content directly to your website’s header. It can be used for simple text and links as well as more advanced markup, shortcodes and other custom content that does not have a dedicated Header Builder element.
To use it, open the Customiser → Header, drag the HTML element into the desired header row or supported area, and select it to configure its content and layout.
Granular Controls
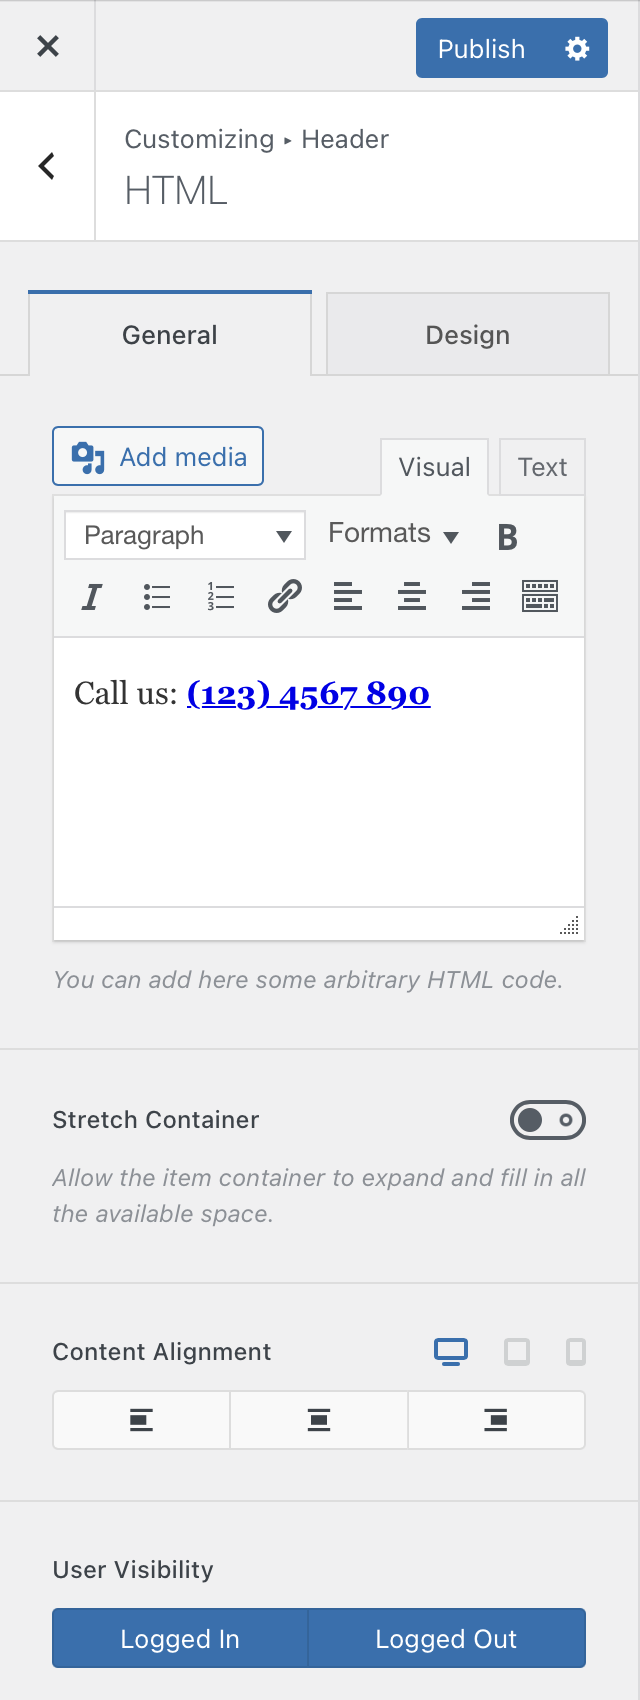
Content
The content editor lets you enter the information that should be rendered by the element. You can use regular text and links, HTML markup and WordPress shortcodes, making the element useful for both simple header content and more advanced integrations.
Custom code such as CSS or JavaScript can also be used where appropriate, subject to WordPress’ normal user permissions and content-sanitisation rules.
HTML permissions
WordPress restricts potentially unsafe HTML for users who do not have the unfiltered_html capability. Depending on the current user’s permissions, unsupported or unsafe markup can therefore be sanitised when the element is saved.
Stretch Container
Enable Stretch Container to let the HTML element expand into the available horizontal space inside its header row.
This is useful when the element contains wider content or when you want it to occupy the remaining space between neighbouring Header Elements.
Content Alignment
Control the horizontal alignment of the content within the space occupied by the HTML element.
This becomes particularly useful when Stretch Container is enabled and the element has additional horizontal space available.
User Visibility
Choose whether the HTML element is displayed according to the visitor’s authentication state. This lets you show custom header content only to logged-in users, only to logged-out visitors, or to both.