



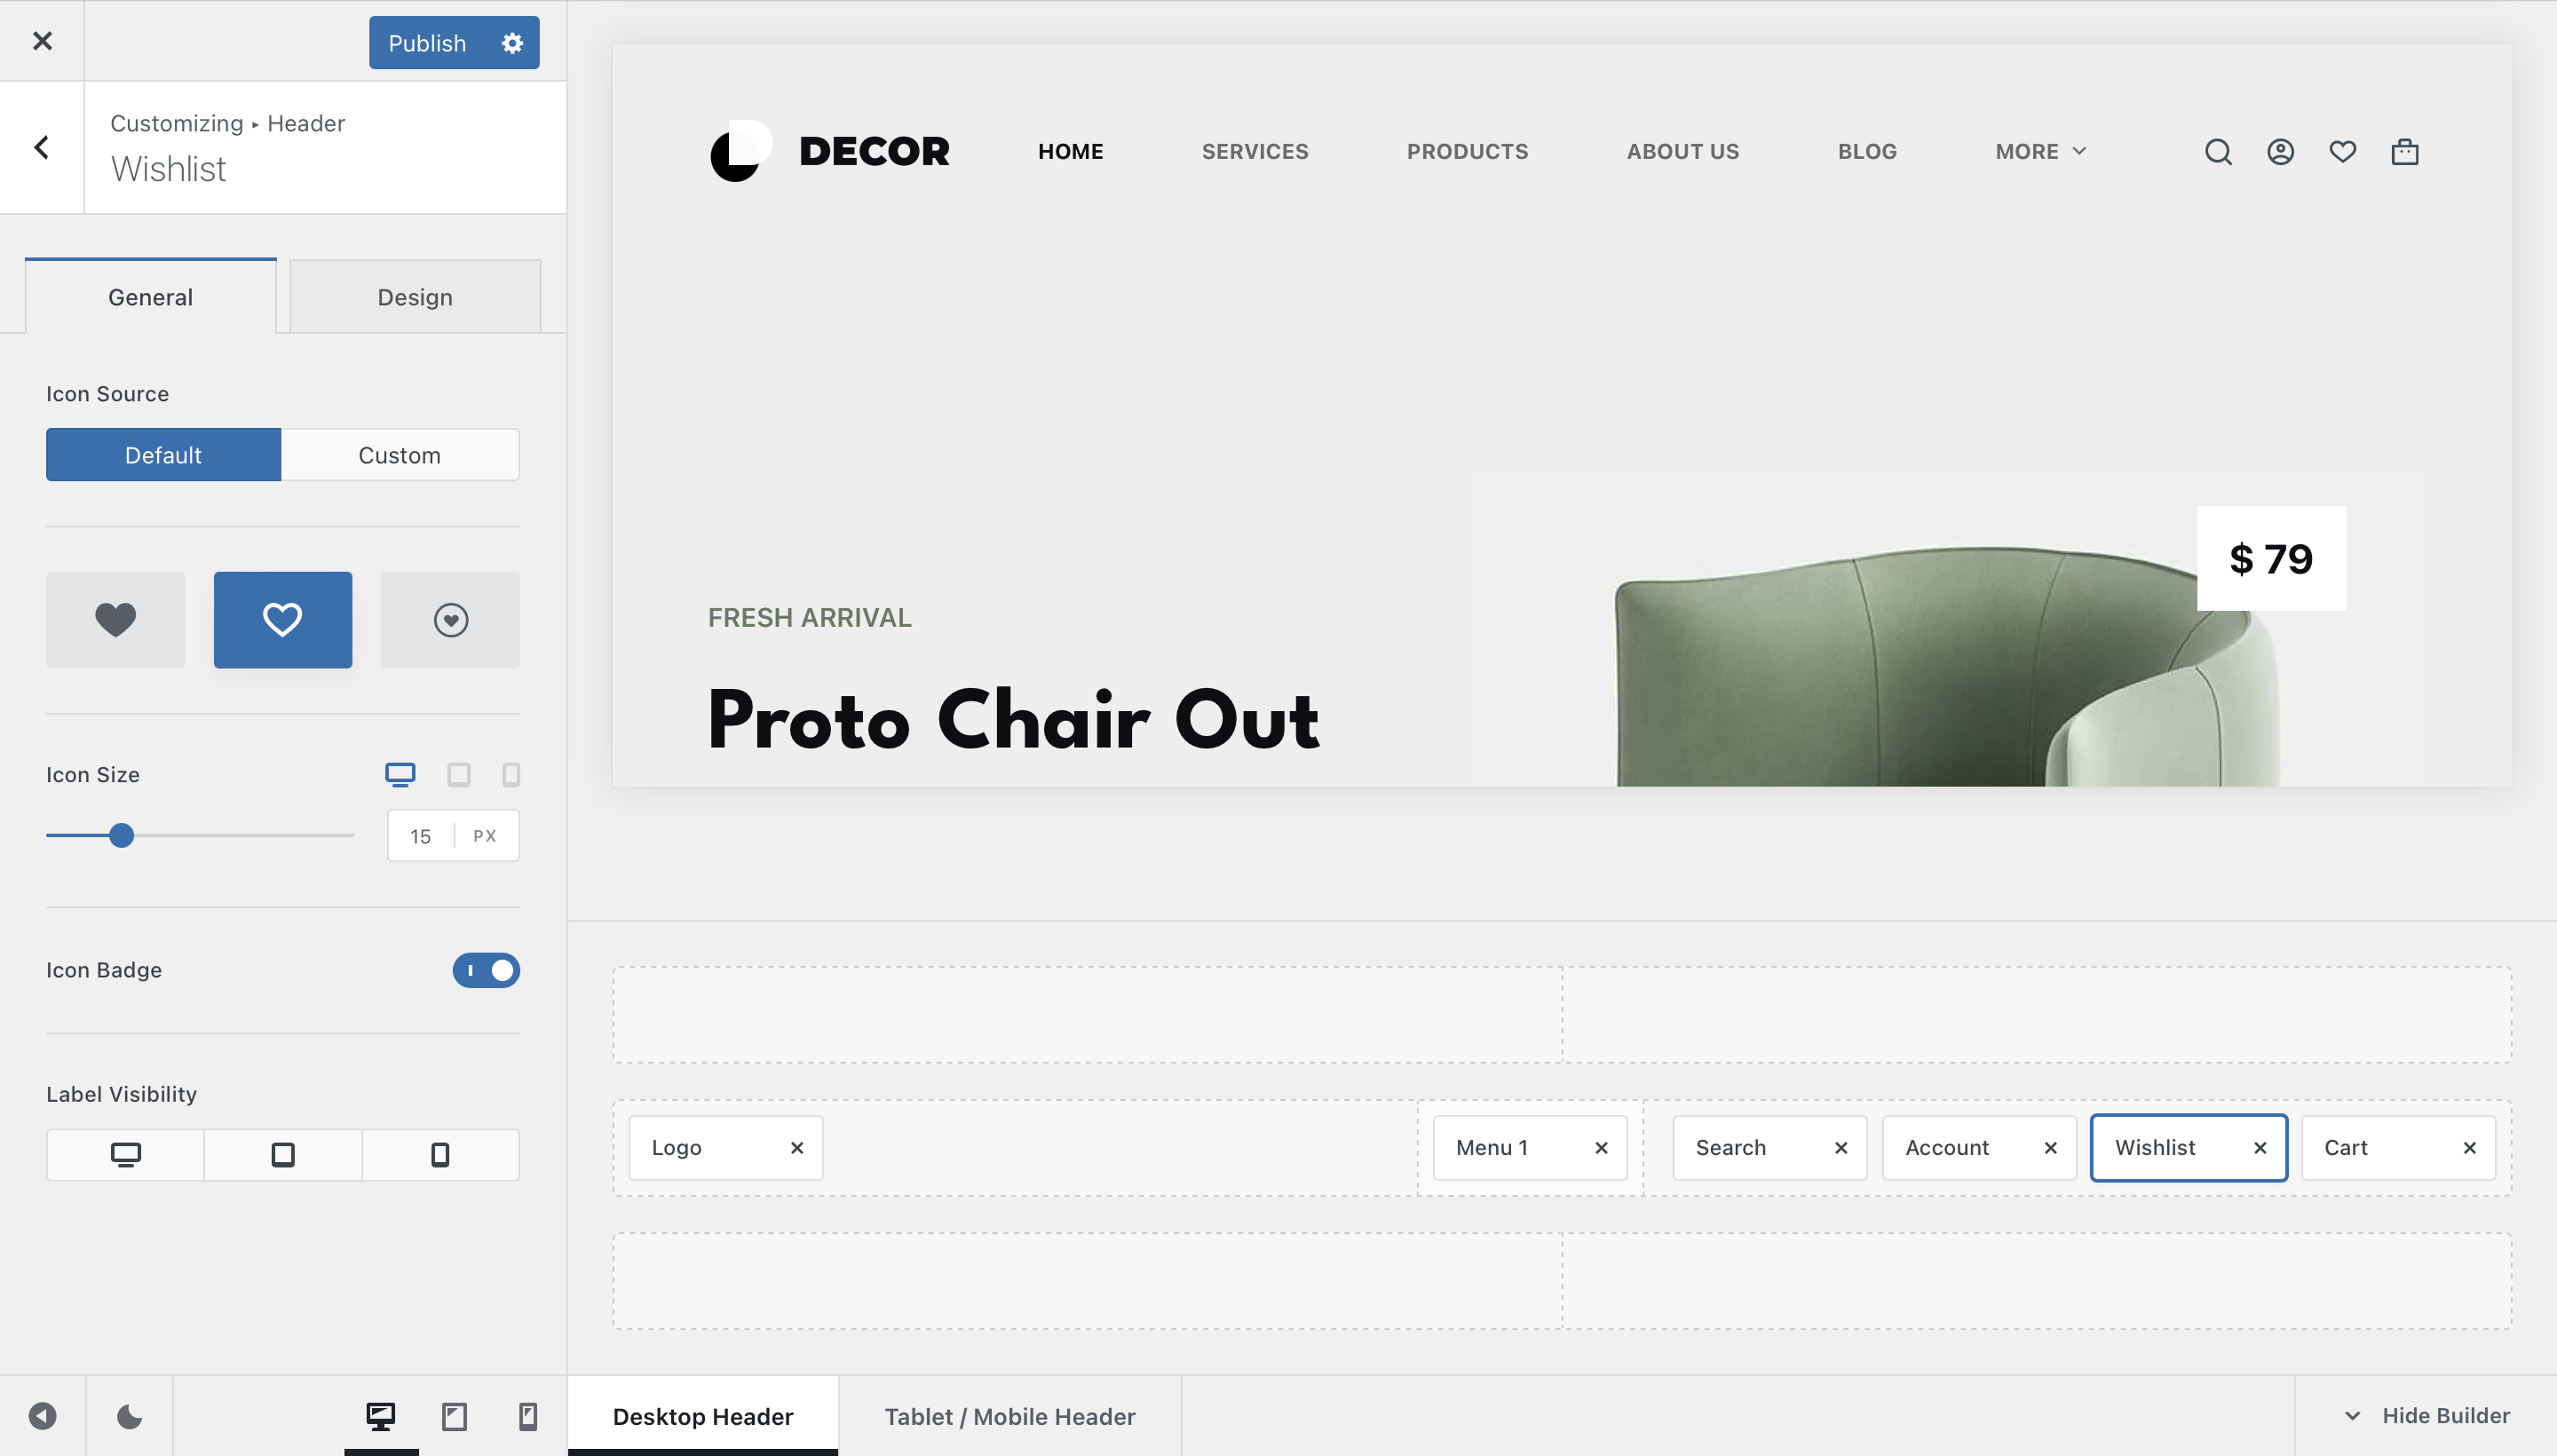
The Wishlist element gives WooCommerce customers quick access to products they have saved using Blocksy Pro’s Wishlist module. It can also display a counter directly in the header, showing how many products are currently stored in the visitor’s wishlist.
To make the element available, navigate to Blocksy → Extensions → Shop Extra → Wishlist and activate the Wishlist module. You can then open the Customiser → Header and drag the Wishlist element into the desired header row.
Granular Controls
Icon
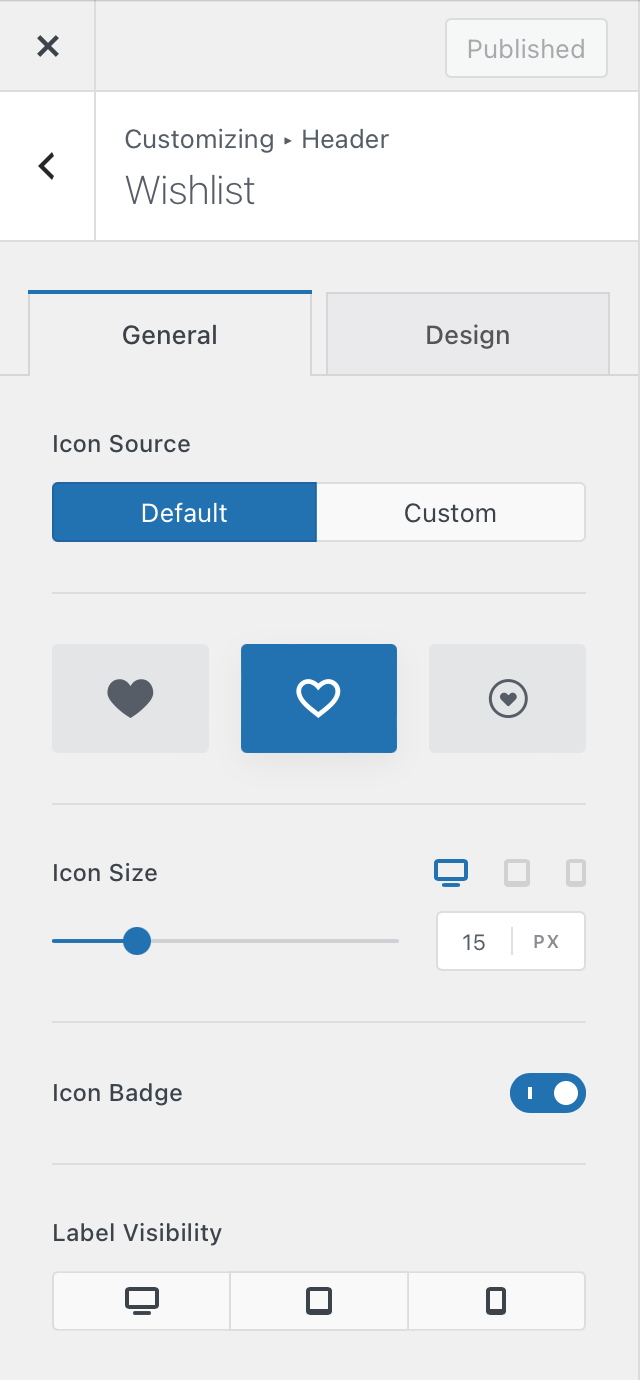
Choose the icon used to represent the Wishlist element in the header. Blocksy provides three built-in designs, or you can upload a custom SVG icon to better match the rest of your website’s interface.
Icon Size
Adjust the size of the Wishlist icon independently across the available responsive device views, allowing it to remain proportionate to the other elements in your header.
Icon Badge
Enable the Icon Badge to display the number of products currently saved to the visitor’s wishlist.
The badge is attached to the Wishlist icon and updates as products are added or removed. Its appearance, including its Colors, can be customised from the element’s Design tab.
Label Visibility
Control whether the Wishlist element’s text label is displayed on desktop, tablet and mobile devices independently. This lets you combine an icon and descriptive label where space allows while keeping a more compact icon-only presentation on smaller screens.